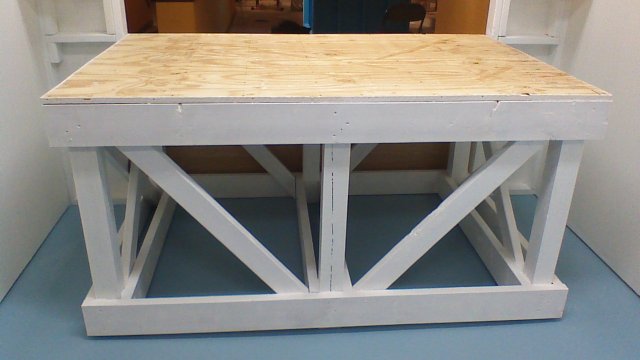
Yet Another Plywood Tank

Johnster

Feeder Fish
MFK Member
Aug 28, 2016
19
3
3
61
It seems like I read a thousand articles on how to seal a plywood tank. I wanted something durable, salt resistant, and inert so it wouldn't leech harmful chemicals into the tank water. Everything had pros and cons, but in the end I decided to try my hand at fiberglass.

In the business world there's a saying: "Every project has three parts: Cost, Quality, and Time. You can only pick two". So too with fiberglass: Durable, Inert, Cheap. Pick two.

The best reviews were of West System epoxy by West Marine. It ain't cheap, but it's sturdy and rated by the FDA as good to line food liquids. Good enough for baby formula, good enough for fish. There was a West Marine store a couple miles away that sold Epoxy Resin, Hardener, fiberglass cloth, fiberglass tape, and all the tools. Get the slow hardener. Once you mix a batch you've got and 90 to 110 minutes to get done before it starts to set up. I found that to be plenty of time without being rushed. It also has no smell so you can work it in the house without a respirator.

The west marine site has how-to videos, it is easier than you think.

First thing was to make sure all the screws were sunk in below the surface of the wood. I picked up some Bondo auto body filler and filled in the pits over the screws, any knots in the wood, and the corners. For the corners I got some craft sticks from a craft shop that look like the tongue depressers in the doctors office. Nice rounded end to make a smooth corner.

The fiberglass cloth is for the flat sides, the fiberglass tape (basically cloth cut into 4 inch wide strips) is for the corners. Doesn't matter which goes first, just cut everything to fit first. Once you mix the resin you don't want to waste time cutting cloth. I mixed up a half cup of resin, use small batches as it's better to have to mix more than waste some (it's expensive), used the foam roller and painted the back of the tank with resin, laid the fiberglass cloth on the painted part (it sticks easily), and painted with more resin. Used the tool to work the bubbles out. Repeat for the sides, use the 4 inch fiberglass tape for the corners, work the bubbles out. Easy Peasy.

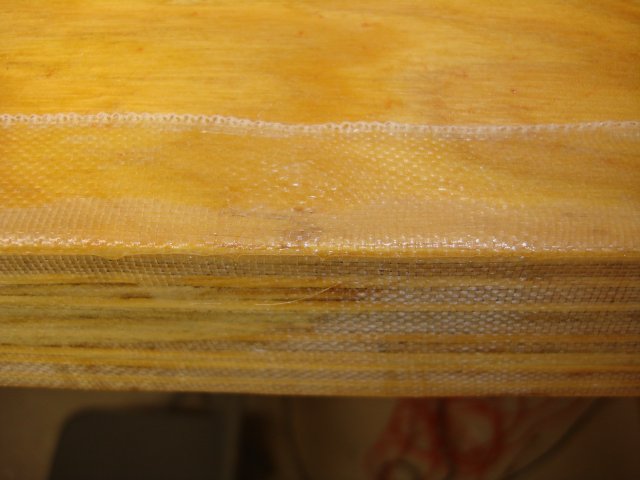
You will get some imperfections. I had a part where the fiberglass slid a bit (when wet with resin it feels greasy and can slide around).
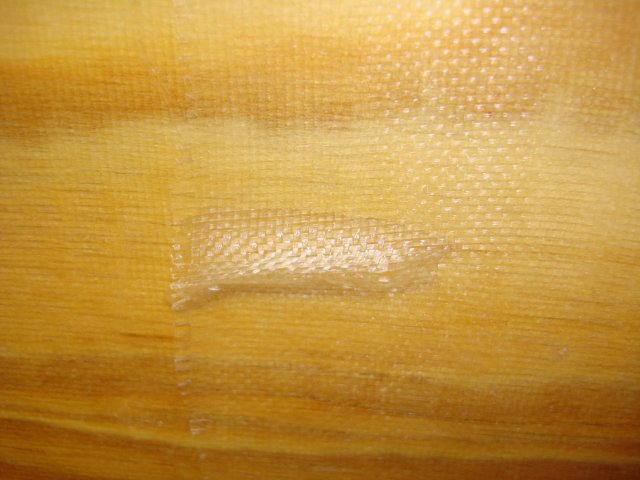
DSC08980.JPG

And some places where I didn't work all the air out. It shows white.
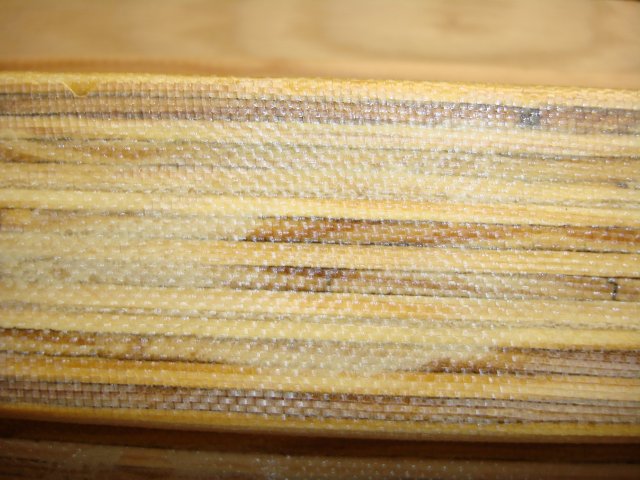
DSC08981.JPG
DSC08982.JPG

Wait for it to dry, sand out imperfections, put another coat. I did two layers of fiberglass and a total of 5 layers of resin.

After the first layer of fiberglass:
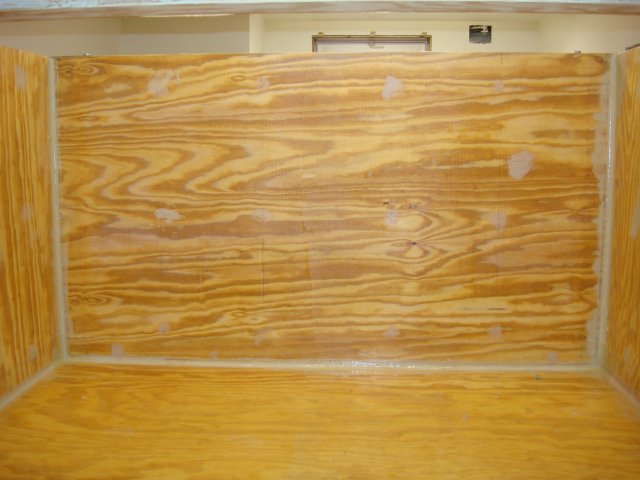
DSC08978.JPG

Wonderful. Except this will never do for the inside of the tank.

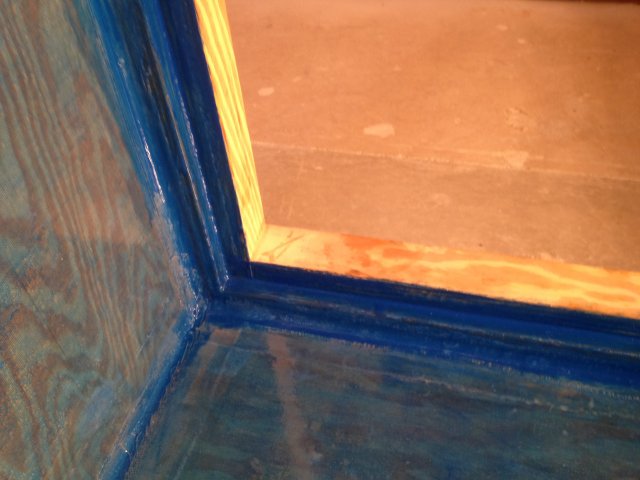
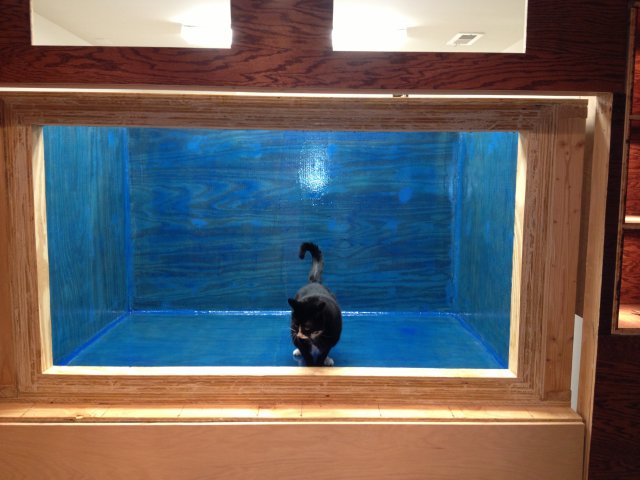
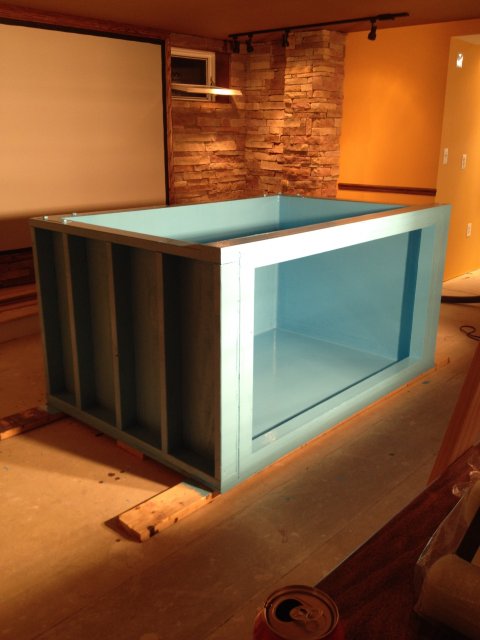
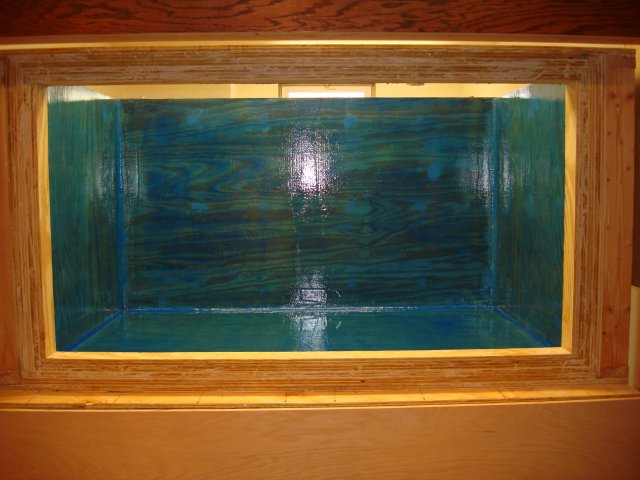
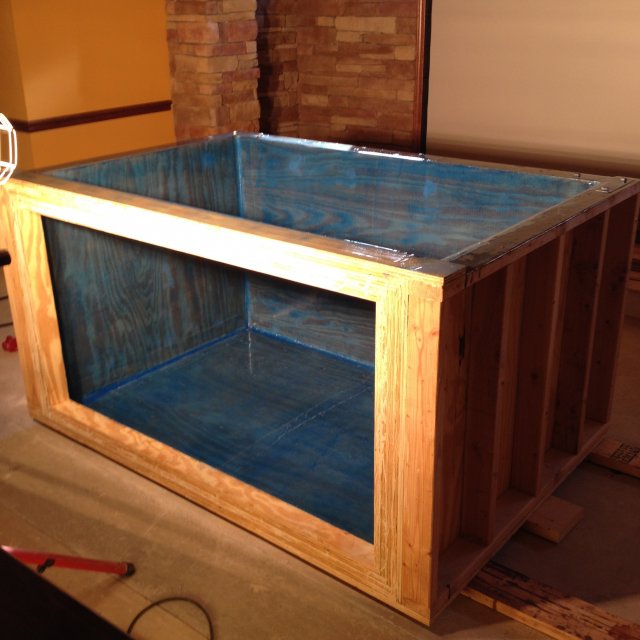
Went back to West Marine and got some blue tint. I figured that would make a nice blue surface and look great for the inside of a tank. Yeah, not so much.
DSC08991.JPG
IMG_1025.JPG
IMG_1034.JPG

And I added my first Catfish.

IMG_0882.JPG

Obviously this is not going to work. On to Plan B.
 

Johnster

Feeder Fish
MFK Member
Aug 28, 2016
19
3
3
61
When I was researching sealing the tank, it came down to two choices: fiberglass or epoxy paint. Fiberglass had the strength but was transparent, epoxy paint covered well but could be punctured or crack if not fully support (like covering plywood). I went with fiberglass hoping I could tint it enough to work. As you see it didn't work out that way. Plan B was two part epoxy paint.

The upside was now I have a firm base to paint with epoxy.

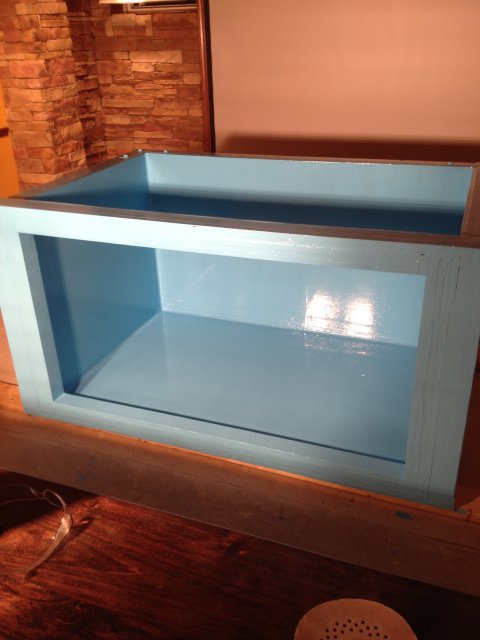
Again, it needed to be completely inert so it wouldn't hurt the fish. Sweetwater was another product that was FDA rated as safe to use on food containers. I ordered a gallon of it in light blue.

The color choice was because that's the color in professional aquariums. They use light blue and it looks great. It was the single worst decision I made. Get something dark. Like black. The paint isn't perfectly smooth, so when algae grows on it you can't scrub it off. Dark green algae on a light blue surface. You get the idea. I'll show you the pictures.

At any rate, simple to apply with a roller. Mix it up, roll it on. This stuff, however, is nothing like the West Systems fiberglass resin. It stinks. Imagine tipping over a gallon bucket of nail polish remover. It's worse than that. The fact it had to be shipped as a hazardous material should have given me a clue. You'll need a respirator. They sell one with carbon filters in Home Depot that work great.

As with the fiberglass, mix small batches and get painting. Do it outside if possible, but if you're like me and built a tank that can't be moved outside then turn off the heater/air conditioner, open all the windows, and ask the wife for forgiveness ahead of time. You will hear about it. For months. Like I did.

All that being said, it covers well.

IMG_1045.JPG
IMG_1057.JPG

I did 5 coats on the inside, then painted the whole outside with what was left.

Now that's a tank. Wish it was black :(

John
 
  • Like
Reactions: wednesday13

Red_Man

Plecostomus
MFK Member
Sep 14, 2010
446
140
61
38
Indiana
Loving this build thread. I assume the tank is up and running already? Call me strange but I kinda like the blue wood grain. lol... Strangely appealing especially with all the wood around the tank. Can't wait to see more. Keep up the good work!
 

Johnster

Feeder Fish
MFK Member
Aug 28, 2016
19
3
3
61
Loving this build thread. I assume the tank is up and running already? Call me strange but I kinda like the blue wood grain. lol... Strangely appealing especially with all the wood around the tank. Can't wait to see more. Keep up the good work!
Thanks for the comment Red_Man. Yep, the tank has been up for a little over a year now and things are working well. Wait till I get into the filtration and water exchange systems. I automated as much as possible.
 

Johnster

Feeder Fish
MFK Member
Aug 28, 2016
19
3
3
61
Looks awesome!
My big hang up is what to seal with as well, thinking pond shield and some fiber glass.
Thanks Takagari. I looked at it like this: the wood holds the shape, the fiberglass provides the strength, and the epoxy (or pond shield) keeps the water in and protects the fish. Aside from the strong acetate smell of the Sweetwater epoxy paint when rolling it on, I've been very happy with how it performed.
 

Johnster

Feeder Fish
MFK Member
Aug 28, 2016
19
3
3
61
I got a lot of jokes at work when talking about building a plywood tank. Most along the lines of "how do you see the fish through the plywood?". I went back and forth on the glass/acrylic issue. Acrylic is lighter, clearer, doesn't have much refraction, but scratches easily. I wasn't worried about weight, I'd already figured the stand to hold 6 tons, and I was very concerned about scratching the acrylic with a piece of sand stuck in the cleaning magnet.

Measuring the pocket I'd built for the front panel, the sheet would have to be 32-3/4 x 60-1/2 inches. Huge by aquarium standards. And need to hold back over 400 gallons of water pressure. I think that worked out to and inch of acrylic or 3/4 inches of glass. Pricing it out the acrylic actually cost more. Went with glass.

There was a single distributor, Belpre Glassworks, about 20 miles down the road. They could cut me a piece of 3/4 inch Starfire glass and bevel all the edges. I put in the order and had it a week later.

I had the edges beveled so there would be no sharp parts to dig into the pocket. Or my hands. The pane ended up weighing in at about 130 pounds. You slip with that and it's taking a finger or two.

I picket up 8 tubes of GE Silicone I Clear Window and Door caulk. That's the stuff without the mold inhibitor (herbicide) that will leach into the water and poison the fish. I also had a couple of touch-up syringes left over from the fiberglass kit. You can fill them with silicone and inject it under the glass to fill in any air pockets. I also needed that respirator from the epoxy paint. The silicone smells like vinegar. I was in the tank using the syringe to fill the air pockets and almost passed out it was so strong.

I used 7 tubes filling in the pocket. If you think you've got enough, you don't, It's cheap, so putting extra in that just squeezes out is better than not using enough and having the seal fail when it's full of water. At any rate, I got the glass into the pocket (with help from several friends, it's damn heavy) and used a flashlight to find the air pockets and fill them in. Let it cure for a week and then scraped all the stuff off that had squeezed out of the pocket.

One comment about glass refraction. A pane this thick had some odd qualities that I didn't realize until I got the tank full and some things in it to watch. It has a lens effect when you get close, say a foot away from the glass: what your looking at straight ahead is clear as can be, but things in in your peripheral vision is slightly blurred. Kinda strange. The cool part is it magnifies things in the tank. I reached in to pull out a snail and I thought I grabbed the wrong one, seemed much smaller outside the tank than in. And the starfire was worth every cent. It doesn't have the green tint you see in normal glass tanks, it's so clear it's invisible.

So, tank sealed, glass in, time to start thinking about the overflow.

John
 

kelz

Polypterus
MFK Member
Oct 9, 2013
103
349
87
Brooklyn
Awesome tank. Love the whole build keep up the great work can't wait to see it finished
 

Johnster

Feeder Fish
MFK Member
Aug 28, 2016
19
3
3
61
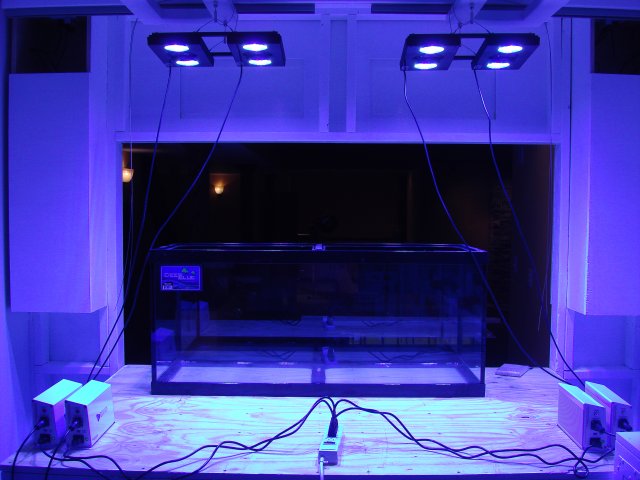
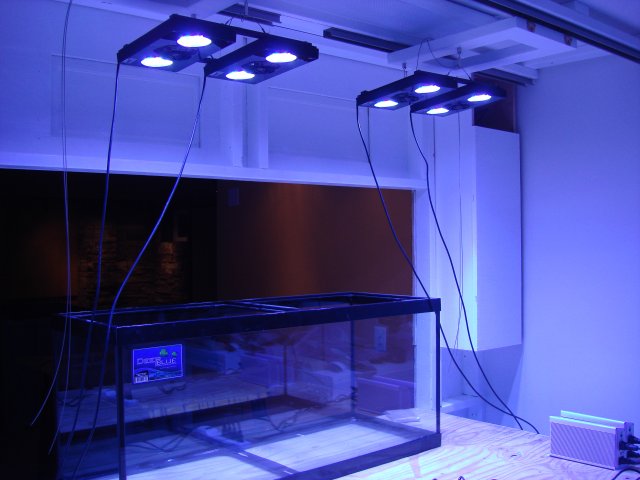
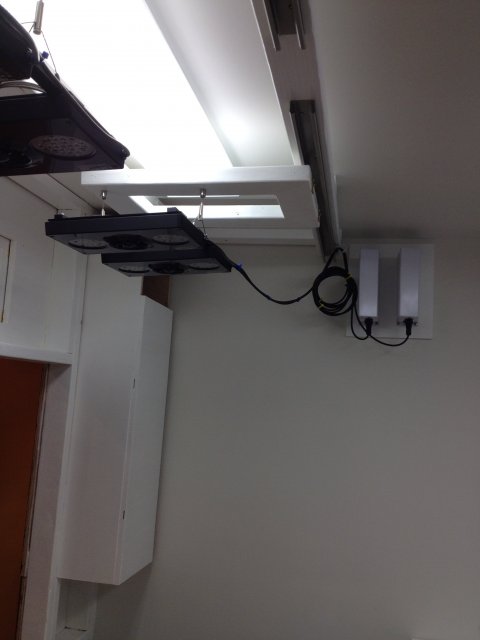
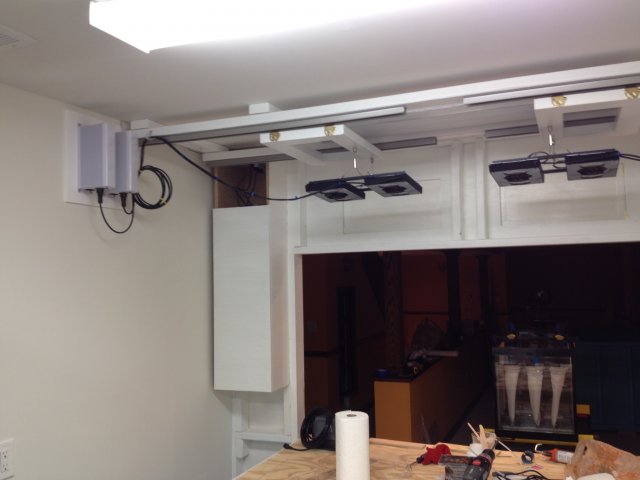
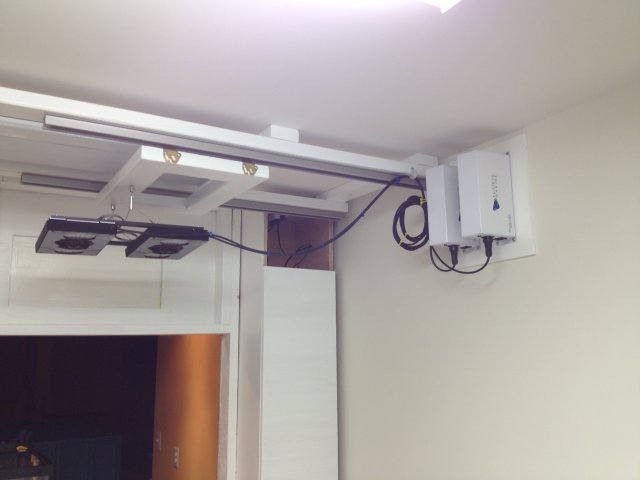
While I had the tank out on the floor, I took the time to work on the lighting. The height of the tank and stand left a little over 2 feet of clearance. I had decided on using LED lighting and would need to mount them in a way that I could slide them out of the way for any major tank maintenance.

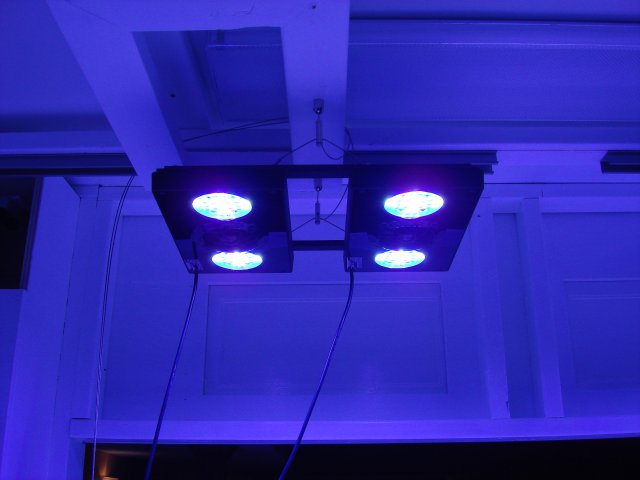
The lights I chose are Ecotech Radion XR30W Pro G3. Based on advertised spread, I figured I could get away with 4 of them. Good thing too, those are pricey. I think they are worth the investment.

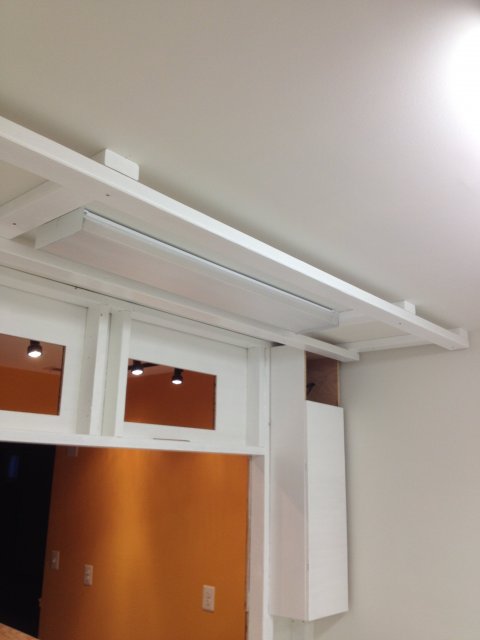
I started building the mount by painting some 2x4's with white exterior enamel and screwing them into the ceiling joists.

IMG_1035.JPG

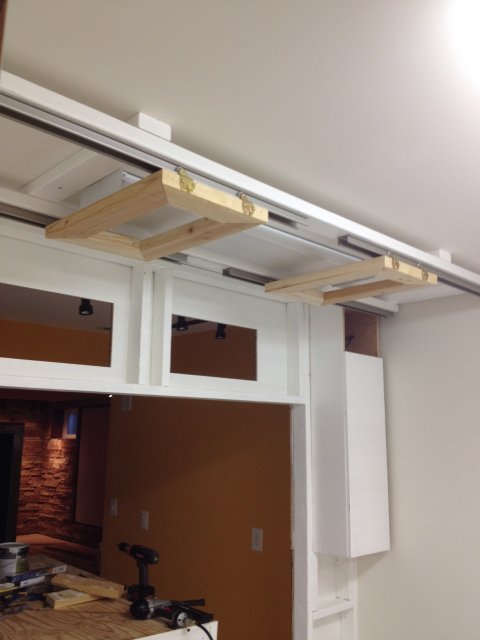
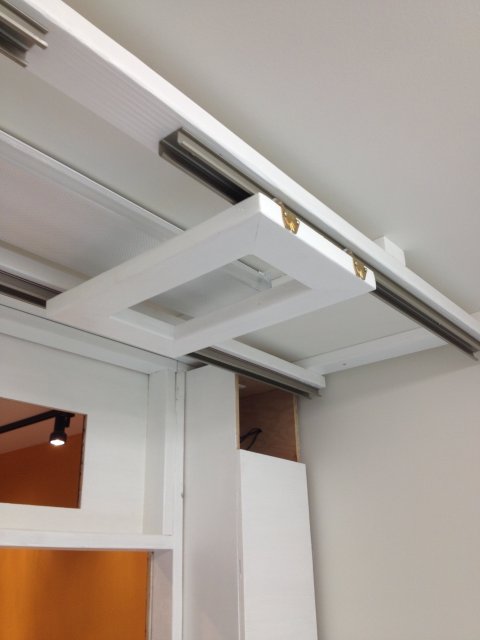
Then I got some cheap hanging door tracks from Home Depot and built a couple brackets to slide on the tracks.

IMG_1038.JPG
IMG_1040.JPG
TABLET - WIN_20131224_054543.JPG

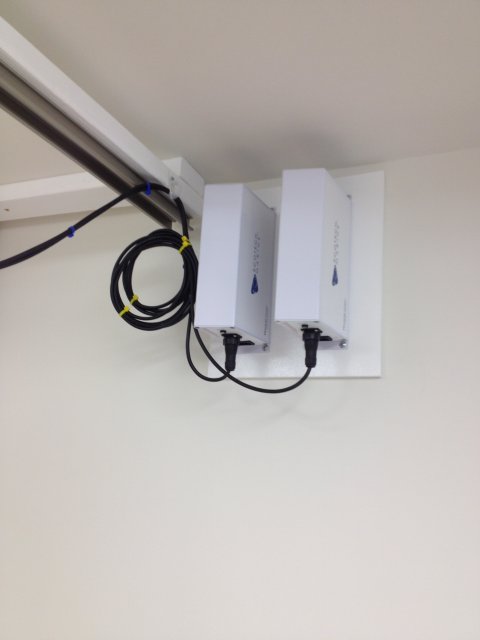
These would allow me to slide the lights off to the side for tank access. Of course I had to test them first. The lights had a GFI circuit built into the ballast, so if they got wet it would shut them off. Unfortunately, I had wired every outlet in the fishroom as GFI, and you apparently can't use two in a single circuit. The lights ballast kept tripping the circuit. The folks at Ecotech did a quick ballast exchange for ones without the GFI so I could get them working. On with the test. The tank on the stand is an 80 gallon Deep Blue I'd picked up for use as the sump.

DSC09150.JPG
DSC09151.JPG
DSC09152.JPG

I mounted the ballasts near the ceiling and looped the cord so I could slide the lights as needed.

IMG_1194.JPG
IMG_1195.JPG
IMG_1197.JPG
IMG_1198.JPG

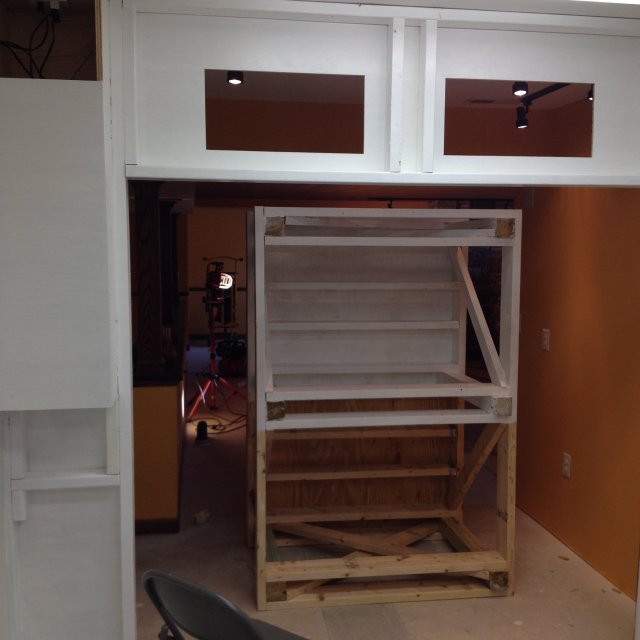
Finally the stand got a couple coats of paint. Actually everything in the fishroom ended up with exterior enamel.

IMG_1026.JPG
TABLET - WIN_20131224_054619.JPG
 
zoomed.com
hikariusa.com
aqaimports.com
Store