
Ok this is gonna be my thread on how my pond is made.
The original plan was for a 8' x 4' pond with another pond in front of 4' x 4'. After laying out the timbers and getting a idea on size, we decided to double the size. It was just to small.
Ok first we laid out the base of the structure. After finding out the ground isn't exactly level. We then had to dig out a trench of sorts for the base to sit in. After this was done we started the structure.
After one day of alot of pondering and thinking. Not to mention extremely hung over from the night before's party. This is how it looked come Saturday evening.
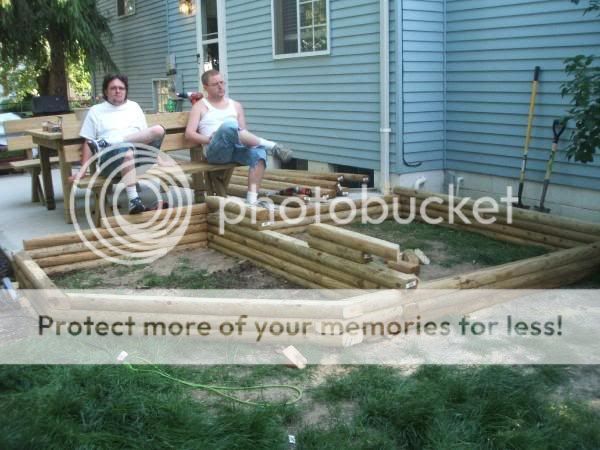
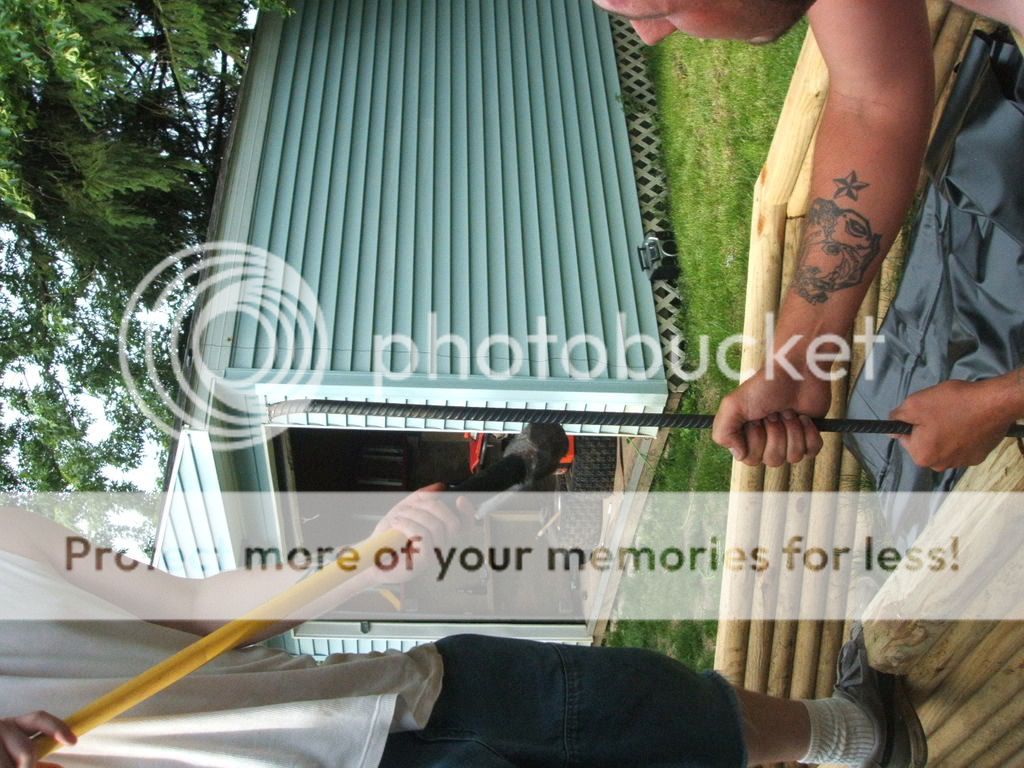
We went out drinking again Saturday night, and got started around mid-day on Sunday. Once the lower end was as high as we wanted it. We drilled holes in each corner for 3/8" REBAR could be hammered through each corner.
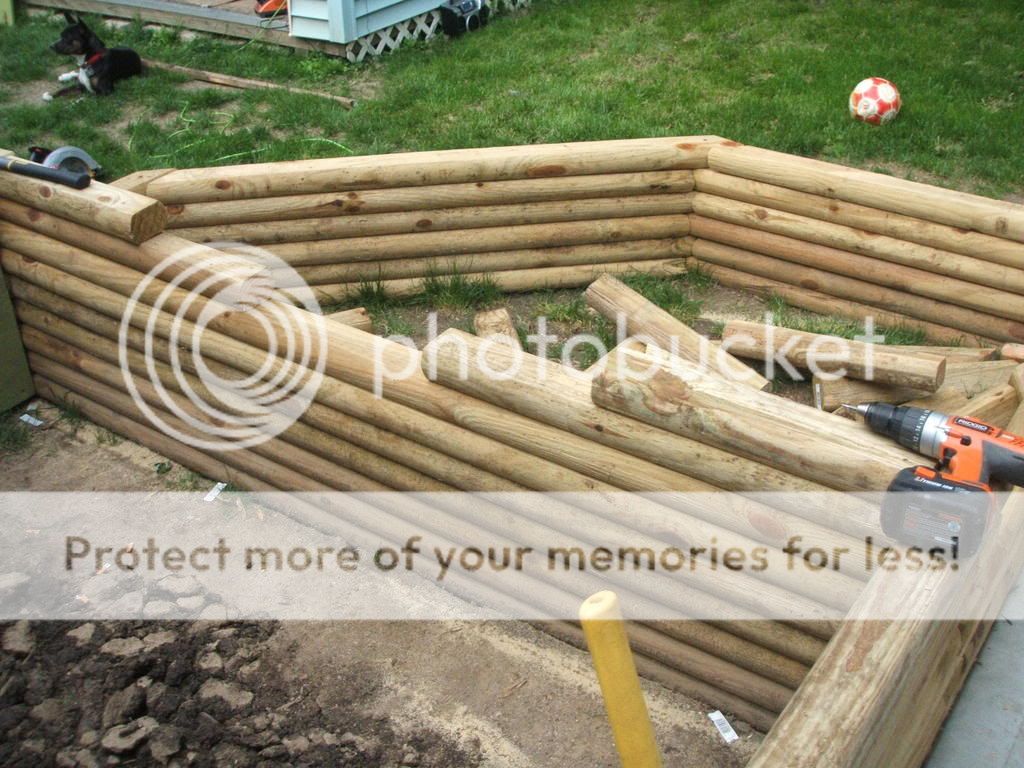
As the day went on we adjusted how high the back tank would be a few times. Incordination with the waterfall that is planed for between the "tanks".
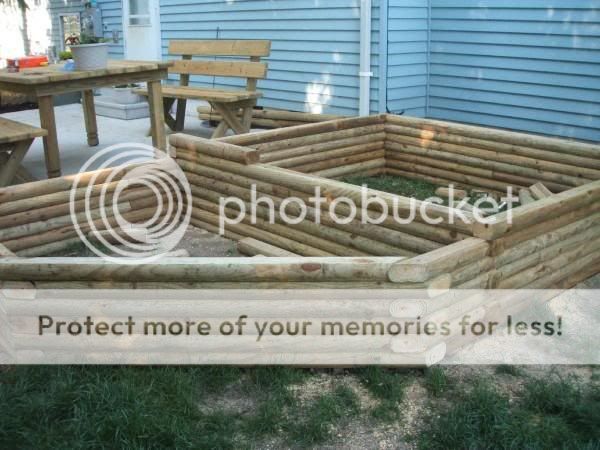
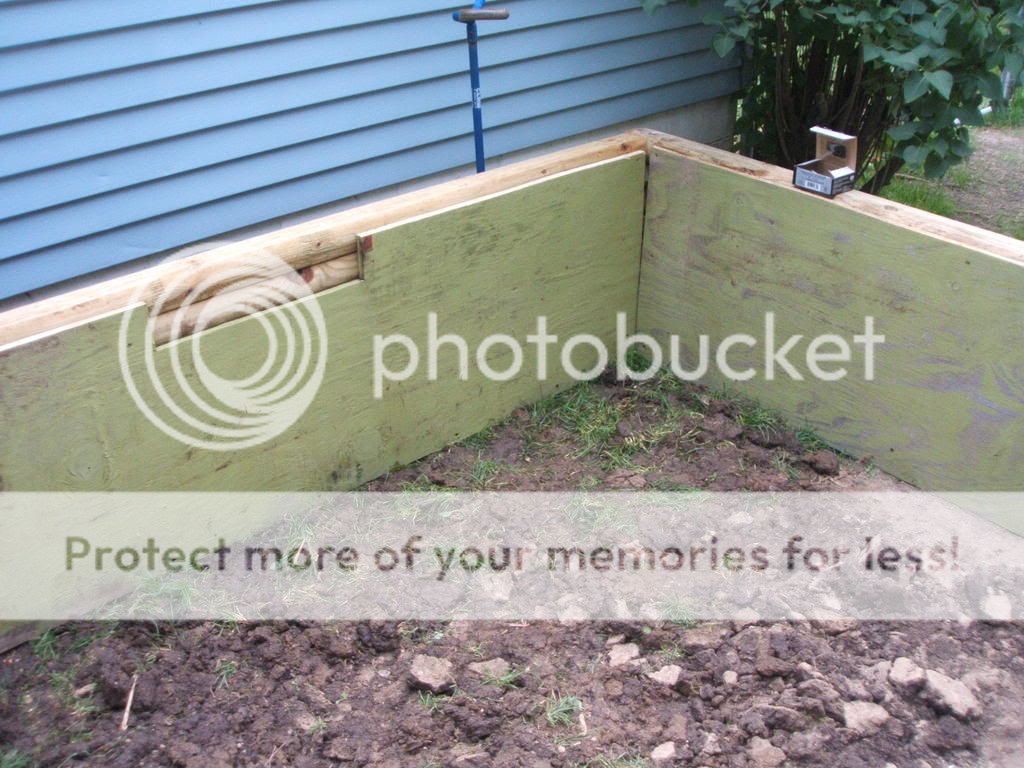
Here is more pictures of how it sits now. The larger section hasn't been REBARED yet. I ran out of money for the weekend. So i'll have to get more done this weekend.
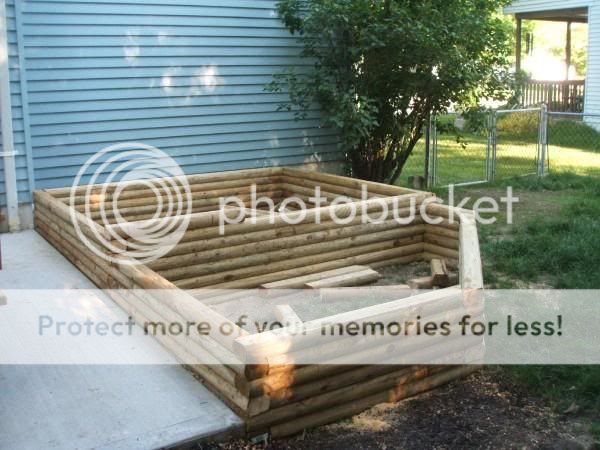
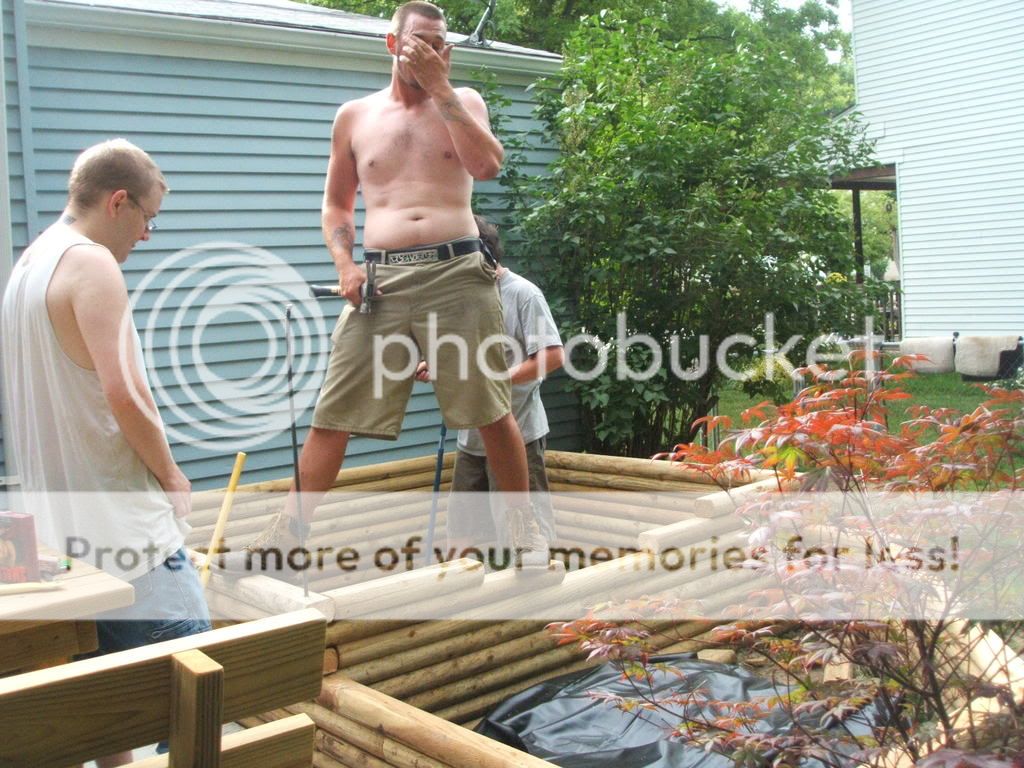
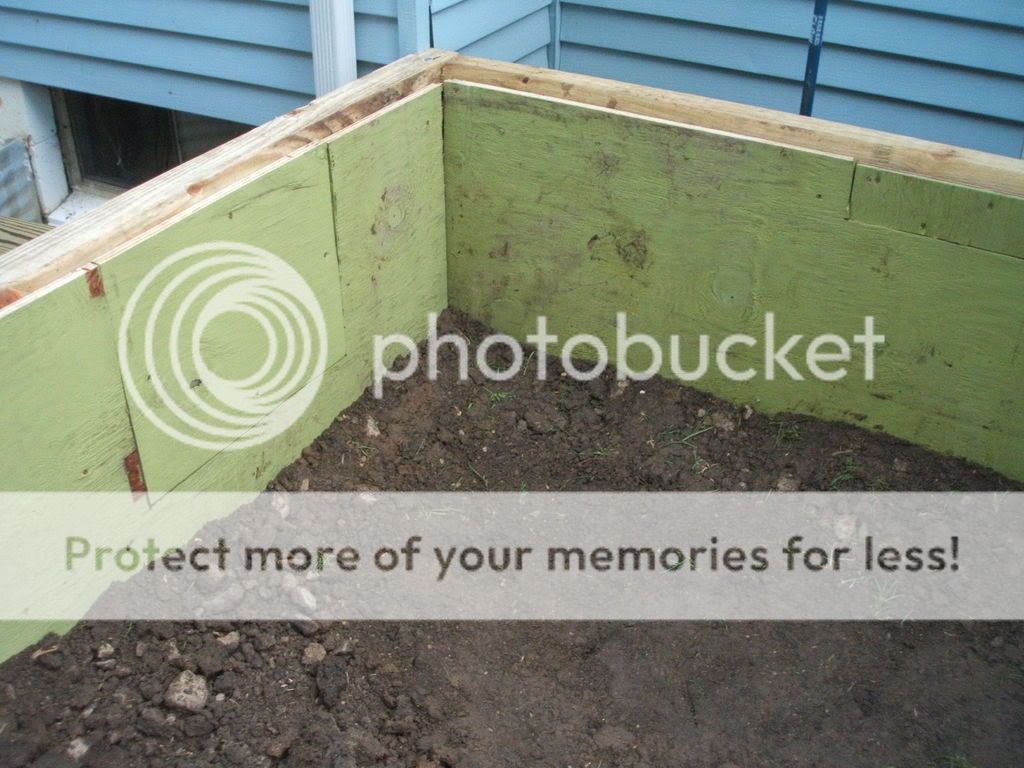
The following Saturday we finished the structure.
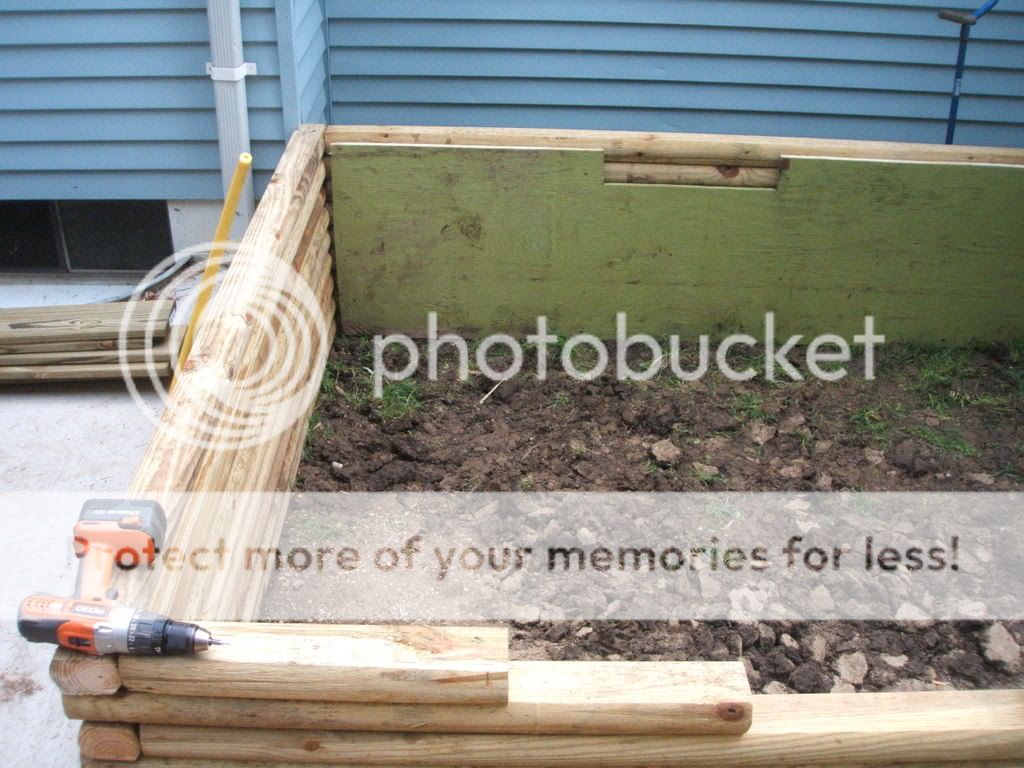
Then we worked on hammering the rest of the REBAR into the corners.
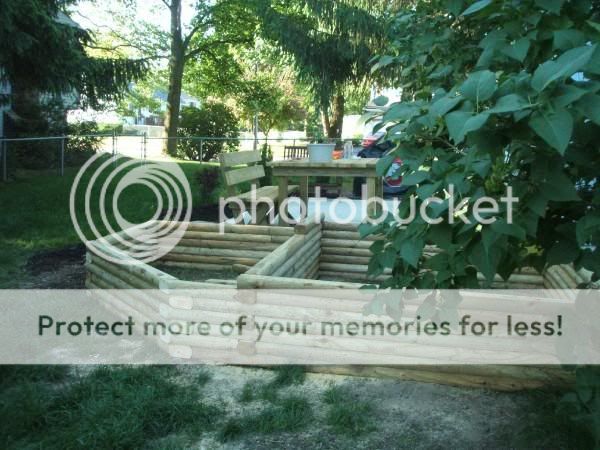
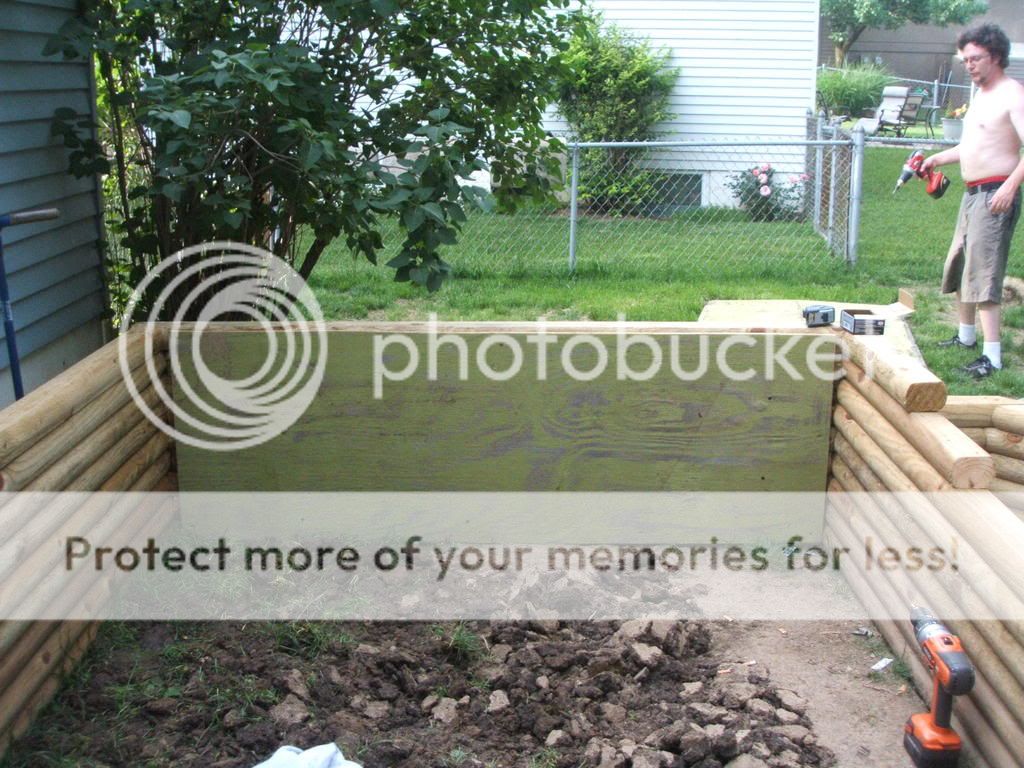
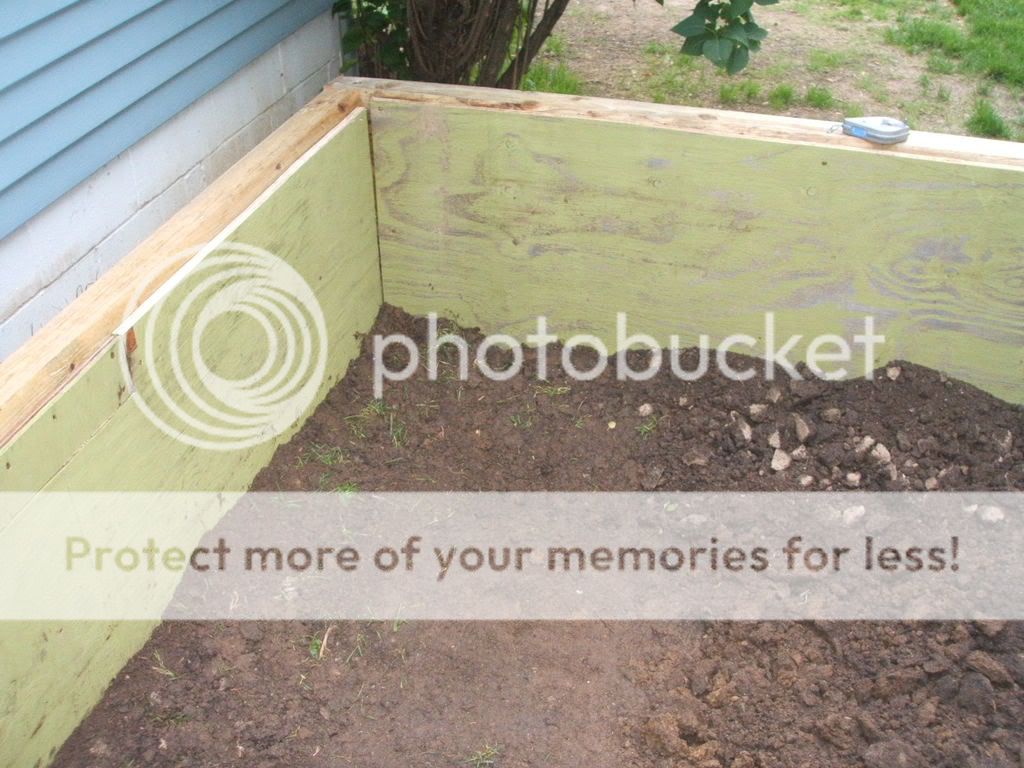
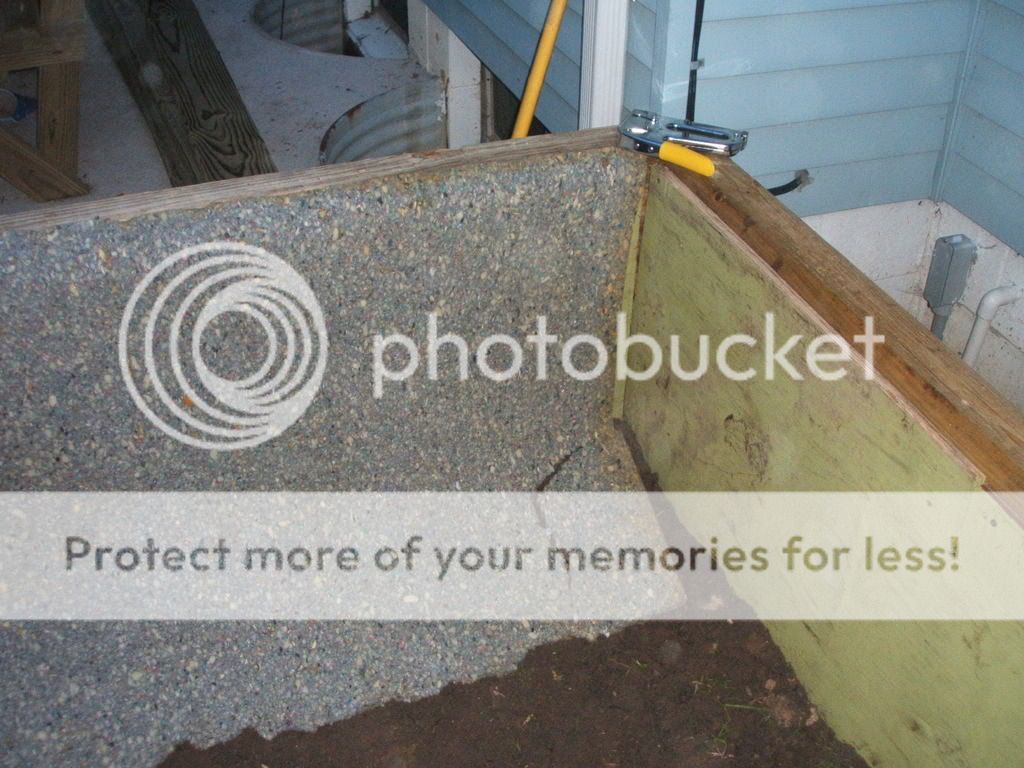
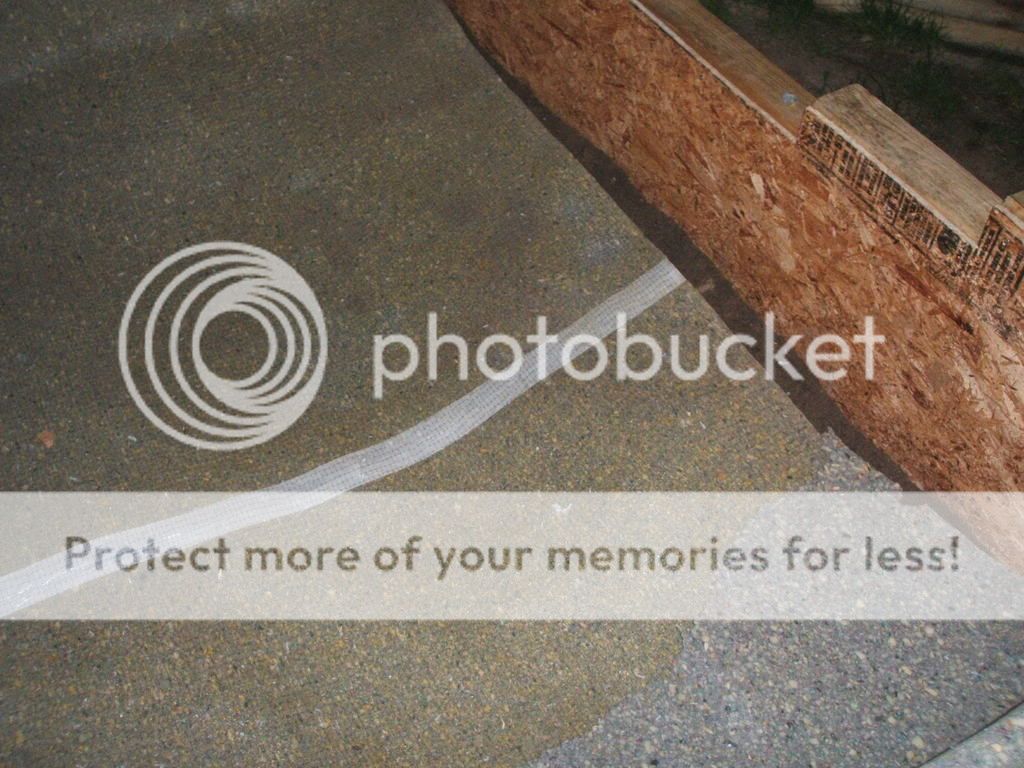
After this was done we worked on adding plywood as a sort of liner, tieing in everything. We started to use old recycled plywood from a old kids play house. It was extremely hot out this day.
Then after this was done we worked on starting the padding for anti-puncture to the liner. This was from a friends house. He was removing all carpet and putting in bamboo flooring.


Well this concludes that day at work on the pond. The next day we will finish the padding and work out the liner.

The original plan was for a 8' x 4' pond with another pond in front of 4' x 4'. After laying out the timbers and getting a idea on size, we decided to double the size. It was just to small.
Ok first we laid out the base of the structure. After finding out the ground isn't exactly level. We then had to dig out a trench of sorts for the base to sit in. After this was done we started the structure.
After one day of alot of pondering and thinking. Not to mention extremely hung over from the night before's party. This is how it looked come Saturday evening.
We went out drinking again Saturday night, and got started around mid-day on Sunday. Once the lower end was as high as we wanted it. We drilled holes in each corner for 3/8" REBAR could be hammered through each corner.
As the day went on we adjusted how high the back tank would be a few times. Incordination with the waterfall that is planed for between the "tanks".
Here is more pictures of how it sits now. The larger section hasn't been REBARED yet. I ran out of money for the weekend. So i'll have to get more done this weekend.
The following Saturday we finished the structure.
Then we worked on hammering the rest of the REBAR into the corners.
After this was done we worked on adding plywood as a sort of liner, tieing in everything. We started to use old recycled plywood from a old kids play house. It was extremely hot out this day.
Then after this was done we worked on starting the padding for anti-puncture to the liner. This was from a friends house. He was removing all carpet and putting in bamboo flooring.
Well this concludes that day at work on the pond. The next day we will finish the padding and work out the liner.


