Hey all,
Well I acquired a beautiful 45 gallon acrylic which has the same dimensions as a 40 gallon breeder. I figured with the petco dollar sale going on, a lot of people may try this out.. It is pretty easy if you have the tools and materials..
For any of the people that have never done anything like this, this is my very first time building pretty much anything, so YOU CAN DO IT!! Okay lets get started..
Materials:
-(5) 2 by 4 (8 feet long)
-(2) pieces of plywood(may varry depending on how big of a piece you get.
-(4) large L straps also through in a couple smaller ones just to hold things in place..
-(10) larger angle brackets
-(18) small angle brackets-this may vary on your build as well but I felt safer with a lot of them..
-Lots of screws( I worked in a theater where they recycled these so I didn't have to buy these)
- Wood glue
- Wood Puddy but not necessary
Tools:
- Different electric saws(table saw, Slide saw)
- Hand gun for screwing
- C clamps
Process:
Okay, first thing I did was cut the 2 by 4's. Cut 2 at 36" for the length, and two at 15" because it it goes in between the other two which are 1 1/2" thick each which adds up to 3"Connect the sides with 3" screws.. Just one right through the middle. You will also end up putting angle brackets in all the corners but you may need two people to tweak them to be as perfect as possible..
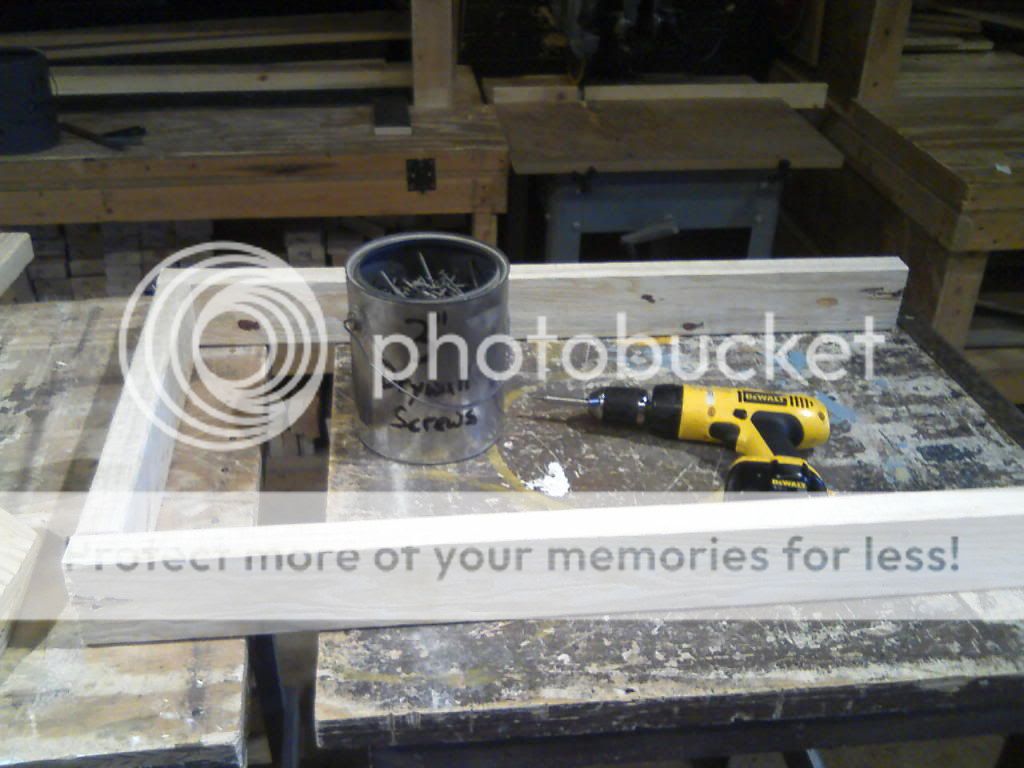
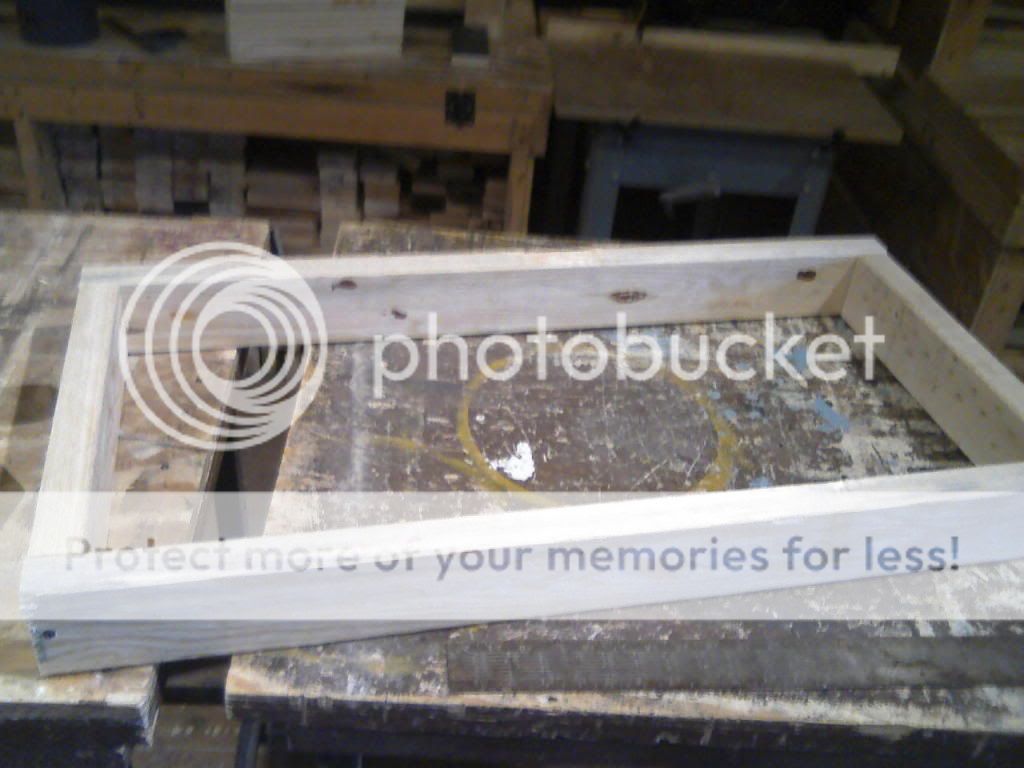
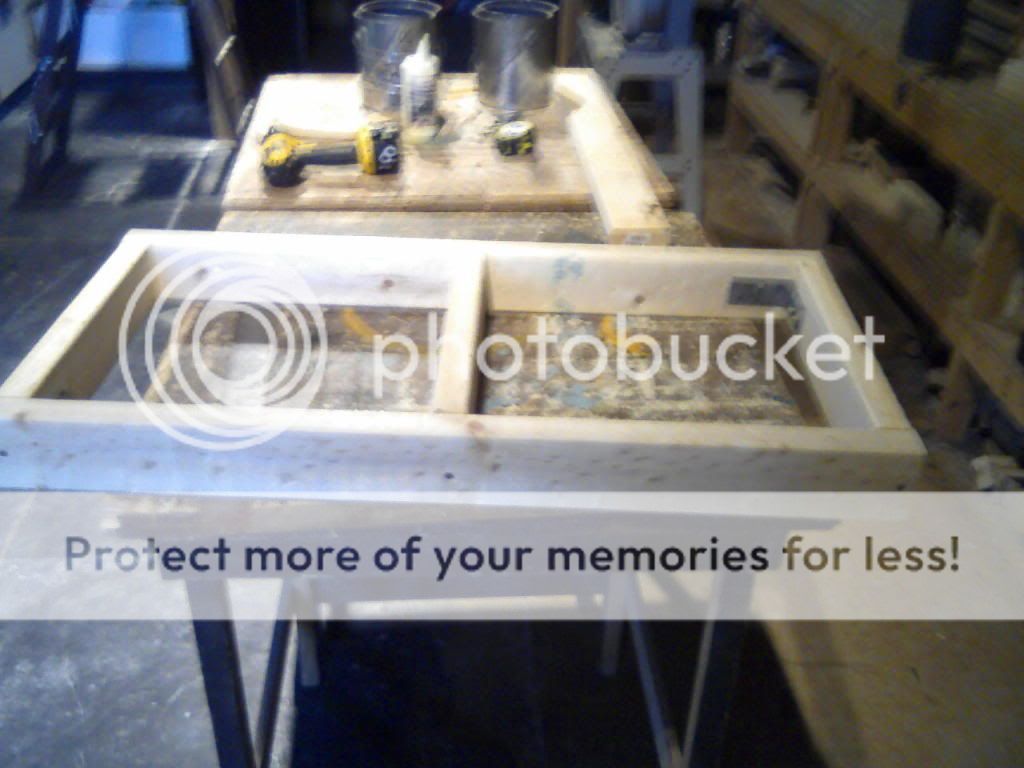
You will need two of these above..
Next, you will cut out a perfect 36" by 18" plywood piece to go on one of the frame pieces built above.. This will be the bottom so pick the not so pretty one.. This will be the part that will be holding you filter.. Don't think I used glue on this part, but looking back you probably could.. I just screwed 1 1/4(I think) screws all around the edges of this whole build..
Next step is putting up the stilts. Put two on the back that go along the plywood and two in the front sides which face forward.
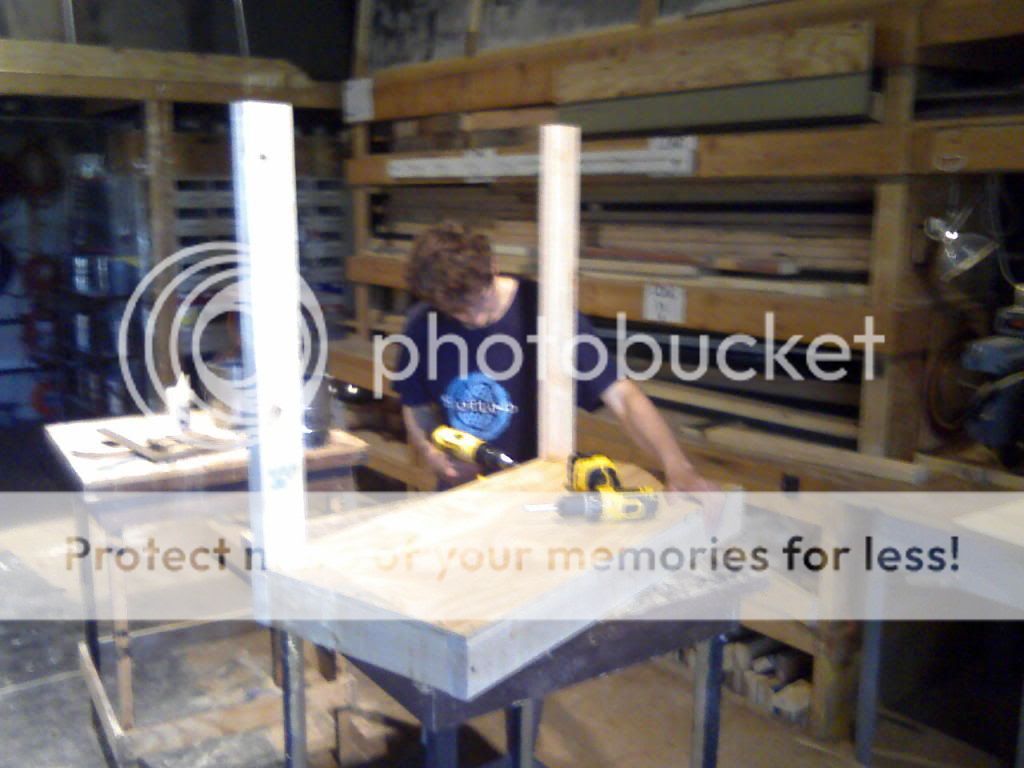
I used some L brackets for stilts to hold in place and one T bracket in the back middle one..
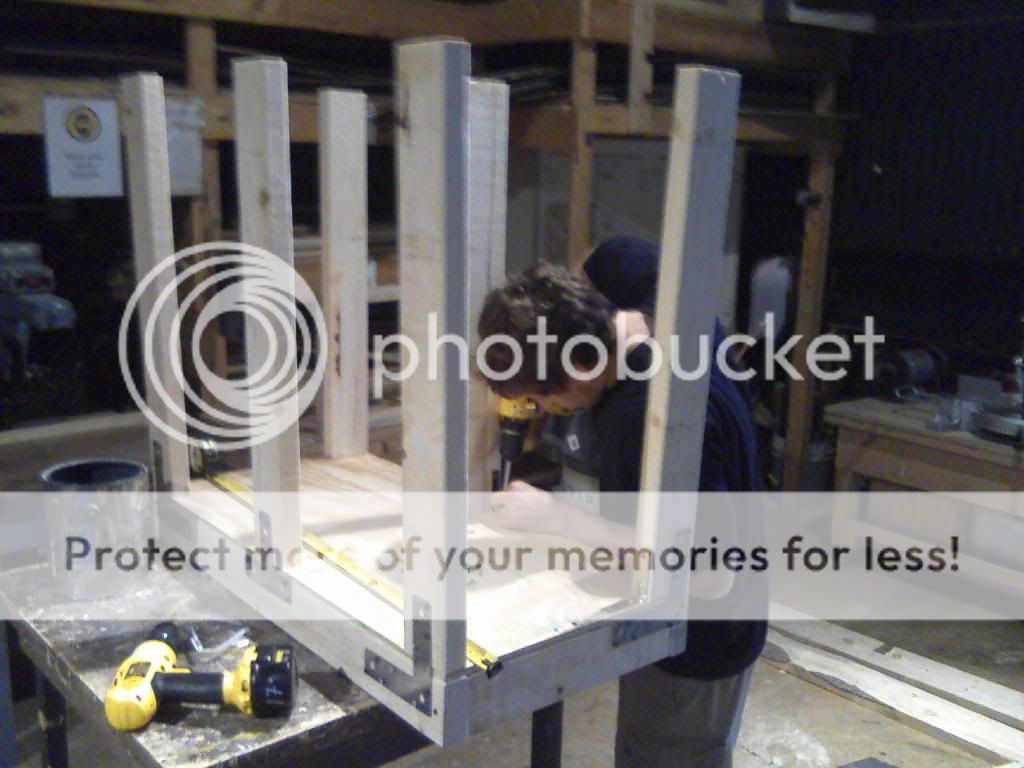
After that was done, we put angle brackets on all the stilt sides as supports.. My friend just got back from scotland really late the night before and he decided to help! Great friend!
And even my friend who just got back from Burma just hours before decided to help as well!
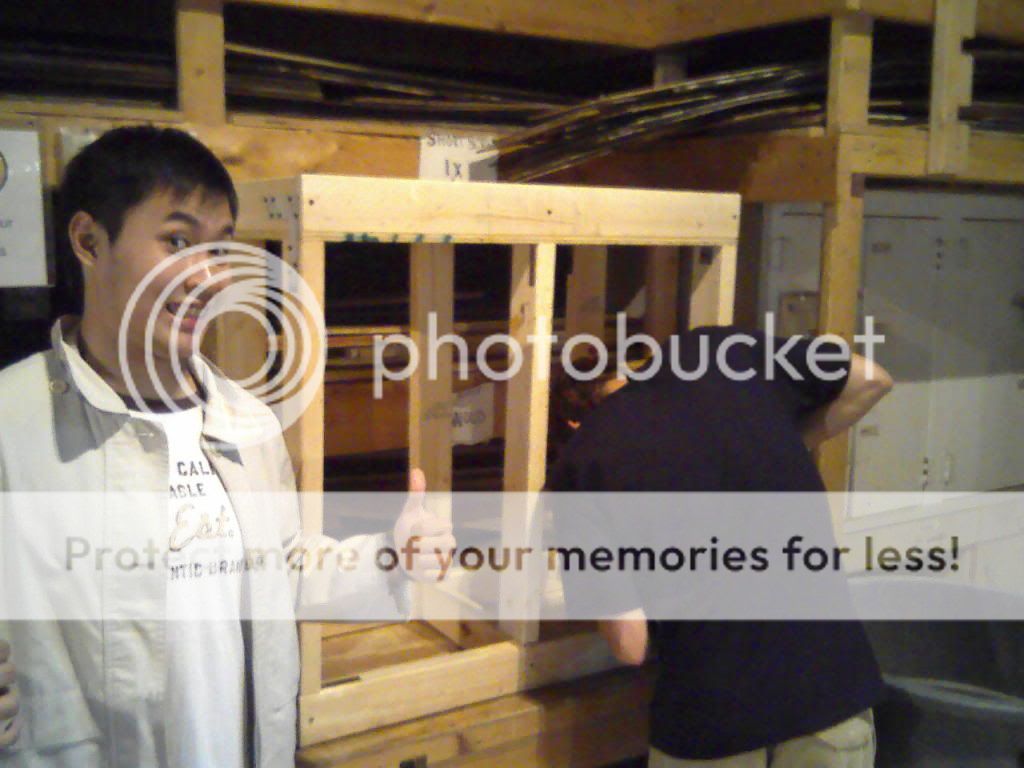
Well Kinda....
The next part was when we had to run to the store and grab the second piece of plywood because the 1 wasn't enough.. Cuz the pieces of wood at 36 1/2" by 18".. The reason for the 36 1/2" is because when you add the base plywood, it adds height, unless you cut the wood perfectly around each stilt which I didn't want to do..
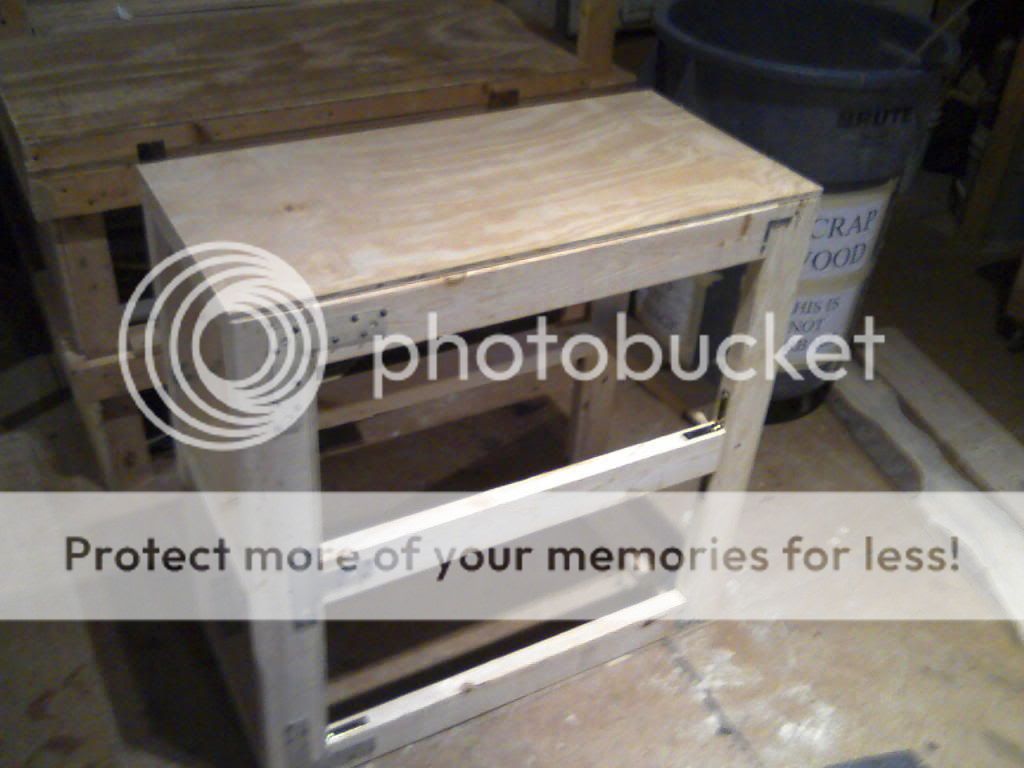
Putting on these sides was where I started to use glue, yet still put in plenty of screws.. The C clamps come handy here so it can compress the glue under the wood and keep things straight.. Worked out pretty good.
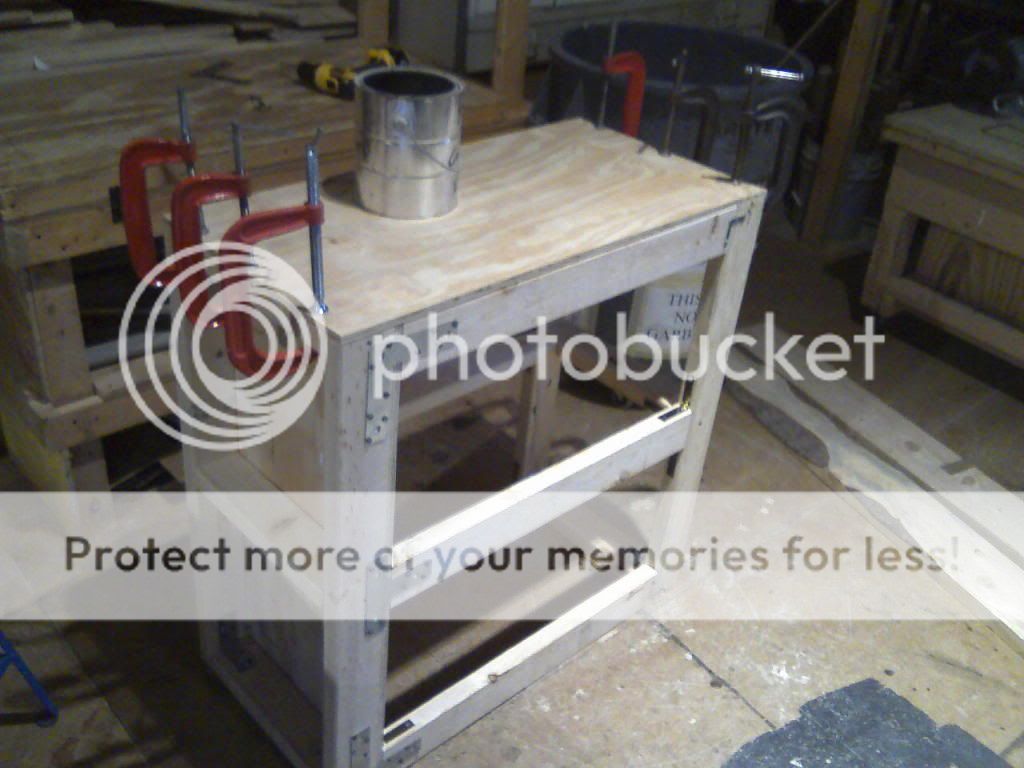
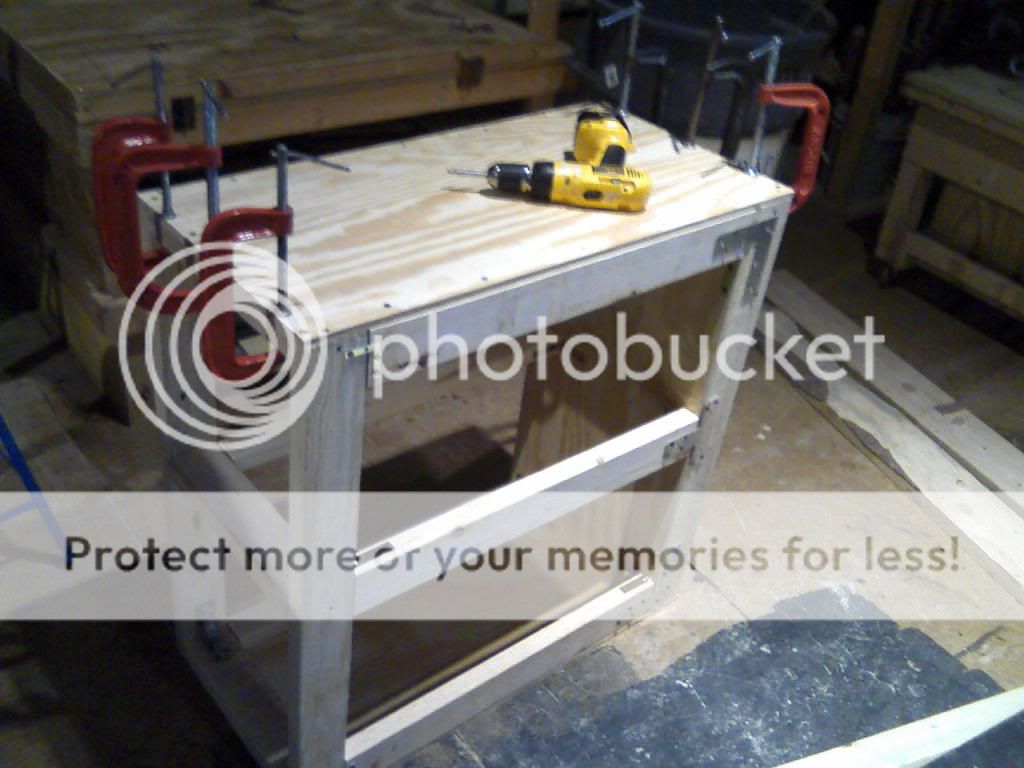
The next part I was stumped at because like I said I am completely new to this, but then I figured it out.. I cut 5 pieces of plywood for the edging around the front. The top and bottom measures 37" by 4".. The two sides measured 28" by 2" and the middle was about 28" by 1 1/2.. Start by gluing, clamping and screwing in the bottom.. Then do the sides and middle.. Next secure the top which mine came out pretty good..
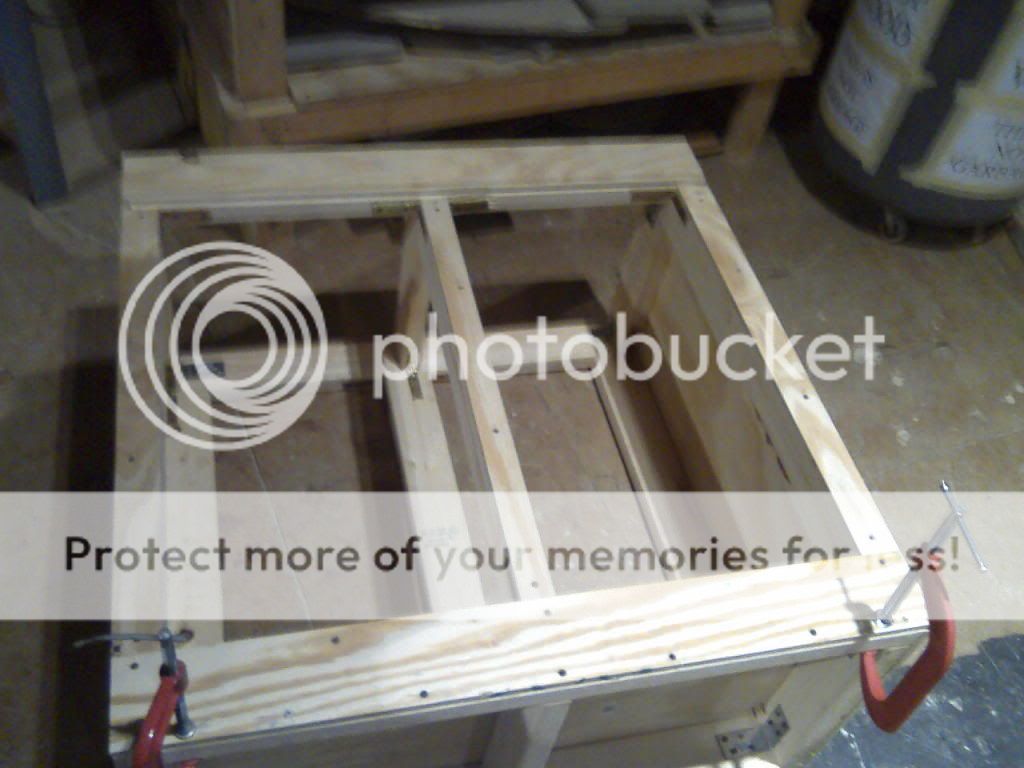
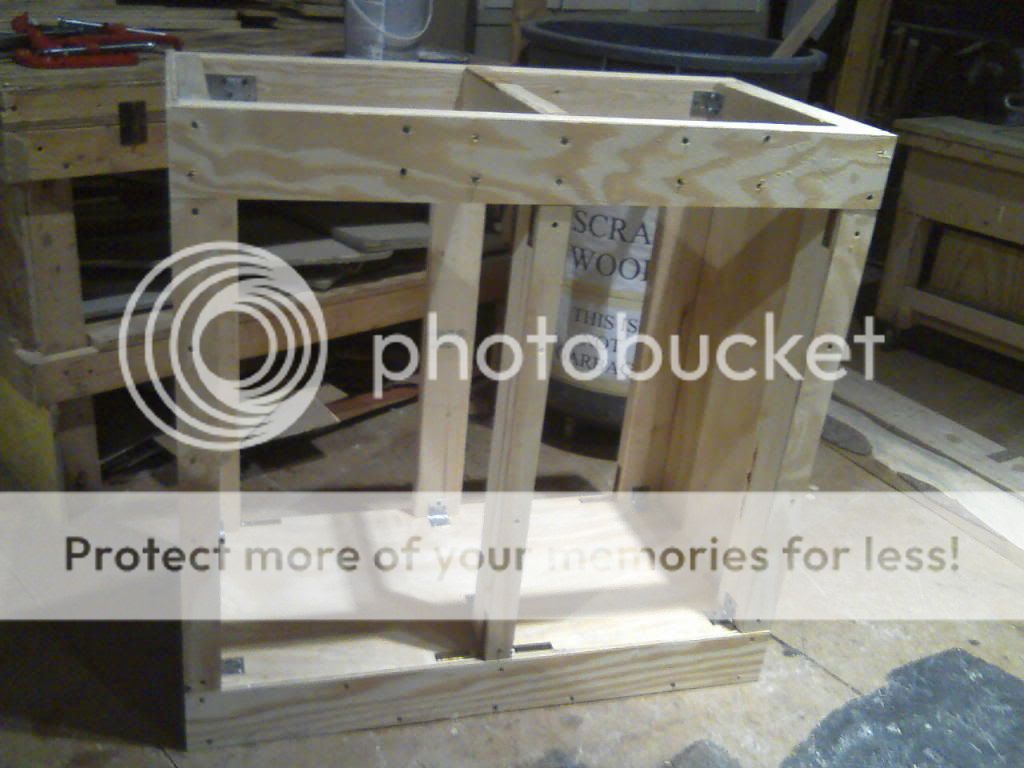
After all the trimming..
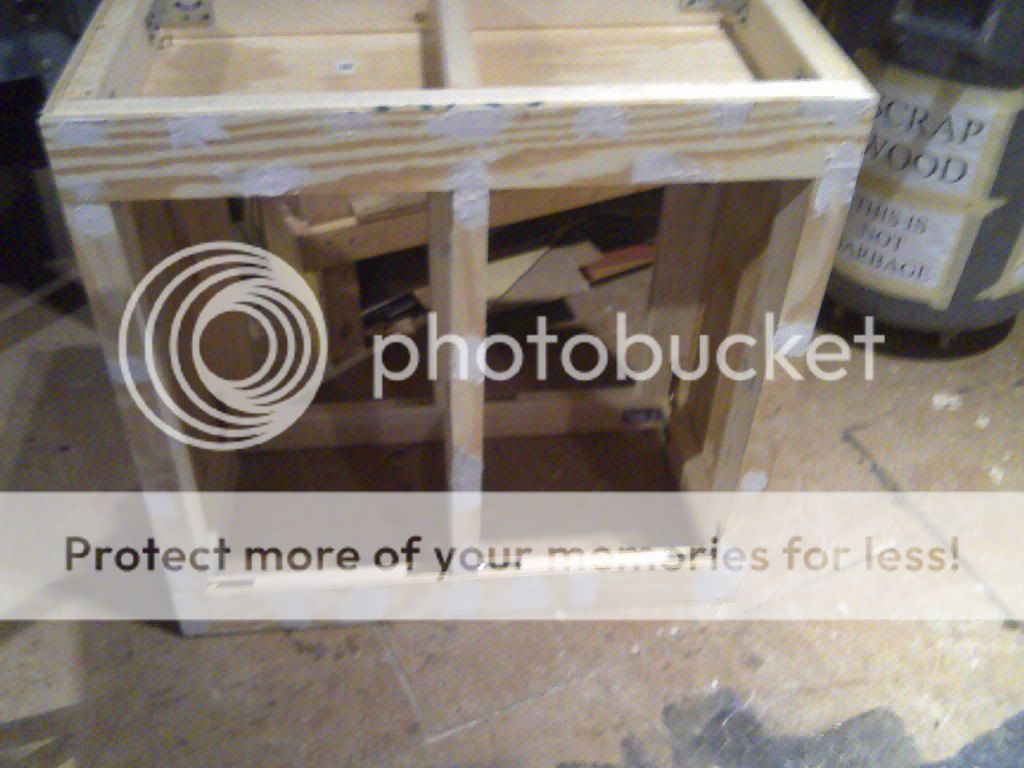
The next part is puddy.. I was new to this and I used old materials but still came out pretty good.. Just slap some on and make it smooth.. Leave it to dry and then sand it later.. This is where my troubles came in.. I was rushing at this point so I don't think it was all dry when I came back but I put a few fans around it to help.. This ending process was done way to fast I think but still came out pretty! The guy staying after to let me use the stuff was talking about how he had to go meet his girl and then my sister just moved to the college right next to mine and was wanting to go to target with her little freshie friends... Puddy example...
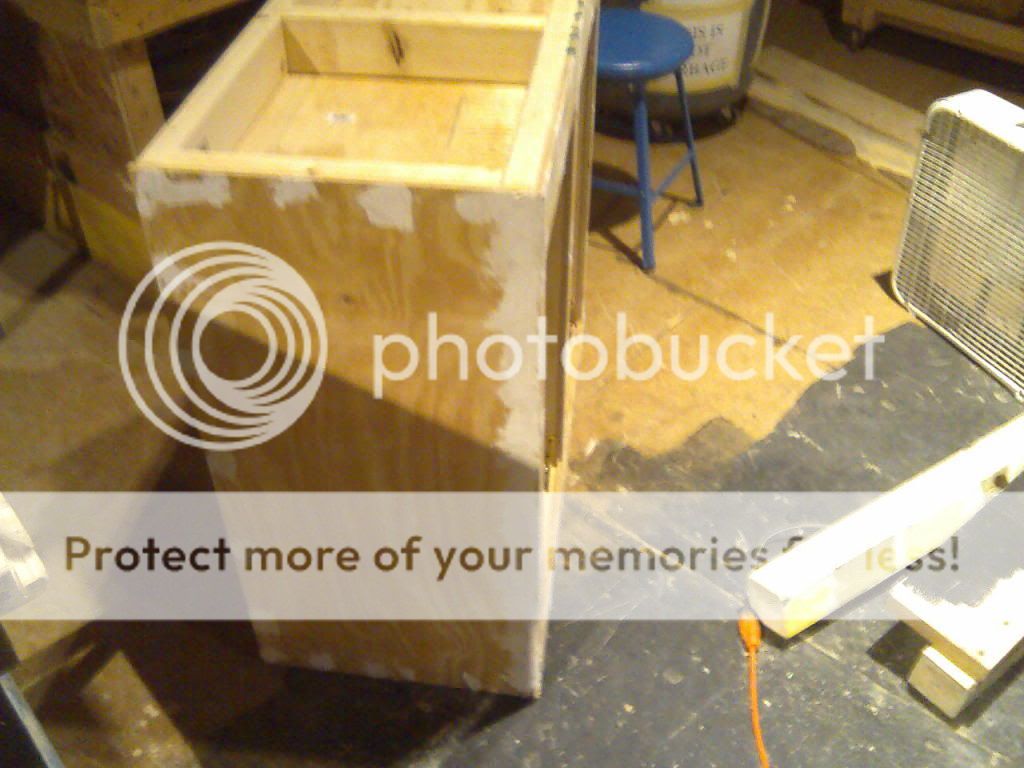
Now if you wanted to stain it, I think there is a different process? But I wanted it black on black! So I went to home depot for he 5th time to pick up latex primer and black gloss paint.. They recommended they mix it right there for me.. SO I let her.. In the mean time, she asked what it was for and I told her a fish tank stand.. She got all excited and says that she keeps fish too! So I ended up making a fishy friend too! Cute one at that!
I forget the name of the paint because I am at work right now but I think it was something with a B? Buer? Totally butchered it.. Anyway, this is where the tank stands..
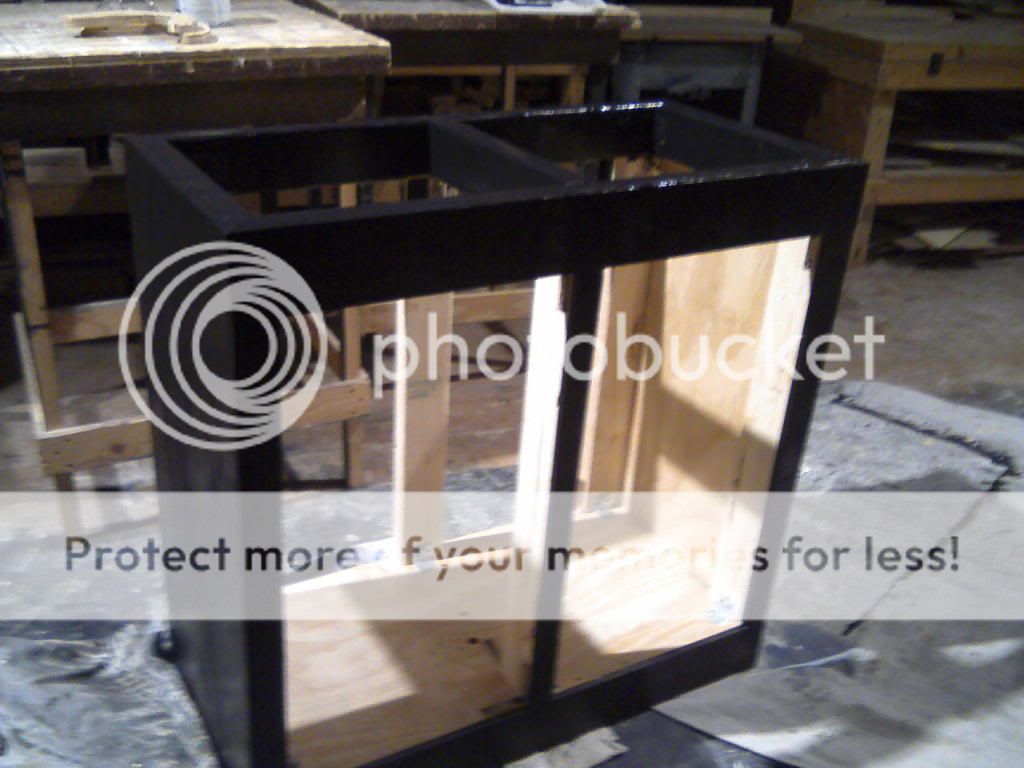
I realized I gotta do the bottom plywood because I am having a sump in there so I want it to be all primed up! I am doing one more coat today and then I will have some finishing pics.. Still need to do cabinet doors.. By the way, I did the top and bottom two pieces the first day, and the second day I got this far! So it takes maybe 6 hours but you can finish it! Hope this helps everyone! Pretty easy!
Let me know what you think!
~ Phil
Well I acquired a beautiful 45 gallon acrylic which has the same dimensions as a 40 gallon breeder. I figured with the petco dollar sale going on, a lot of people may try this out.. It is pretty easy if you have the tools and materials..
For any of the people that have never done anything like this, this is my very first time building pretty much anything, so YOU CAN DO IT!! Okay lets get started..

Materials:
-(5) 2 by 4 (8 feet long)
-(2) pieces of plywood(may varry depending on how big of a piece you get.
-(4) large L straps also through in a couple smaller ones just to hold things in place..
-(10) larger angle brackets
-(18) small angle brackets-this may vary on your build as well but I felt safer with a lot of them..
-Lots of screws( I worked in a theater where they recycled these so I didn't have to buy these)
- Wood glue
- Wood Puddy but not necessary
Tools:
- Different electric saws(table saw, Slide saw)
- Hand gun for screwing
- C clamps
Process:
Okay, first thing I did was cut the 2 by 4's. Cut 2 at 36" for the length, and two at 15" because it it goes in between the other two which are 1 1/2" thick each which adds up to 3"Connect the sides with 3" screws.. Just one right through the middle. You will also end up putting angle brackets in all the corners but you may need two people to tweak them to be as perfect as possible..


You will need two of these above..
Next, you will cut out a perfect 36" by 18" plywood piece to go on one of the frame pieces built above.. This will be the bottom so pick the not so pretty one.. This will be the part that will be holding you filter.. Don't think I used glue on this part, but looking back you probably could.. I just screwed 1 1/4(I think) screws all around the edges of this whole build..
Next step is putting up the stilts. Put two on the back that go along the plywood and two in the front sides which face forward.

I used some L brackets for stilts to hold in place and one T bracket in the back middle one..

After that was done, we put angle brackets on all the stilt sides as supports.. My friend just got back from scotland really late the night before and he decided to help! Great friend!
And even my friend who just got back from Burma just hours before decided to help as well!

Well Kinda....
The next part was when we had to run to the store and grab the second piece of plywood because the 1 wasn't enough.. Cuz the pieces of wood at 36 1/2" by 18".. The reason for the 36 1/2" is because when you add the base plywood, it adds height, unless you cut the wood perfectly around each stilt which I didn't want to do..

Putting on these sides was where I started to use glue, yet still put in plenty of screws.. The C clamps come handy here so it can compress the glue under the wood and keep things straight.. Worked out pretty good.


The next part I was stumped at because like I said I am completely new to this, but then I figured it out.. I cut 5 pieces of plywood for the edging around the front. The top and bottom measures 37" by 4".. The two sides measured 28" by 2" and the middle was about 28" by 1 1/2.. Start by gluing, clamping and screwing in the bottom.. Then do the sides and middle.. Next secure the top which mine came out pretty good..

After all the trimming..


The next part is puddy.. I was new to this and I used old materials but still came out pretty good.. Just slap some on and make it smooth.. Leave it to dry and then sand it later.. This is where my troubles came in.. I was rushing at this point so I don't think it was all dry when I came back but I put a few fans around it to help.. This ending process was done way to fast I think but still came out pretty! The guy staying after to let me use the stuff was talking about how he had to go meet his girl and then my sister just moved to the college right next to mine and was wanting to go to target with her little freshie friends... Puddy example...


Now if you wanted to stain it, I think there is a different process? But I wanted it black on black! So I went to home depot for he 5th time to pick up latex primer and black gloss paint.. They recommended they mix it right there for me.. SO I let her.. In the mean time, she asked what it was for and I told her a fish tank stand.. She got all excited and says that she keeps fish too! So I ended up making a fishy friend too! Cute one at that!
I forget the name of the paint because I am at work right now but I think it was something with a B? Buer? Totally butchered it.. Anyway, this is where the tank stands..

I realized I gotta do the bottom plywood because I am having a sump in there so I want it to be all primed up! I am doing one more coat today and then I will have some finishing pics.. Still need to do cabinet doors.. By the way, I did the top and bottom two pieces the first day, and the second day I got this far! So it takes maybe 6 hours but you can finish it! Hope this helps everyone! Pretty easy!
Let me know what you think!

~ Phil


