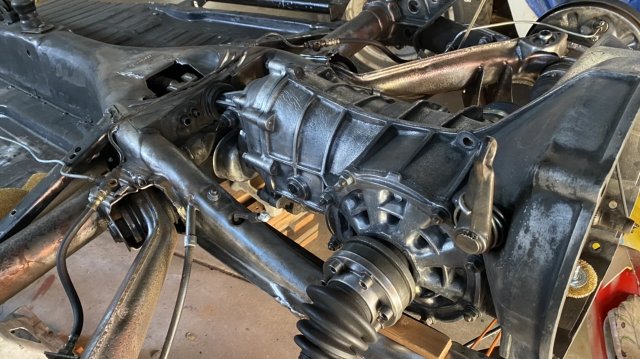
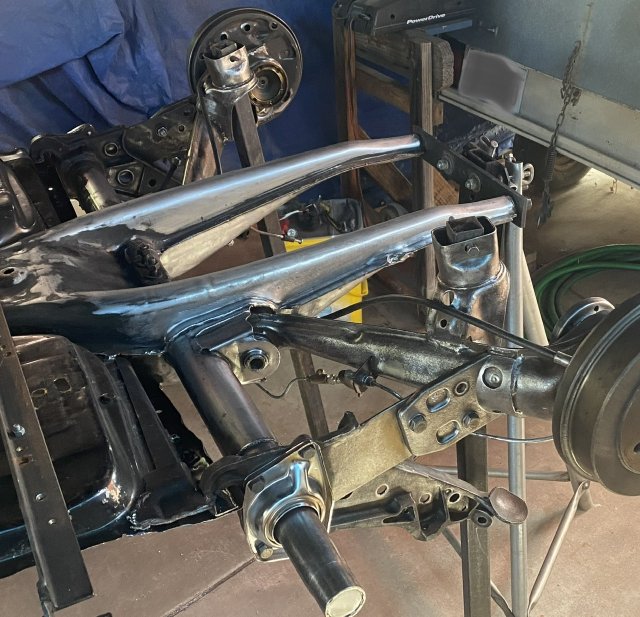
It’s been a whole year

Ulu

Potamotrygon
MFK Member
Dec 13, 2018
1,843
3,138
164
The Sunny San Joaquin
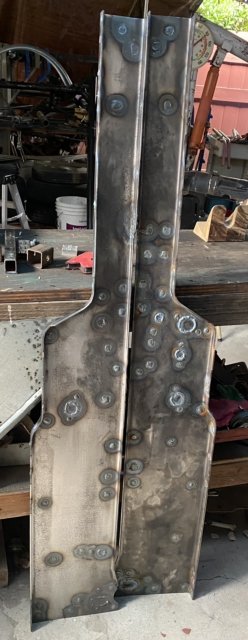
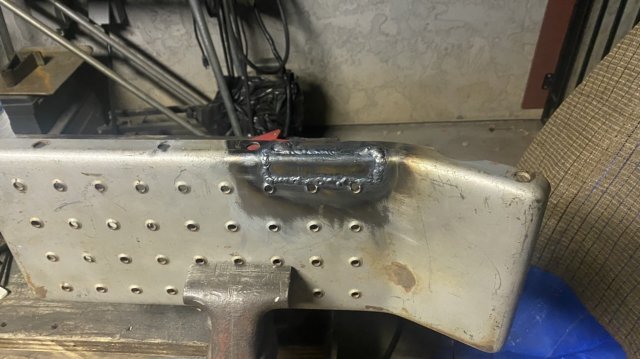
Those frame rails presented the perfect shape for what I’m doing, plus there are other advantages to using them along with other parts I already have.

I did not realize what poor condition they were in due to the rust and cracks. Fortunately I am able to repair everything well.
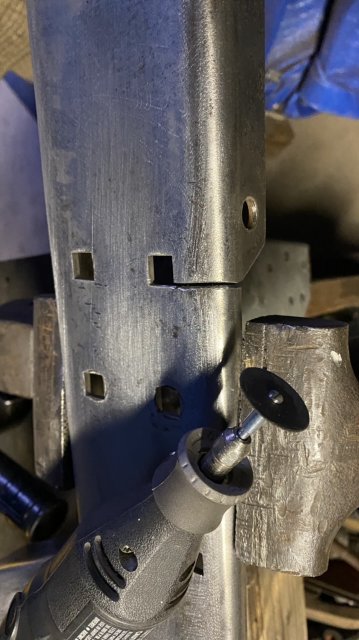
8F1A7FF5-C9A7-4336-A5A1-BA715D4C965C.jpeg

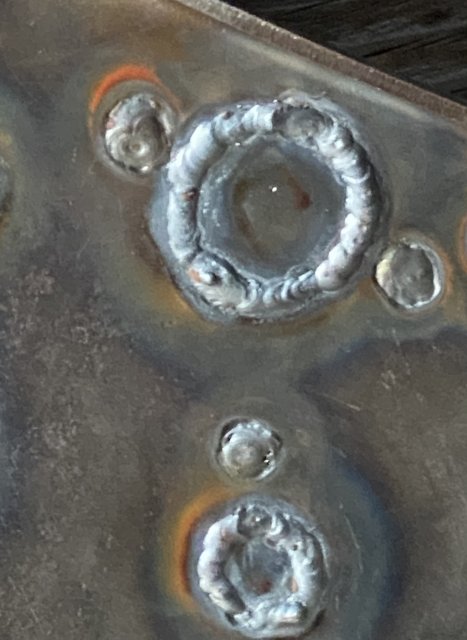
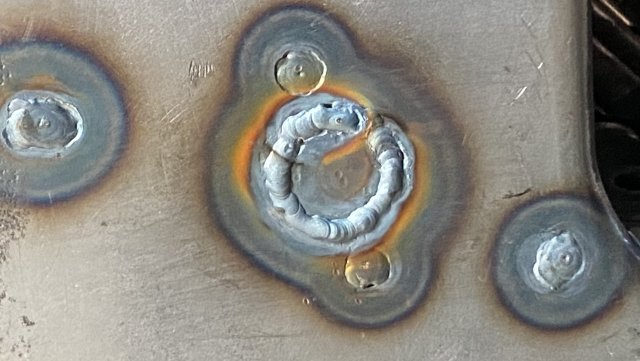
This one had a bigger crack than the other one but they were both successfully welded.
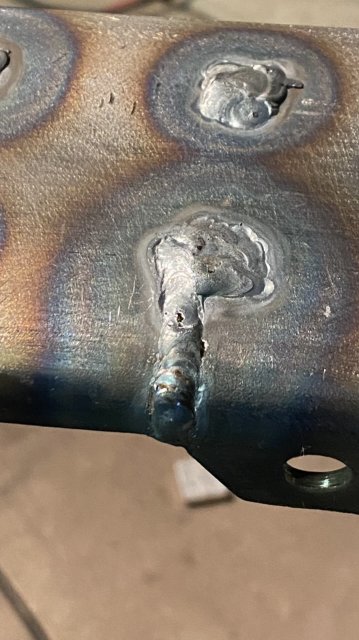
B5F5B1BD-09B1-4AF6-8F43-8CBB262D136C.jpeg
Soon I will be attaching these rails permanently, and that is the point of no return for them.

But who am I kidding? The real point of no return is when I took the electric nibbler to the Volkswagen floor pan and chopped it to fit the profile of the car.
 
  • Like
Reactions: Backfromthedead

Ulu

Potamotrygon
MFK Member
Dec 13, 2018
1,843
3,138
164
The Sunny San Joaquin
If you count the fact that I have to weld everything from both sides, it looks to be 236 welds to complete these rail repairs. I got up to number 190 and it got to be 100°F in our boat yard, So I pooped out for today.
78C2B9E3-9DAB-4704-915C-FDC3BCA71B91.jpeg
Anyhow they are getting closer.
 

Ulu

Potamotrygon
MFK Member
Dec 13, 2018
1,843
3,138
164
The Sunny San Joaquin
After it got dark last night I went back out and welded until 9 o’clock, and I got all of the little holes welded up from both sides.

It hasn’t changed (warped) much more, but now I have to patch in the large holes, and I don’t know how much warpage that will develop.

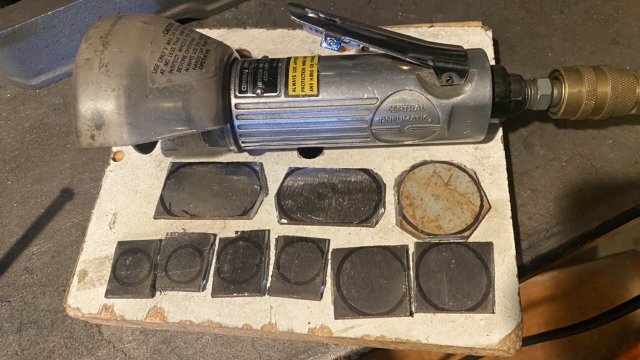
I am just going to scribe some bits of 1/8” mild steel, cut the patches out, and do some more full penetration welding.

So far I don’t have anything going on that I can’t correct easily.

Today looks to be a bit cooler but I need to fix the tail light on my trailer, so that means I need to go out and buy one.

Edit/Delete Message
 

Ulu

Potamotrygon
MFK Member
Dec 13, 2018
1,843
3,138
164
The Sunny San Joaquin
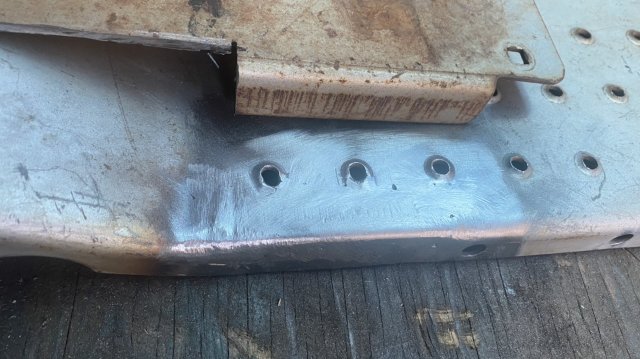
No new tail light yet, but I get all the welds done on these rails, except for some touch up.
D265D8C8-D6B1-4B44-9B03-2F605302389D.jpeg0F382E16-4033-498E-A76B-C18C66F444C9.jpeg71F3943E-F0A6-45FE-B7DC-C3300C09B747.jpeg509B8C9F-445E-413F-94E5-9F8CB543FCA3.jpegF4E3A73A-5006-4BAC-B9B9-DEEA803D3A4B.jpeg
 

Ulu

Potamotrygon
MFK Member
Dec 13, 2018
1,843
3,138
164
The Sunny San Joaquin
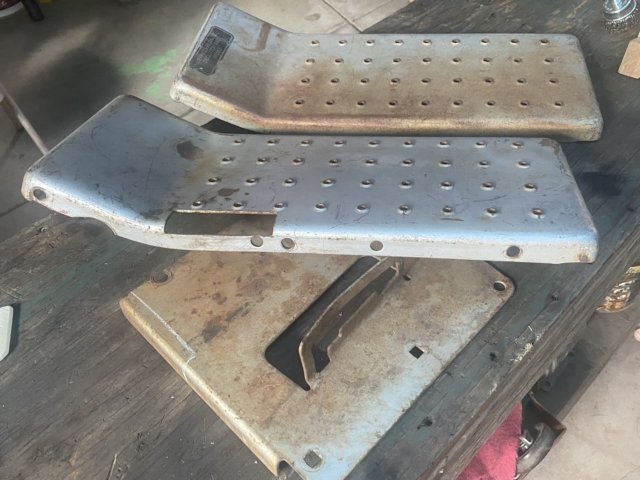
These were the floorboards from the same tractor previously mentioned. I’m going to use them to reinforce the frame but one of them needs a patch first.

It has a slot where the clutch lever came through the floorboard.

4E2642EA-BC00-4FDF-8951-8D48307F3514.jpeg

Here I have cut a patch from another piece of metal off that tractor and welded it in place.
D88DBAAA-0B07-4A9D-B429-40F5CDC64755.jpeg

And here it is after grinding everything down flush on both sides.
177EF327-FF0F-43F4-837F-27DC2B5837A0.jpeg
And there you can also see the piece that I took the patch from.
 

Ulu

Potamotrygon
MFK Member
Dec 13, 2018
1,843
3,138
164
The Sunny San Joaquin
Well a lot of progress has taken place since I last posted anything about the fake Jaguar.

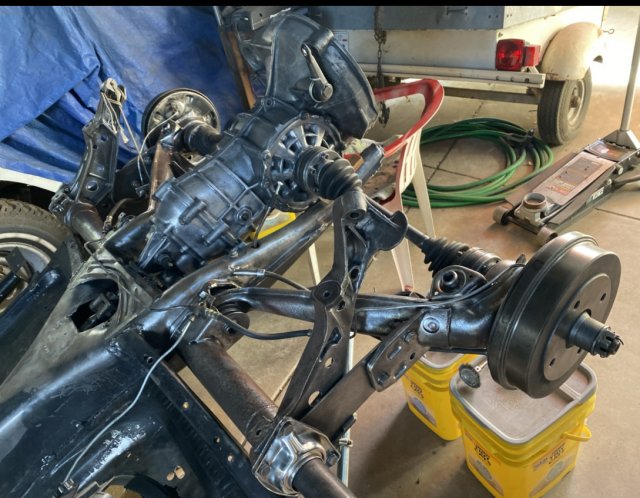
I’m just gonna throw up a few photographs here because I have spent an enormous amount of time cleaning old rust grease and paint off the chassis.

I have stripped off and painted the rear body frame rails and transmission mounts, along with the cross rail and U-bolts.

I have also cleaned up all of the CV joints and the rear brake drums, transaxle (partly) shock towers etc.
46812827-7519-4FE4-840E-98A74C344AF2.jpeg

8C3F46C3-D629-4415-8954-ACDC7E2856FF.jpeg
 

cvar

Plecostomus
MFK Member
Sep 16, 2010
90
97
51
usa
Nice work! I'm impressed at your skills, ingenuity, and tenacity. Well done! And meticulous photo-recording of the proceedings makes it fun to relive the fun experience. Thx for sharing. Former bug owners may recognize lots of this, and maybe still instinctively rub those sore healing kuckles. Love it.

While your engine block is off, you might wanna check that the block's 1/2" dia hole for the starter motor's shaft tip is indeed round, not oval, since a worn (oval) hole will cause the starter's axle & pinion to shift over and jam up (no start). That was an expen$ive di$covery on our '73 vw super. Also, the gear & pinion inside our steering box had to be built up with metal to remove excess steering wheel play, and you sir, do indeed know how to weld. Oh yeah!
 

Ulu

Potamotrygon
MFK Member
Dec 13, 2018
1,843
3,138
164
The Sunny San Joaquin
Thank you Cvar. That’s an issue I never saw with a Volkswagen. I am lucky that all the mechanicals on this car (with a few notable exceptions) were rebuilt before I got it.

It has a nearly new Bosch starter, and a new bronze bushing in the bell housing.

All the major problems on this car were electrical and structural. Once the electrical system was repaired and the fuel system was cleaned, it started easily and ran well.

BUT, When this engine was rebuilt years ago it was only driven a little bit, and then the car was put/left on display. for about 30 years. Nobody ever retorqued the headbolts or the case bolts or anything on the engine, and it is starting to seap around the gaskets after only 400 miles on the clock.

Anyhow, I purchased a whole gasket set and a small hardware kit for the engine, and I’m gonna strip the top end and reseal everything.
 
  • Like
Reactions: tlindsey

Ulu

Potamotrygon
MFK Member
Dec 13, 2018
1,843
3,138
164
The Sunny San Joaquin
One of the joyful things about working on a Volkswagen is it’s almost like working on a motorcycle. Many parts are small and made aluminum and easy to handle. I’ve worked on dump trucks and such big things in my life, and this is much fun by comparison.

Here’s a perfect example. I was able to pick this transaxle up by hand and set it on the rolling motorcycle jack.
AE72DF5B-A128-4120-8A1E-1AACBDDFDED9.jpeg
I finally built a roll-over trunion adapter for the rear of the frame, and a tall stand to hold it up.

As you can see this is a total work of African engineering, cobbled together from random junk and various non-matched bolts.
150834A3-3823-4EB6-878D-32ECE472B983.jpeg

I hoisted the front end up with a chain and rolled it all over so I can work on the bottom.

93718795-9523-4692-A423-CF39544123D6.jpeg
 

Ulu

Potamotrygon
MFK Member
Dec 13, 2018
1,843
3,138
164
The Sunny San Joaquin
The frame was getting cleaned on the bottom, and then Hurricane Hillary hit.
072E781C-0BA1-410E-BA02-8330D93C2EA3.jpeg
Two days later it still rather wet and nothing is getting done.
 
zoomed.com
hikariusa.com
aqaimports.com
Store