Stand or not for huge plywood tank
- Thread starter SeabeeShrek
- Start date
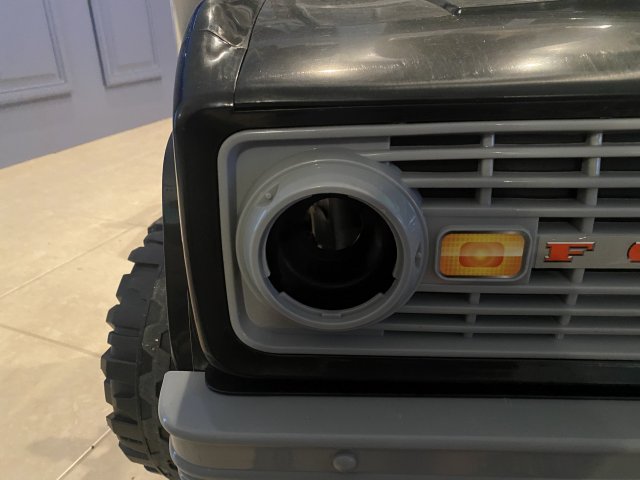
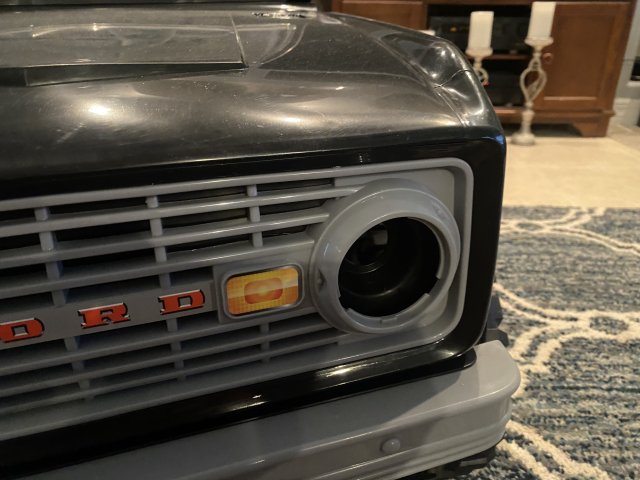
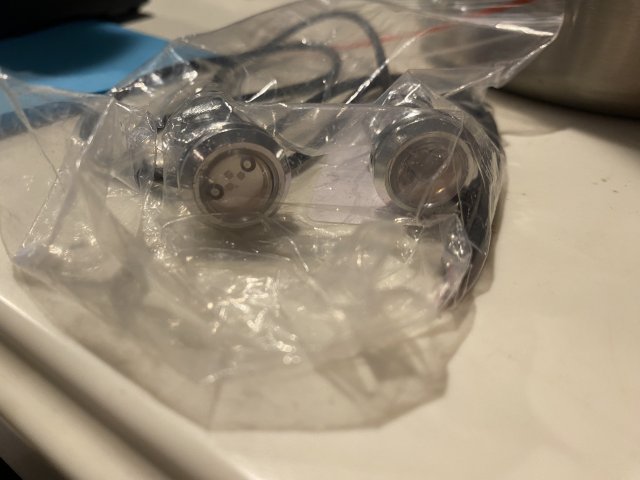
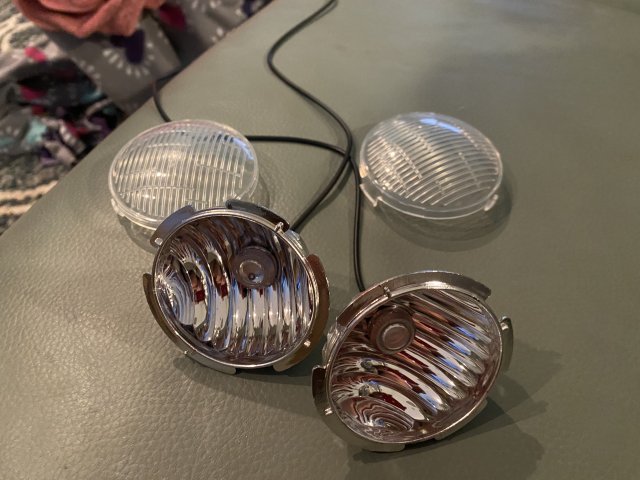
Probably gonna put two more on the dash.
Next will be the air stones. I wanted to put one behind the grill and make an exhaust pipe for the other. I may have to settle for behind the bumpers so the bubbles rise in streams instead of collecting in voids.
Next will be the air stones. I wanted to put one behind the grill and make an exhaust pipe for the other. I may have to settle for behind the bumpers so the bubbles rise in streams instead of collecting in voids.
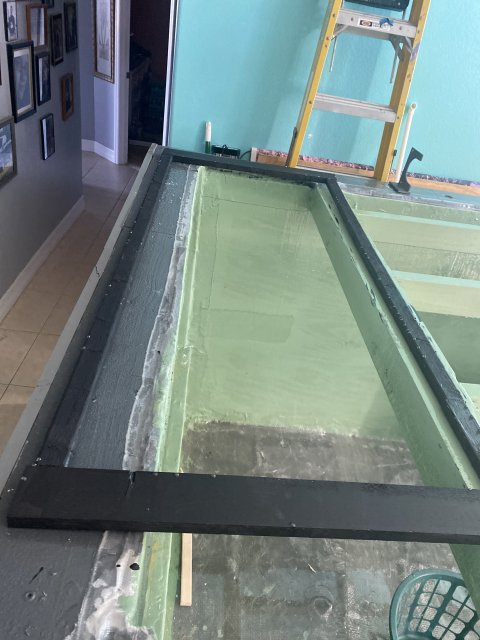
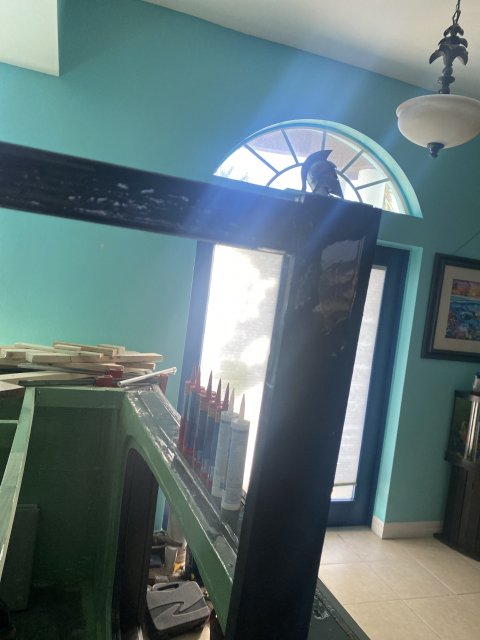
I made a secondary window frame out of 1x3’s and 1x2’s, painted them and epoxied them. It will cover the window seam after I silicone it. The frame #2 will be secured using screws and fiberglass tape around the outside edges. Then a silicone bead between the inner edge and glass.
I will be doing the same thing with the front glass as well.(using 1x4’s and 1x6’s)
I will be doing the same thing with the front glass as well.(using 1x4’s and 1x6’s)


As far as fish go, going with assorted koi, comets and a ripsaw catfish.
The koi are in a grow out tank right now. They started out 3” and have tripled in size. Hopefully they will be moving by next month.
The koi are in a grow out tank right now. They started out 3” and have tripled in size. Hopefully they will be moving by next month.
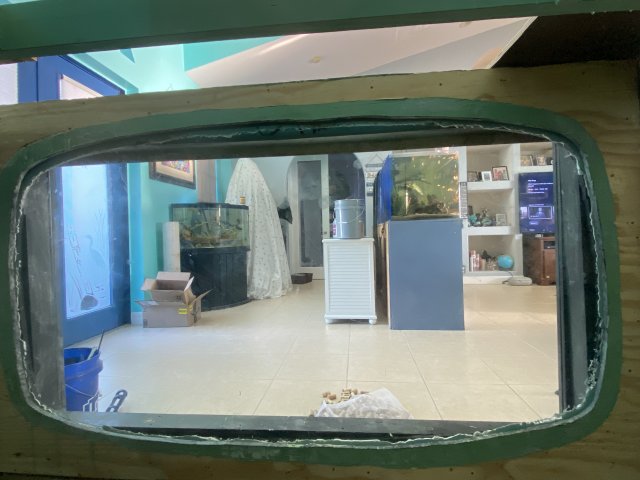
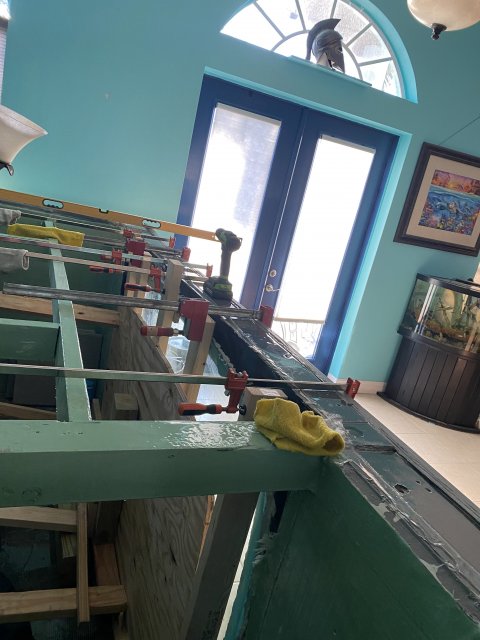
Finally got the front viewing panel in(72x42 oval table top). I had a minor setback, apparently epoxying the sides before the middle was a no go. The rear most panel developed a warp, so I had to remove it and start over.
I must say this though, the Loctite Ultimate adhesive works as advertised. When using it, you better have the panel where you want it before putting pressure on it. It sets in 10 minutes. My son and I had a hell of a time moving it 1/2 an inch
 .
.
On Friday the braces come off and I can get started with the second frame and a better seal.
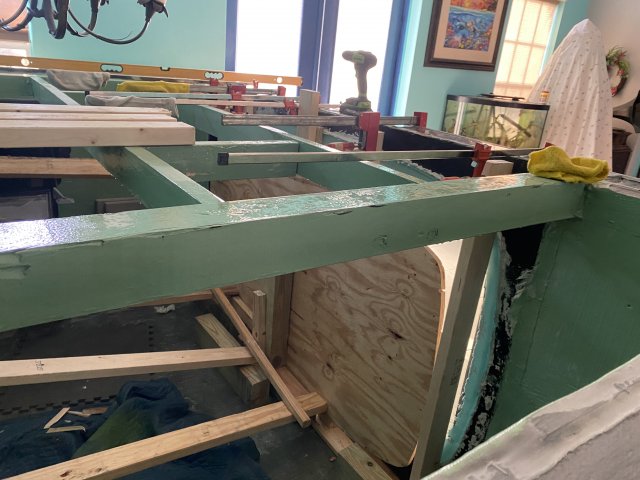
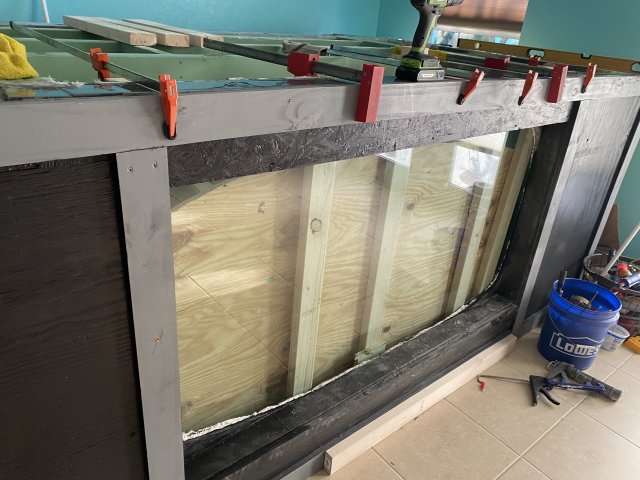
I must say this though, the Loctite Ultimate adhesive works as advertised. When using it, you better have the panel where you want it before putting pressure on it. It sets in 10 minutes. My son and I had a hell of a time moving it 1/2 an inch
On Friday the braces come off and I can get started with the second frame and a better seal.


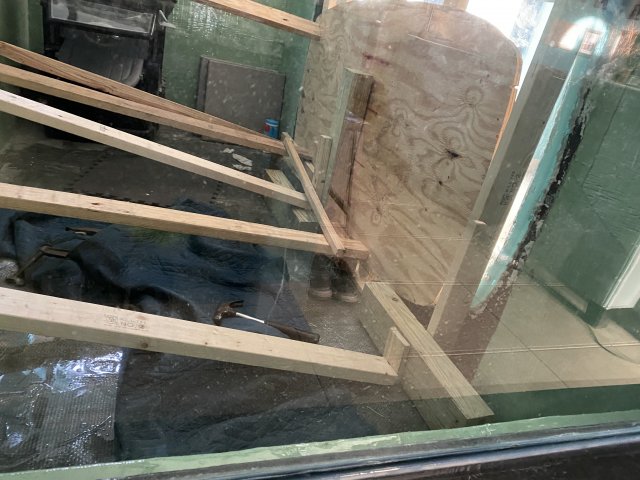
From inside the tank. I have to build up around the glass with 1x4’s and fiberglass/epoxy. Then silicone around it. I may install a second layer of plywood and another double seal of silicone.
I also have to fix the back wall where the braces dug through the epoxy.
Third picture is 1of 2 areas that need addressed.
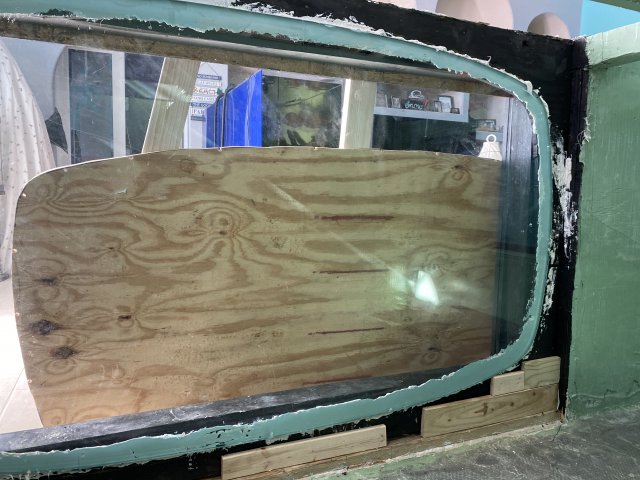
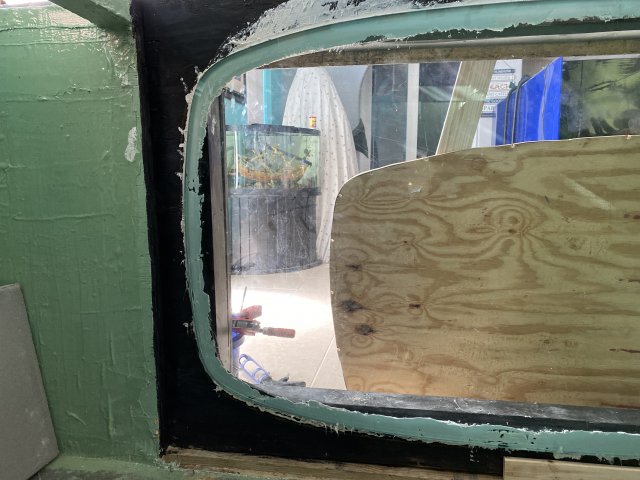
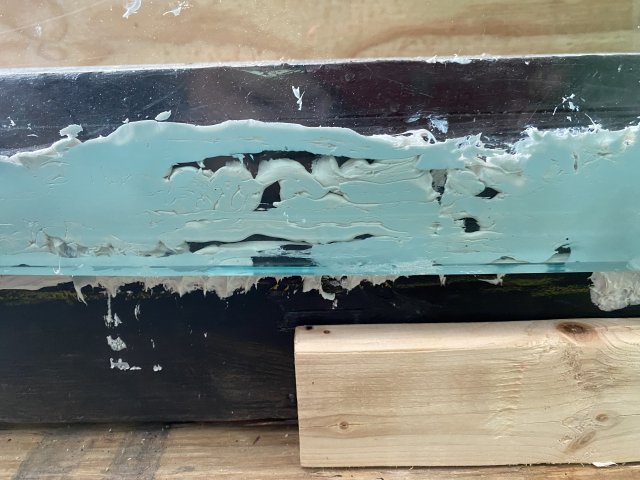
I also have to fix the back wall where the braces dug through the epoxy.
Third picture is 1of 2 areas that need addressed.


The voids are filled with silicone now. I drilled an access hole and shot the silicone into it.
Filling in around the table top. I will be siliconing the gaps around the table top edge as well as the gaps between the boards. Then I will encase all of that with a plywood section with a smaller hole cut in it, roughly 2” smaller. Then silicone that lip forming a second seal.
The boards and glass are flush.
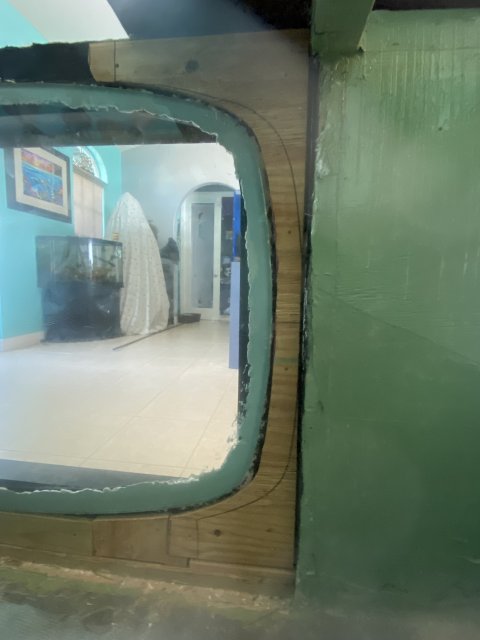
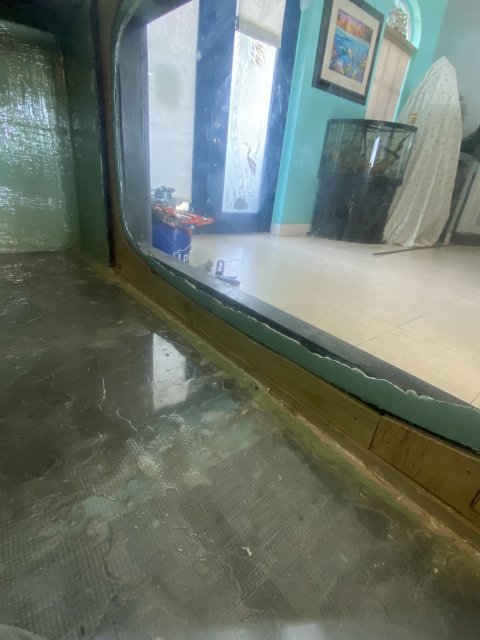
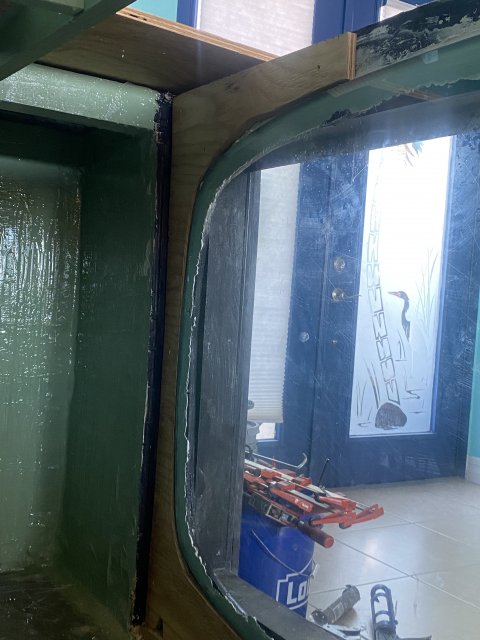
The boards and glass are flush.


I just sealed the glass with silicone and filled all of the wood seams with liquid nails. Next step is to install the second layer of plywood which will cover the glass by 2”. Providing another barrier.


