Sorry, no pics of the glass going in. I was too busy sweating if it would fit in the pocket, getting it seated before the silicone started to set, and the sheer fear of dropping it and cracking it. I regretted not signing the wife up for camera duty.No pics of the window going in? :O
Yet Another Plywood Tank
- Thread starter Johnster
- Start date
When I started researching the overflow I wanted something that skimmed as much surface water as possible and fairly idiot proof. The one that most people had tried and were happy with was the one done by Beananimal. A tunable, silent siphon with 2 redundant lines that was advertised to be hands-free once set.
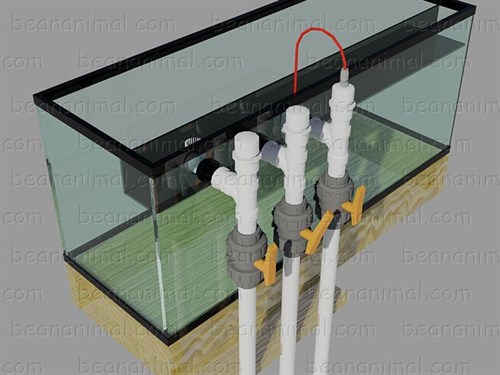
Beananimal's description and design are easily found everywhere.
The pipes, fittings, and valves are readily available at hardware stores or BulkReefSupply. The only difficult part was the overflow trough itself. I thought long and hard about what to use. Plastic rain gutter might work, but this was going to be 63 inches long and the gutter lip seemed like it wouldn't hold up to the water without buckling or the middle having much more flow than the ends.
I kept searching, but kept coming back to needing something custom built from acrylic sheet. I could do it myself (maybe), but this would be very visible in the tank and it would look like I did it myself. Fortunately I found an acrylic fabricator near Baltimore that would do the work much better than I could. I measured everything out and needed it to be 63 inches long, 5 inches wide (to allow for 1-1/2 inch PVC elbows) and 5 inches deep. I went with 1-1/2 inch PVC to accommodate the waterflow. A reef tank needs as much water turnover as possible, at least 10 times per hour. So a 400+ gallon tank should have 4000+ GPH. Go big or go home. Should be the MFK motto.
I ordered 3 bulkheads from BulkReefSupply that was slip facing into the tank for the elbows to slide in, and threaded on the opposite side the screw in the fittings. I clamped the overflow in place and drilled for the fittings. It was strangely hard to do. I'd spent many hours make the aquarium water tight, and now I'm drilling holes in it.
I spaced the fittings so they weren't crowded and fit between the studs.
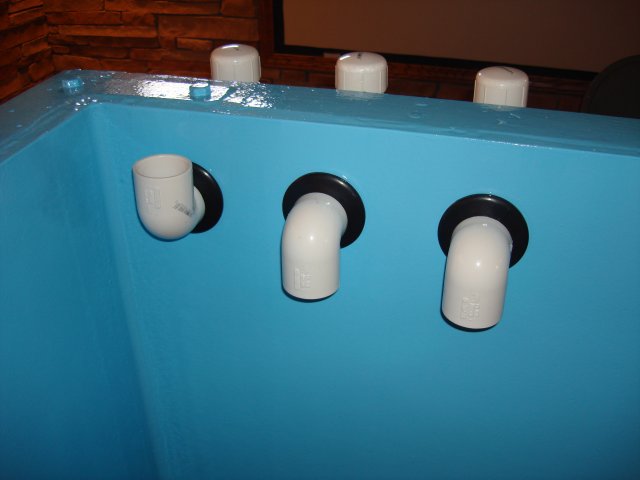
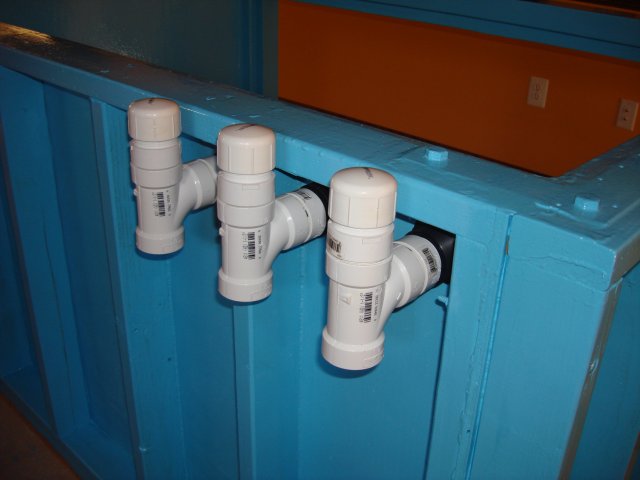
Once the test fit was done I liberally gunked the whole back of the overflow with silicone and put it in place.
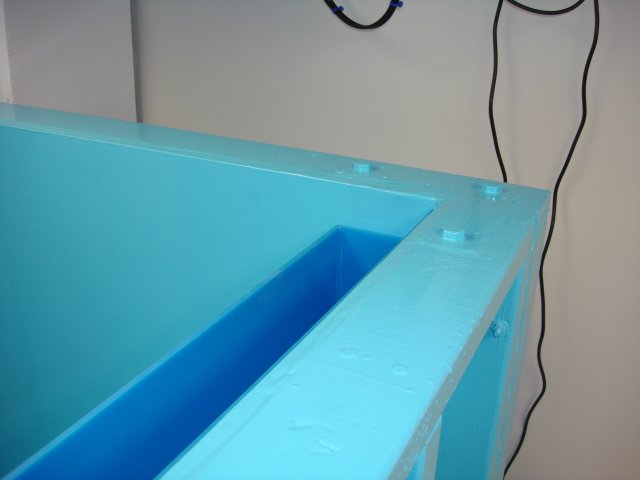
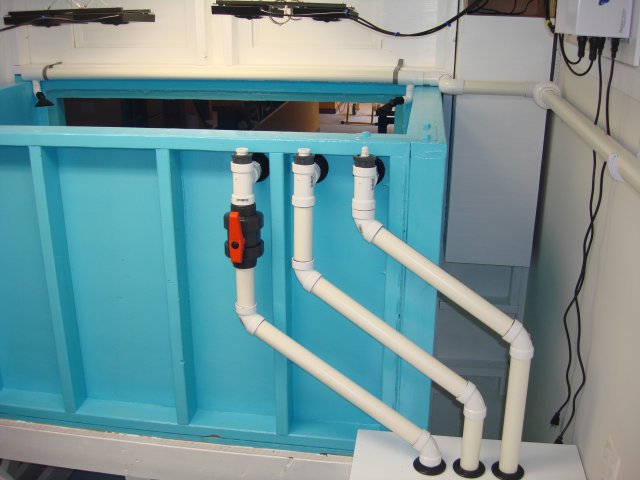
The two downward facing elbows were for the primary and backup siphons, and the upward facing elbow was for the emergency in case the siphons got clogged. I later cut the upward facing elbow flush with the top of the overflow so I could put some eggcrate across the top. Fish are escape artists!
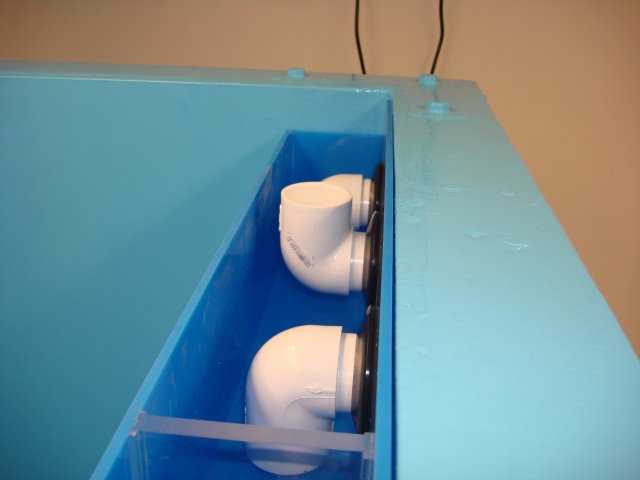
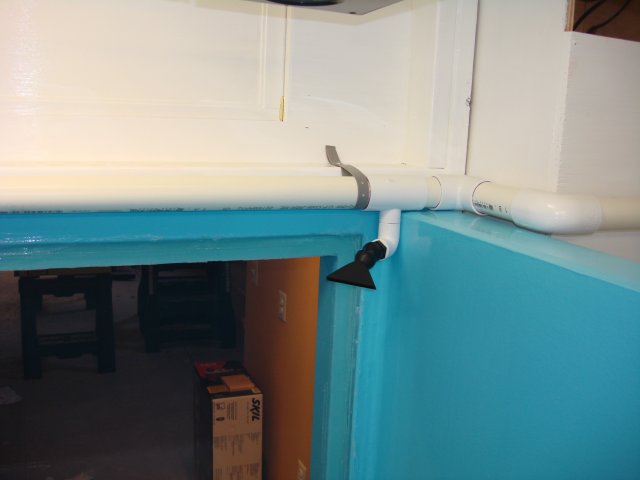
I help up the opposite end of the overflow with a stainless steel bolt set above the waterline.
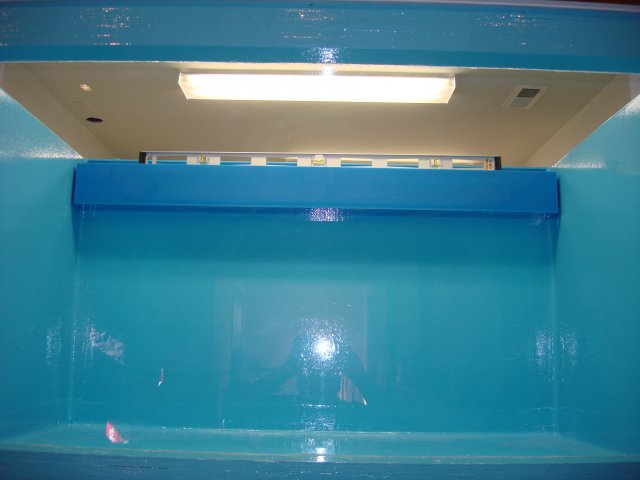
Turned out pretty good. Hindsight: the tank and overflow should have been black.
John

Beananimal's description and design are easily found everywhere.
The pipes, fittings, and valves are readily available at hardware stores or BulkReefSupply. The only difficult part was the overflow trough itself. I thought long and hard about what to use. Plastic rain gutter might work, but this was going to be 63 inches long and the gutter lip seemed like it wouldn't hold up to the water without buckling or the middle having much more flow than the ends.
I kept searching, but kept coming back to needing something custom built from acrylic sheet. I could do it myself (maybe), but this would be very visible in the tank and it would look like I did it myself. Fortunately I found an acrylic fabricator near Baltimore that would do the work much better than I could. I measured everything out and needed it to be 63 inches long, 5 inches wide (to allow for 1-1/2 inch PVC elbows) and 5 inches deep. I went with 1-1/2 inch PVC to accommodate the waterflow. A reef tank needs as much water turnover as possible, at least 10 times per hour. So a 400+ gallon tank should have 4000+ GPH. Go big or go home. Should be the MFK motto.
I ordered 3 bulkheads from BulkReefSupply that was slip facing into the tank for the elbows to slide in, and threaded on the opposite side the screw in the fittings. I clamped the overflow in place and drilled for the fittings. It was strangely hard to do. I'd spent many hours make the aquarium water tight, and now I'm drilling holes in it.
I spaced the fittings so they weren't crowded and fit between the studs.


Once the test fit was done I liberally gunked the whole back of the overflow with silicone and put it in place.

The two downward facing elbows were for the primary and backup siphons, and the upward facing elbow was for the emergency in case the siphons got clogged. I later cut the upward facing elbow flush with the top of the overflow so I could put some eggcrate across the top. Fish are escape artists!

I help up the opposite end of the overflow with a stainless steel bolt set above the waterline.

Turned out pretty good. Hindsight: the tank and overflow should have been black.
John
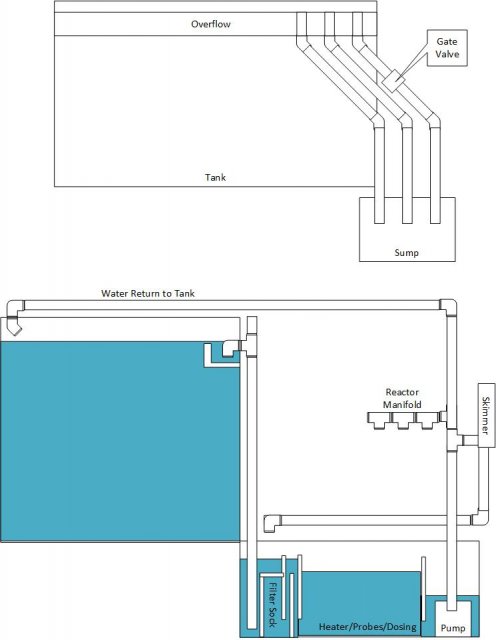
I tried to plan out the filtration system so I had a guide. It would have a sump, filter socks, an external skimmer, and a reactor manifold for any add-ons I came up with later.
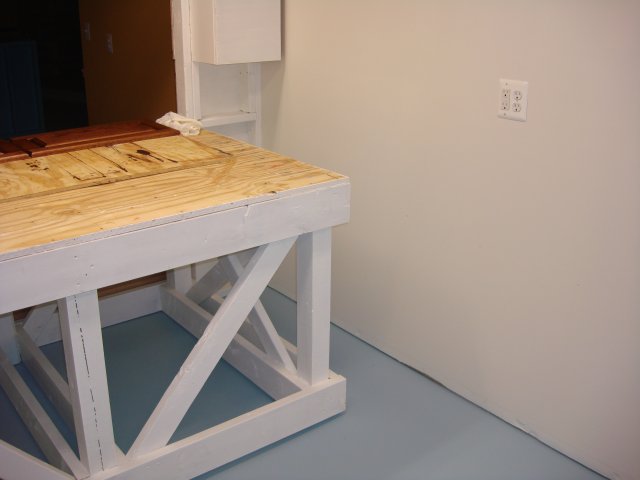
I also didn't have to worry about tucking it under the tank as I'd left room along one wall of the fishroom. I couldn't put it under there anyway with all the bracing. I had almost 10 feet of space along the wall.
I started with the sump. I bought a sheet of 1/4 inch acrylic from Home Depot, and used a Dremel SawMax for the cutting. The filter sock holder was the more difficult part. You can see from the first drawing how it should work and have a failsafe so when they're clogged the water has someplace to go. One tip from this site was to use CD cases for spacing and to make sure everything was square.
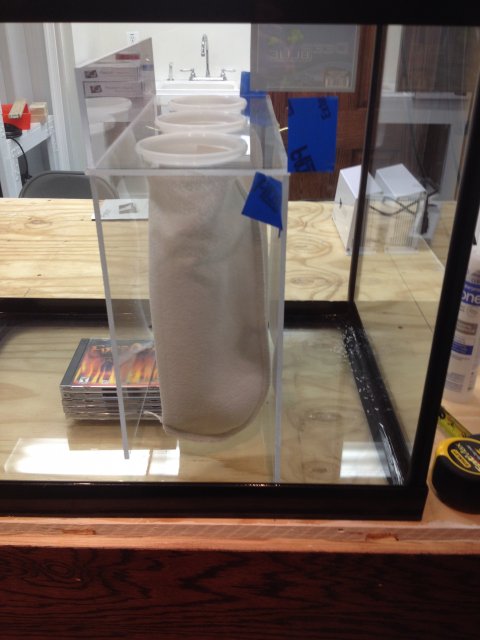
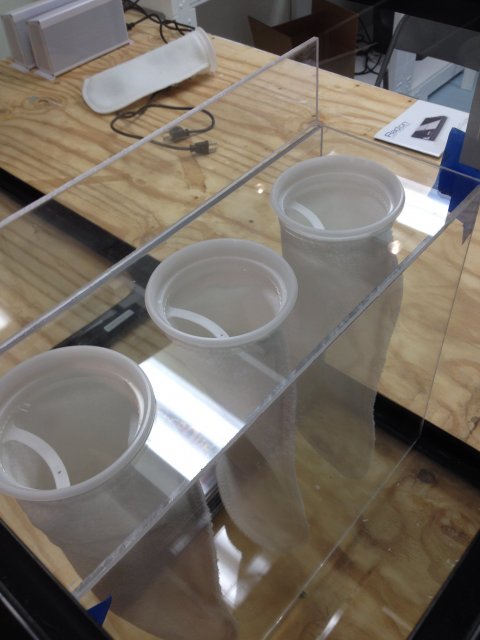
Once the parts were test-fitted I used silicone for the joints with the glass tank, and acrylic glue for the other joints. Hindsight: I had the room to use either 3 of the 4 inch socks or 2 of the 7 inch socks. I should have gone with the larger size. They have to be turned inside-out for cleaning and the larger size would have been easier.
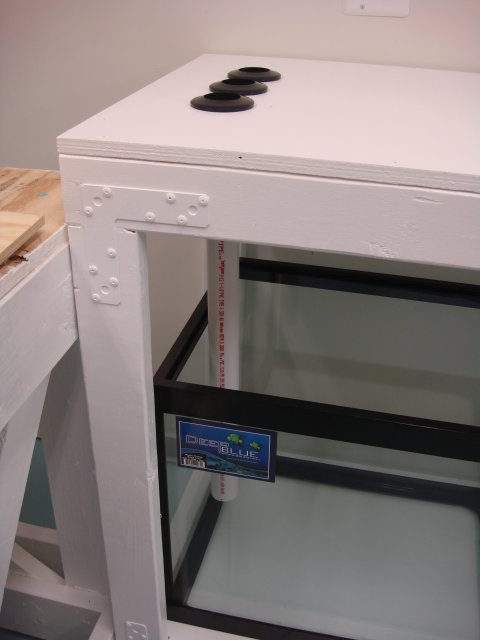
The sump stand was made from 2x4s and 1/2 inch plywood with metal braces. It went through several iterations as I came up with new ideas during the build. I wanted a top that could be used as a workspace over the sump and I put in bulkheads for the lines coming from the tank.
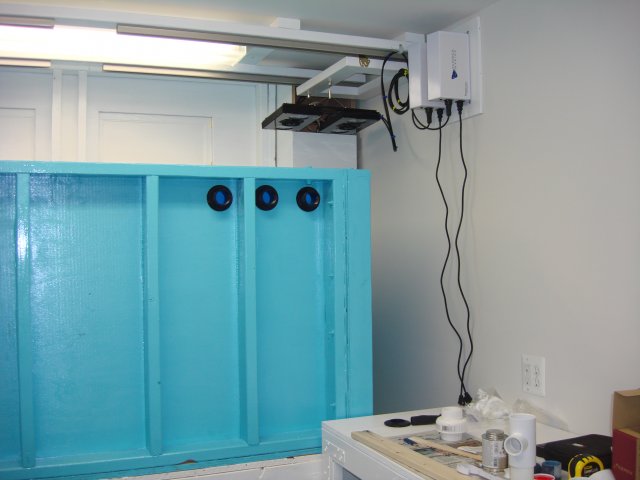
One of the afterthoughts was to include a drain built into the sump stand for water changes, the hose from the skimmer cup, and anything else I hadn't thought of. I was thinking of a pipe that would lead to the basement sewage pump that ran the utility sink and bathroom toilet. Then someone with much more experience than me mentioned it might not be a good idea to put saltwater through a $800 dollar utility pump that was mostly cast iron. Instead I worked in a small mostly plastic lift pump that tied into the sewer lines downstream of the check valve so no saltwater would get into the main utility pump.
Another Home Depot special. I built a space in the sump stand for it with unions so it could be easily replaced if it failed.
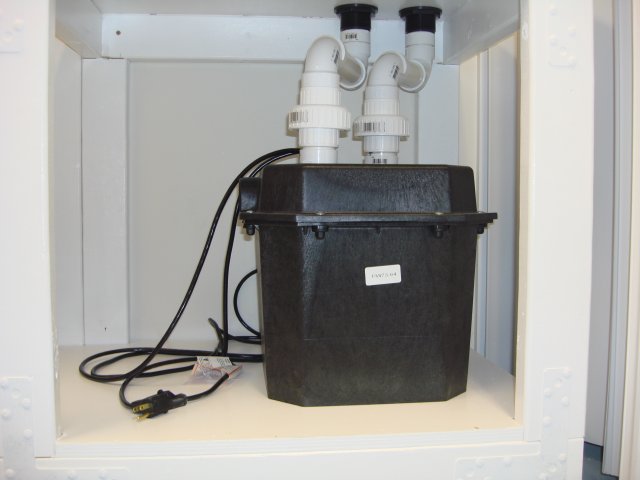
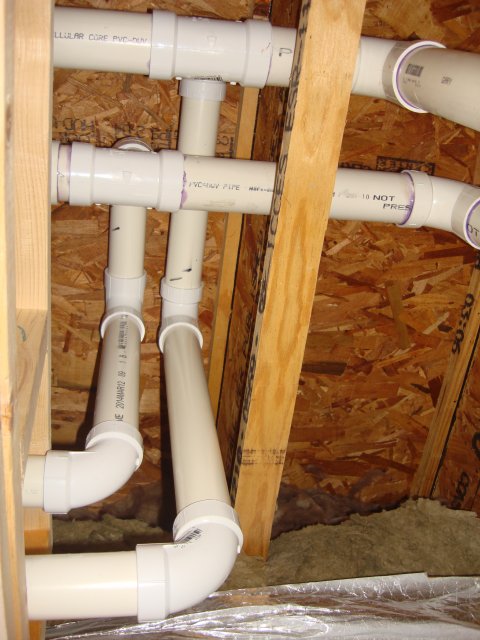
I ran the pipes up through the stand and into the closet where the main house sewer lines were for tie in.
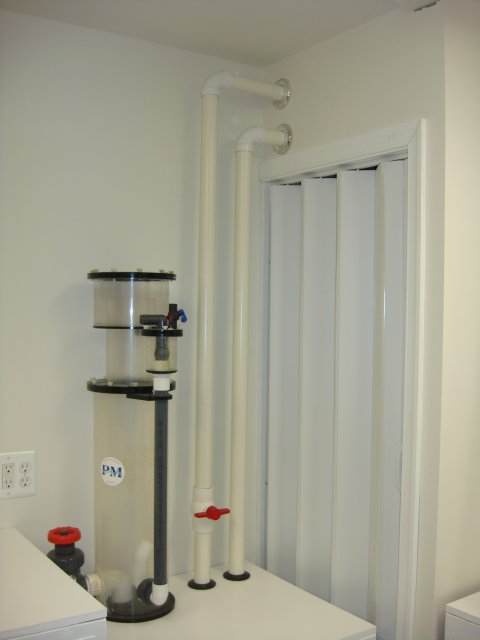
Since this pump was only going to be for aquarium use, I didn't need a sink attached. Just someplace to run water lines for doing water changes.
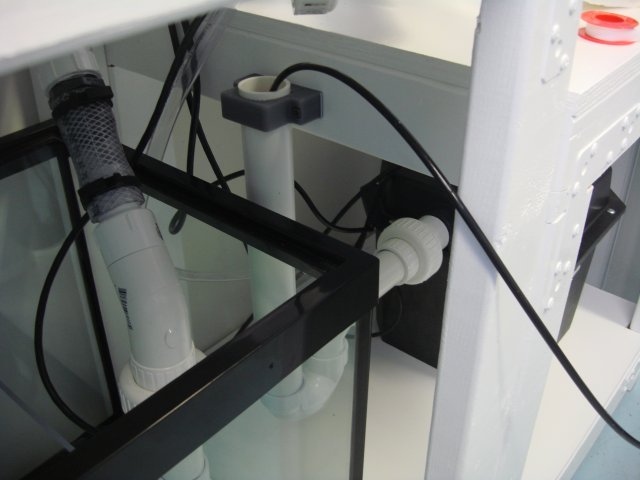
Once the sump and drain pump were ready, I plumbed in the tank overflow. I only needed one valve to tune the siphon, so that's all you see.
The sump return pump feeds the skimmer and reactor manifold.
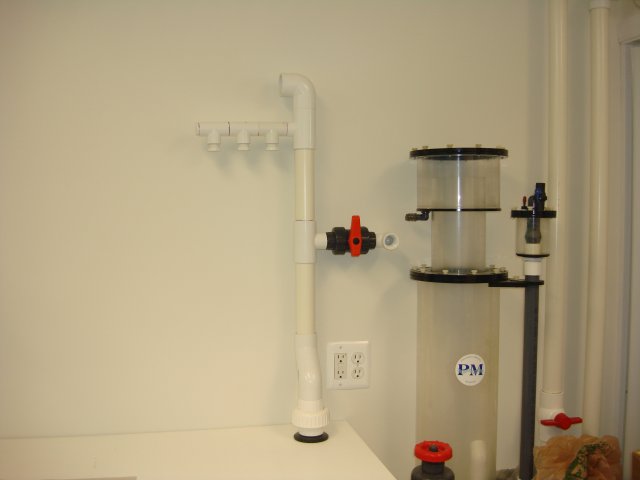
Then runs along the wall to feed back into the tank.
Overall it came out pretty well. From the tank through the filter socks, then through a bubble trap, the return pump, split off for the skimmer that returns water before the filter socks, split off for the reactor manifold, then back to the tank.
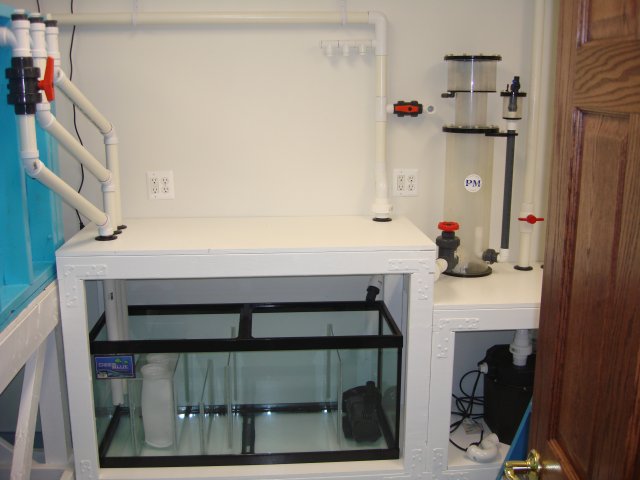
The return pump is a Sicce Syncra HF 16.0 that is rated for 4200 gph. Should be enough.

I also didn't have to worry about tucking it under the tank as I'd left room along one wall of the fishroom. I couldn't put it under there anyway with all the bracing. I had almost 10 feet of space along the wall.


I started with the sump. I bought a sheet of 1/4 inch acrylic from Home Depot, and used a Dremel SawMax for the cutting. The filter sock holder was the more difficult part. You can see from the first drawing how it should work and have a failsafe so when they're clogged the water has someplace to go. One tip from this site was to use CD cases for spacing and to make sure everything was square.


Once the parts were test-fitted I used silicone for the joints with the glass tank, and acrylic glue for the other joints. Hindsight: I had the room to use either 3 of the 4 inch socks or 2 of the 7 inch socks. I should have gone with the larger size. They have to be turned inside-out for cleaning and the larger size would have been easier.
The sump stand was made from 2x4s and 1/2 inch plywood with metal braces. It went through several iterations as I came up with new ideas during the build. I wanted a top that could be used as a workspace over the sump and I put in bulkheads for the lines coming from the tank.


One of the afterthoughts was to include a drain built into the sump stand for water changes, the hose from the skimmer cup, and anything else I hadn't thought of. I was thinking of a pipe that would lead to the basement sewage pump that ran the utility sink and bathroom toilet. Then someone with much more experience than me mentioned it might not be a good idea to put saltwater through a $800 dollar utility pump that was mostly cast iron. Instead I worked in a small mostly plastic lift pump that tied into the sewer lines downstream of the check valve so no saltwater would get into the main utility pump.
Another Home Depot special. I built a space in the sump stand for it with unions so it could be easily replaced if it failed.

I ran the pipes up through the stand and into the closet where the main house sewer lines were for tie in.


Since this pump was only going to be for aquarium use, I didn't need a sink attached. Just someplace to run water lines for doing water changes.

Once the sump and drain pump were ready, I plumbed in the tank overflow. I only needed one valve to tune the siphon, so that's all you see.

The sump return pump feeds the skimmer and reactor manifold.

Then runs along the wall to feed back into the tank.

Overall it came out pretty well. From the tank through the filter socks, then through a bubble trap, the return pump, split off for the skimmer that returns water before the filter socks, split off for the reactor manifold, then back to the tank.

The return pump is a Sicce Syncra HF 16.0 that is rated for 4200 gph. Should be enough.
Keeping an aquarium is all about keeping water. The fish keep themselves, focus on keeping good water. A tank this large is going to need a lot of water for top-off, water changes, etc. I found a lot of articles on mixing stations that gave me a lot of good ideas. I ended up getting a couple of 55 gallon plastic barrels rated for food storage. I figured one for R/O water, and one for saltwater. I got one cheap from a local farm supply store, but the other I got from Grainger.
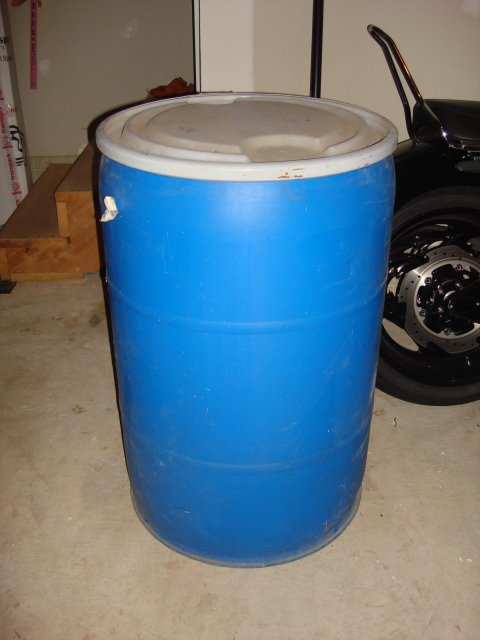
I built a stand next to the utility sink so the R/O barrel could gravity feed to the saltwater barrel.
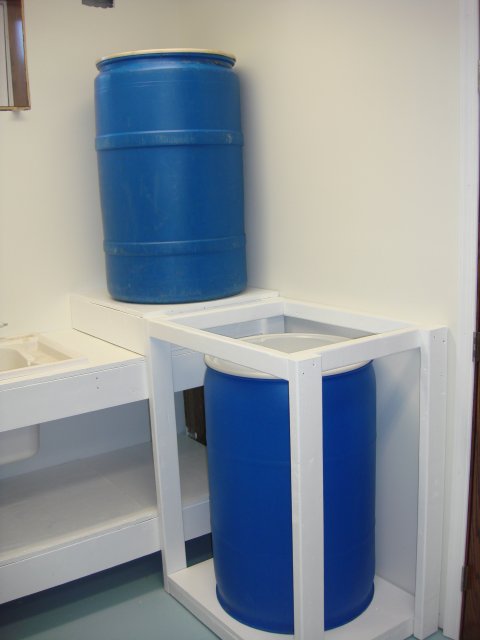

I built a stand next to the utility sink so the R/O barrel could gravity feed to the saltwater barrel.

I installed a mixing pump on the saltwater barrel that runs constantly. Just dump a bag of salt in, fill from the R/O barrel, and turn on the mixing pump. Water is clear in a couple hours. I'll post those pics if the site allows me to upload photos again.Pretty cool. How do you plan on mixing the saltwater ? Unless I missed it
The coast to coast works great. I have to turn it off to feed or it exports all the food before the fish can get to it. One thing to think about is the overflow casts a shadow. If I was going to build it into the tank I'd either come straight down or slope it in to meet the back of the tank.Nice, I had just considered to the coast to coast and using plywood, then sealing it with the rest of the tank
I'm just trying to grow some tall coral to hide it entirely.


