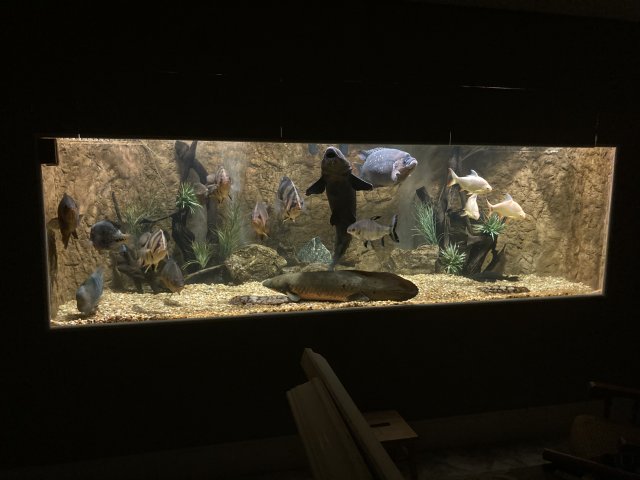
• We are currently upgrading MFK. thanks! -neo

1100 set up

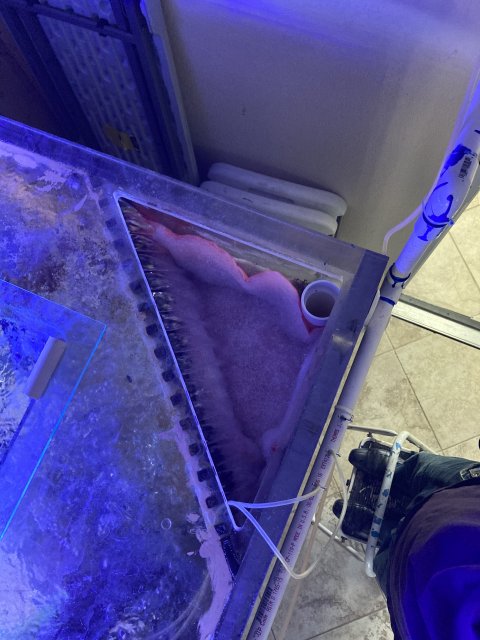
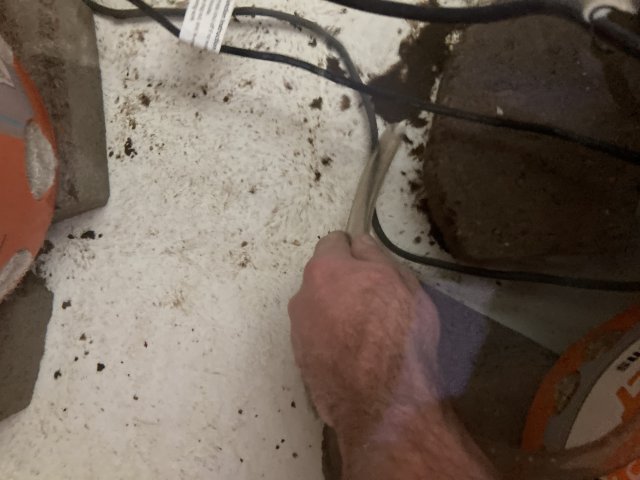
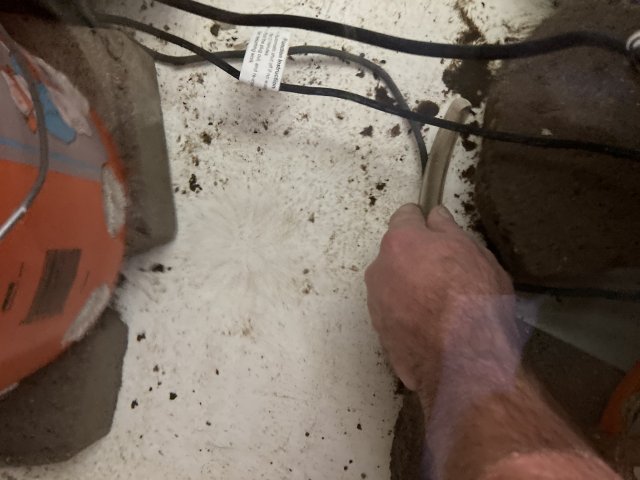
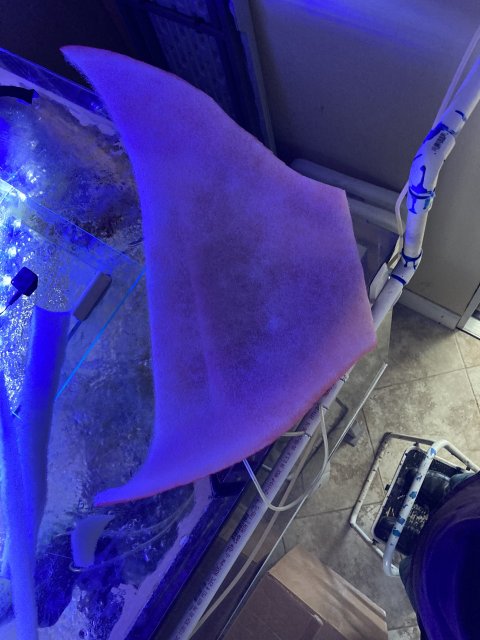
This is why I like pre-filtering at the overflow. It’s easy. Put the filter in the easiest place to do the maintenance. This took me lass than 5 minutes to change out both sides. I pre cut the filter so I remove the dirty one into a 5 gallon bucket and place the new filter in. Move the step stool to the next over flow and repeat. 5 to 10 minutes all the overflows in my fish room are changed. C077FC62-E378-4723-BFF9-117C170C1DA8.jpeg7FE4EFC0-0C72-49B6-8F13-9AD5A8FEEDD2.jpeg
 
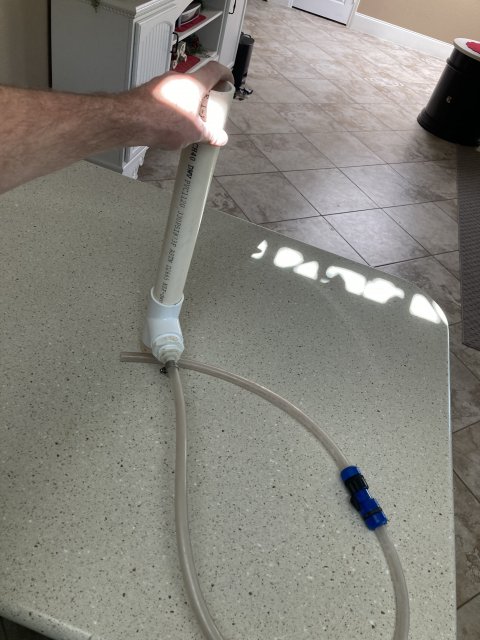
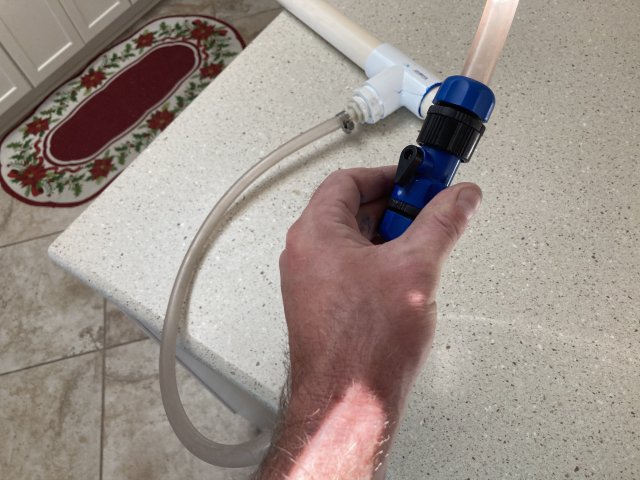
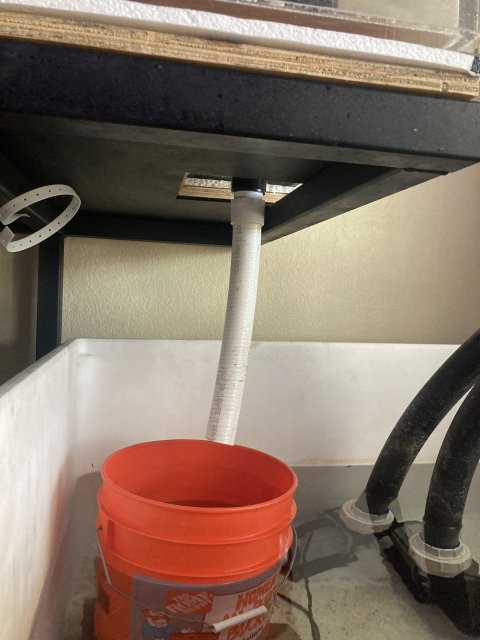
Doing some plumbing today on my sump and I may have figured a easy way to suck up the sludge that accumulates on the bottom of the sump. I have an overflow in my sump that keeps the water level to about 1 foot. This overflow drains to my front yard. I have a drip system going to the fish tanks and that water enters the top of the fish tank and flows down to my sump and out the front yard.
I changed up the pipe in the sump and added a T with a python type hose and fitting used to gravel vac. This T fitting is below the water line and when I open the valve water flows through the flexible python pipe. I sit that poor so suck the crud off the bottom paying attention not to drain the sump to much causing the pumps to run dry.50D931A8-486C-4397-AF14-519AC1D43B44.jpeg748C2FF2-BD7B-4270-A0CA-9144153316B2.jpeg
 
Amazing looking setup! Been a while since I have been on here and this post sucked me back in...love it!
 
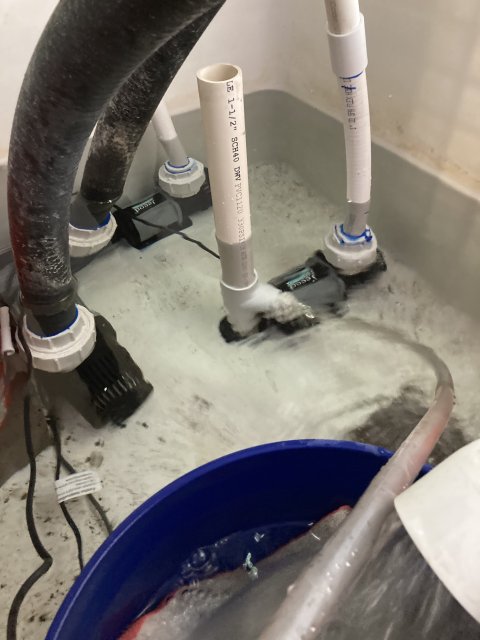
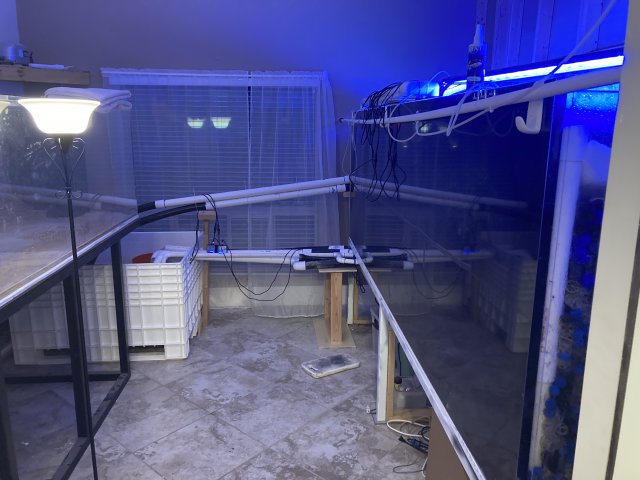
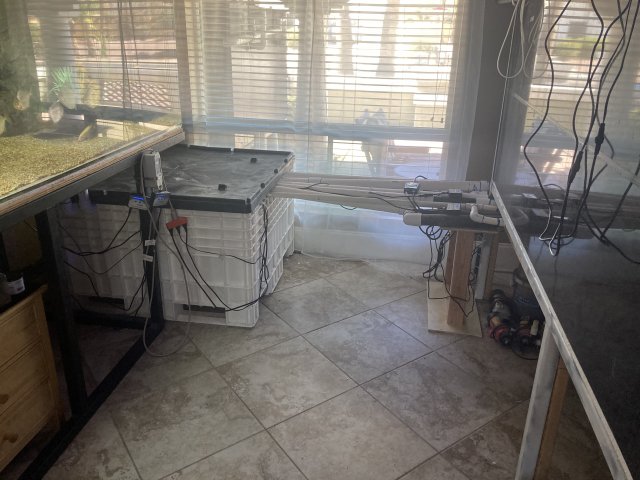
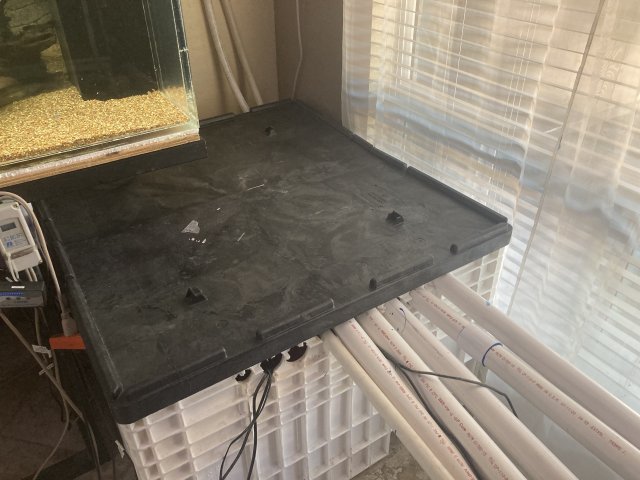
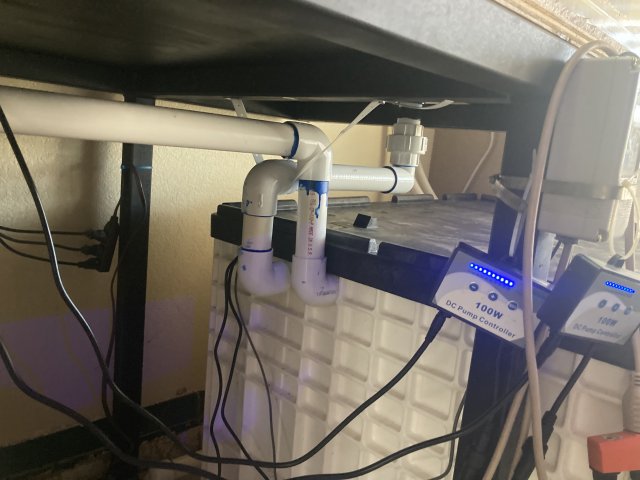
I rerouted the plumbing going in and out of the sump so I could get the lid on. It was about $50 in PVC and maybe 3 hours of work. It really cut down on the noise and splashing, I’m sure it will cut down on the humidity in that room too.853FADA5-8B96-4424-B15A-927D995D024F.jpegD33309BC-0821-433E-B384-4049EBCF8C17.jpeg8A5EC804-E88C-44A4-BD43-1D091BAFB329.jpeg9324D816-F3D2-45DA-88BC-3DD082F9BB5A.jpeg25E6CAD1-C3A4-4D64-AFD3-2CF2B767518B.jpeg
 
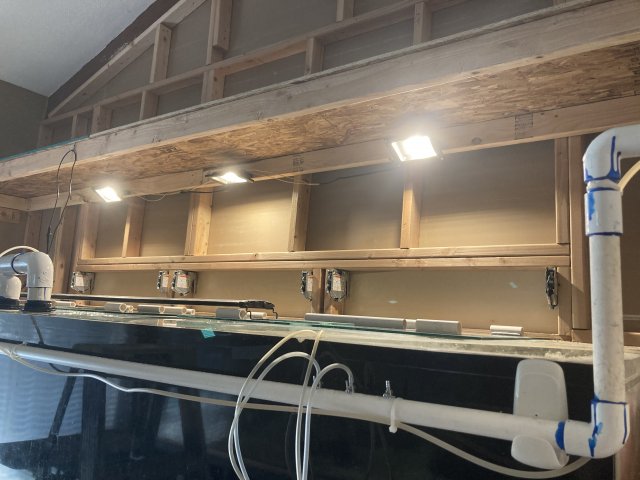
A79AD03C-1C91-4BD9-B4BF-1E1BA55CE384.jpegB4455768-FF02-472D-BFC3-B3A94BB0E1F5.jpegI removed the “hood” lights from the top of the tank and added three 30 watt led “warm” lights to the tank. These lights are about two feet above the tank. I really like the look. It’s not as harsh or bright but the tank is lit better. It’s a very even light through out the tank. This also removes or eliminates the heat transfer from the lights because they are above the tank, a real concern here in the Phoenix area. Lights were around 6 bucks each but needed to be wired. I used an old extension cord, cut the end off and plugged it into a timer to control the lights.
 
Back
Top