Well as everyone knows by now I want to set up an ADA Style tank.I knida been holding off because I been planing it so much and there alot of things that I have not settled 100% on. That an I am determind to finish a couple of other projects 1st. So April will be my ADA month. Threw out this month My goal is to start actually putting things together for my new tank. So that April 1st I fill my tank.
=)
Now with any ADA Style Tank we got to have an ADA Style Stand, =) I personaly like the soild look and clean see nuthing lines of the stands. As well as the modern look they may have. I do have some ideals that I will add to the Style that are my own and so far I have never seen, but I have to keep my secret intill I actually do it....Sorry.
To get started with the ideal though, I wanted to make a ADA Style stand that I may or may not use. Dont know yet. But I wanted to build one, So I did.
This is how it went,
Now I cut all my own wood, so that it is square and I know its right. But you can get it pre cut if you dont have the tools.
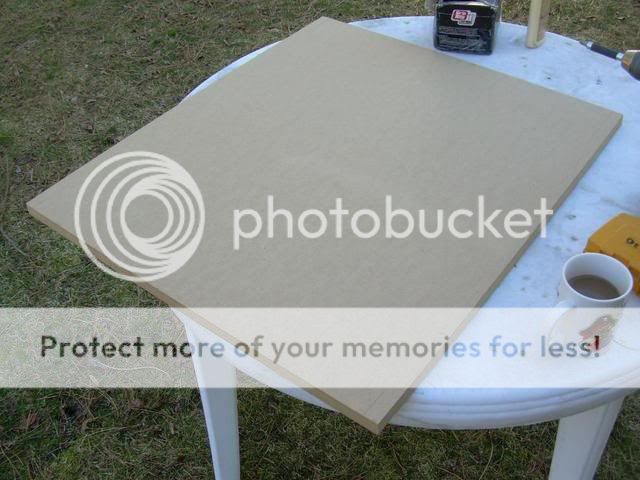
1st, I cut a peice that is 26"l x 29"h x 3/4"d. This will be my back wall, and altho alot of ADA Stands are short. For this project I wanted to go a stander hight of 29"H. Simple because this will not be actaully my ADA Style stand-I may use it for another style tank.
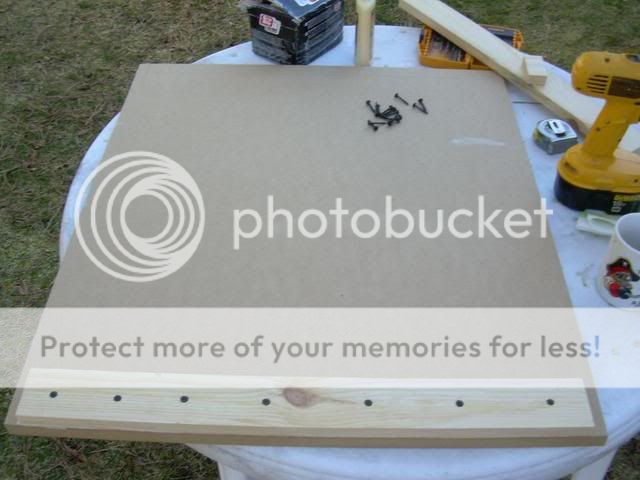
1a.I used 1"x3" which is really a 3/4" x 2 1/2" to make my floor and tank suport frames. I mounted the floor frame flush with the bottom after making sure it was square. This will give me a wider bottom suport base and makes it more soild with the weight of a tank. ( you can jump next to the tank and it wont move)
1b.Now the frames are set up so that the back wall is a 23"l peice that will butt and meet the 12 1/4" long sides and a full 24 1/2" front. Creating a box that will allow me to mount from the inside out and mount in multiple directions. Predrill the wholes for the screws and bore the tops a little will allow the screws to sit flush, so that when the frame is mounted, the screws dont create gaps. Also use high grade wood glue for everything.
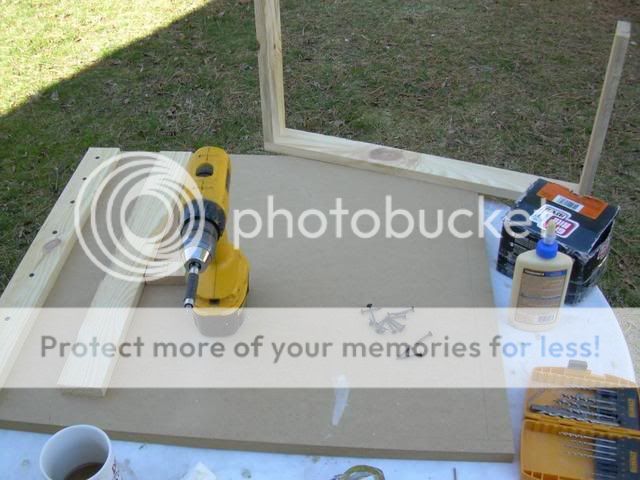
Now note that the cuts are measured so that the stand will be completely flush, so centering is important and measeure out side in on both sides them mount.
1c. Now I mounted the bottom frame in the pictures to show how it will fit together. Mount the walls to each side. this will give you the most room to do so from the insde.
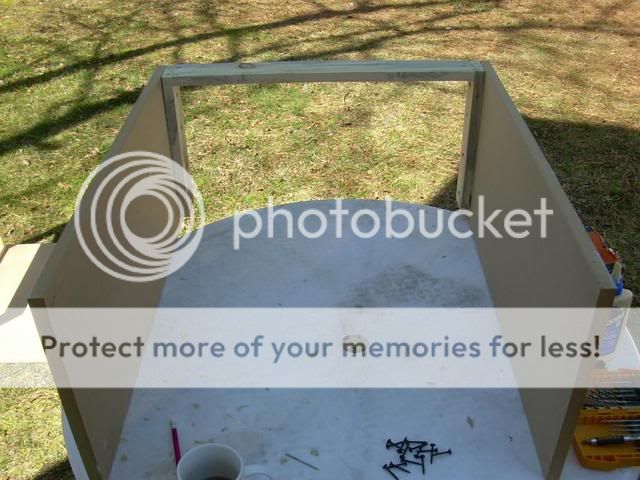
1d.The bottom is flush with the walls that were cut 14 1/2". Leaving the 3/4" sapce towards the front so it interlocks with the back wall. Also the tank suport frame is droped 1 1/2" so that the black frame is sunkin into the stand.
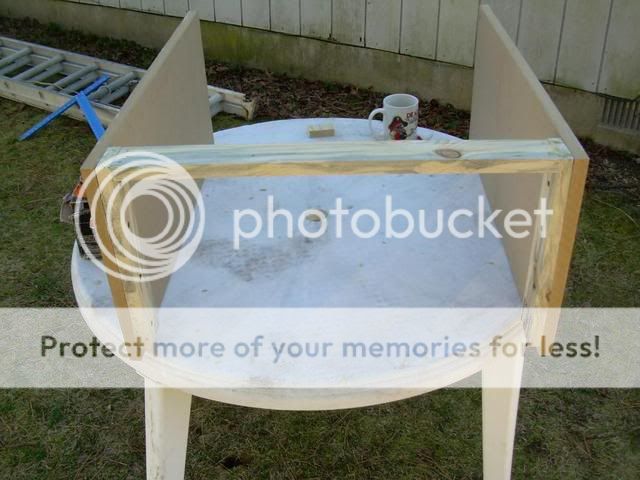

1e.Once the two are placed together they should fit very well on their own. Interlocking like this. This is the corners and is a great way to equal the pressues.
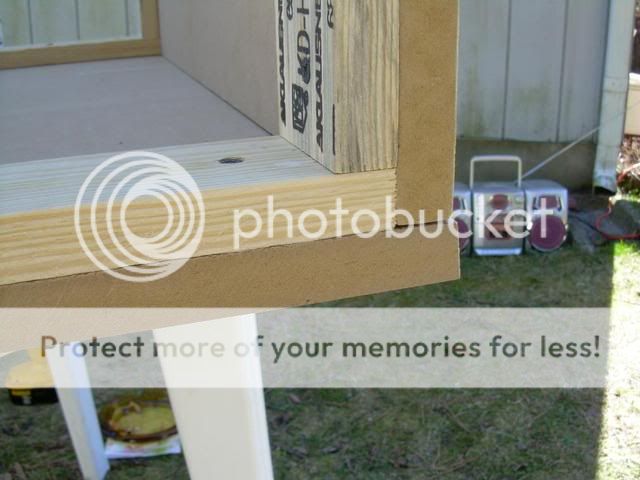
This is the full look. Mount the 2peices together. In this case 2 screws from the back at top and bottom will be used to further lock together. Then putty will be used to hide.
Before
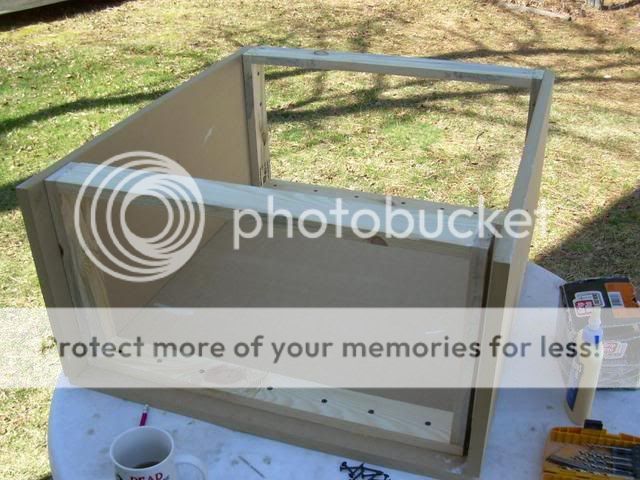
After, note no gaps-tight fit.
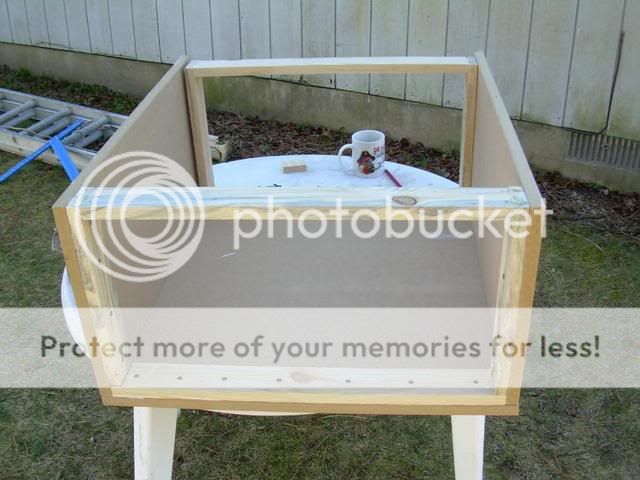
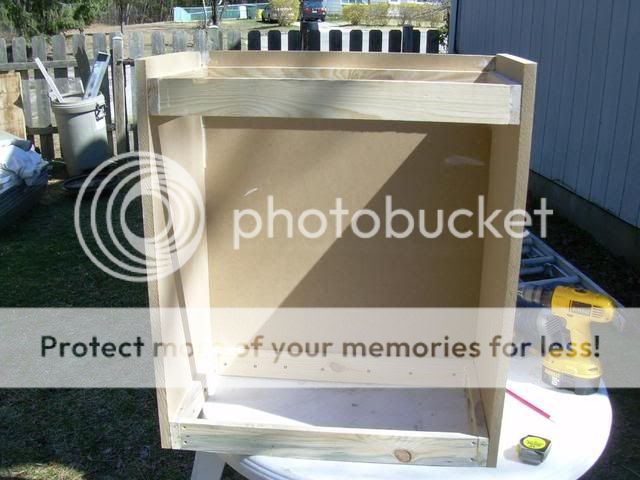
1f. Cut a 4" peice at 26"l to run as a full front bottom facial. mounting again insde-out.
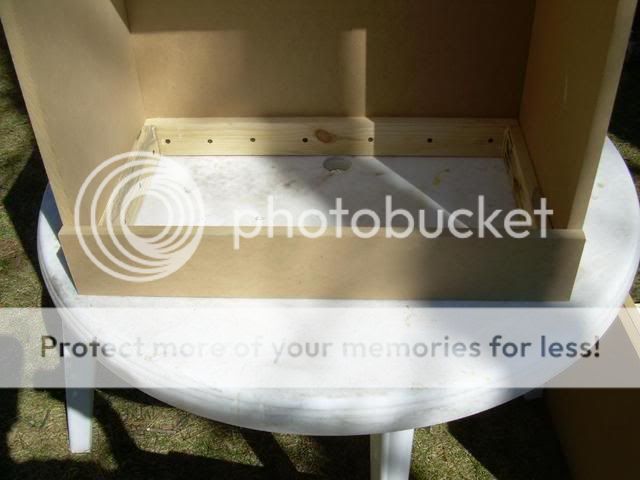
1g.Then cut a 5" front top facial to aslo run the full 26"l. Mounting again inside-out

1h. I then cut the doors, in this case two seperate doors at 13"x20"( just under these measurements)

1j. I used basic hinges, for this project-best to use inside hiden hinges, but I used standers.

1k. Then I Added flooring, mounting to the frame with micro pins and wood glue- The flooring is 1/4"think flooring panels- interlocking to make very clean look. I also used a peice of the flooring cut away to make a slight stop for the doors. Then will add magnets at the top to hold doors tight.

OHHHH NICE

Finaly for this session I am done. This weekend end will finish sanding and probly will paint CityGrey with 188pms. Which is a nice silverish/grey color.
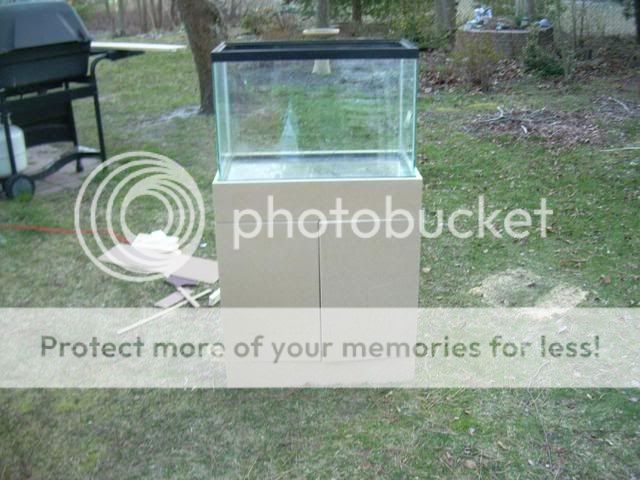
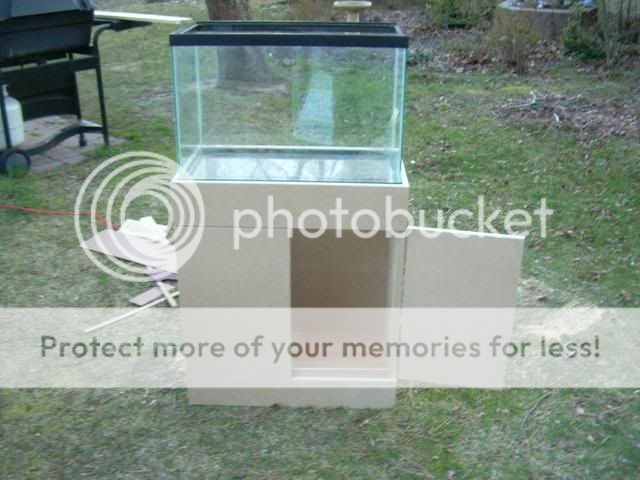
1l. Clean up for the day...LOL
=)
Now with any ADA Style Tank we got to have an ADA Style Stand, =) I personaly like the soild look and clean see nuthing lines of the stands. As well as the modern look they may have. I do have some ideals that I will add to the Style that are my own and so far I have never seen, but I have to keep my secret intill I actually do it....Sorry.
To get started with the ideal though, I wanted to make a ADA Style stand that I may or may not use. Dont know yet. But I wanted to build one, So I did.
This is how it went,
Now I cut all my own wood, so that it is square and I know its right. But you can get it pre cut if you dont have the tools.
1st, I cut a peice that is 26"l x 29"h x 3/4"d. This will be my back wall, and altho alot of ADA Stands are short. For this project I wanted to go a stander hight of 29"H. Simple because this will not be actaully my ADA Style stand-I may use it for another style tank.

1a.I used 1"x3" which is really a 3/4" x 2 1/2" to make my floor and tank suport frames. I mounted the floor frame flush with the bottom after making sure it was square. This will give me a wider bottom suport base and makes it more soild with the weight of a tank. ( you can jump next to the tank and it wont move)

1b.Now the frames are set up so that the back wall is a 23"l peice that will butt and meet the 12 1/4" long sides and a full 24 1/2" front. Creating a box that will allow me to mount from the inside out and mount in multiple directions. Predrill the wholes for the screws and bore the tops a little will allow the screws to sit flush, so that when the frame is mounted, the screws dont create gaps. Also use high grade wood glue for everything.

Now note that the cuts are measured so that the stand will be completely flush, so centering is important and measeure out side in on both sides them mount.
1c. Now I mounted the bottom frame in the pictures to show how it will fit together. Mount the walls to each side. this will give you the most room to do so from the insde.

1d.The bottom is flush with the walls that were cut 14 1/2". Leaving the 3/4" sapce towards the front so it interlocks with the back wall. Also the tank suport frame is droped 1 1/2" so that the black frame is sunkin into the stand.


1e.Once the two are placed together they should fit very well on their own. Interlocking like this. This is the corners and is a great way to equal the pressues.

This is the full look. Mount the 2peices together. In this case 2 screws from the back at top and bottom will be used to further lock together. Then putty will be used to hide.
Before

After, note no gaps-tight fit.


1f. Cut a 4" peice at 26"l to run as a full front bottom facial. mounting again insde-out.

1g.Then cut a 5" front top facial to aslo run the full 26"l. Mounting again inside-out

1h. I then cut the doors, in this case two seperate doors at 13"x20"( just under these measurements)

1j. I used basic hinges, for this project-best to use inside hiden hinges, but I used standers.

1k. Then I Added flooring, mounting to the frame with micro pins and wood glue- The flooring is 1/4"think flooring panels- interlocking to make very clean look. I also used a peice of the flooring cut away to make a slight stop for the doors. Then will add magnets at the top to hold doors tight.

OHHHH NICE

Finaly for this session I am done. This weekend end will finish sanding and probly will paint CityGrey with 188pms. Which is a nice silverish/grey color.


1l. Clean up for the day...LOL


