DIY 300 Gallon Stand and Canopy

shock6906

Feeder Fish
MFK Member
Apr 29, 2009
50
0
0
Ladson, SC
With all of that out of the way, I think these are the pictures you've really been waiting for...

I started today off by returning the ugly red sand I got from Lowe's and heading over to Home Depot to see if they had anything better. Fortunately they did. Their play sand was much whiter than Lowe's offering, and I bought 400 pounds of that. The task, then, was to wash it all thoroughly to get the fine particulate dust out of the sand so it wouldn't cloud my water as badly.

After about an hour and a half of washing sand, all 400 pounds of it (less what rinsed away) are now in the tank.
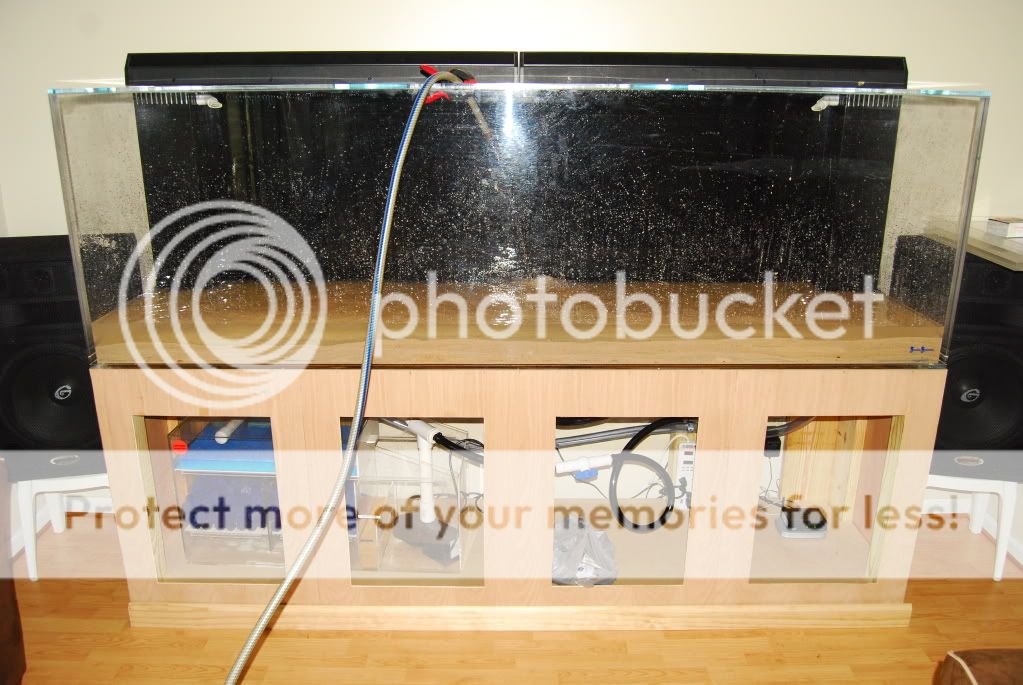


The view from where I sit as I watch my tank slowly fill with water:
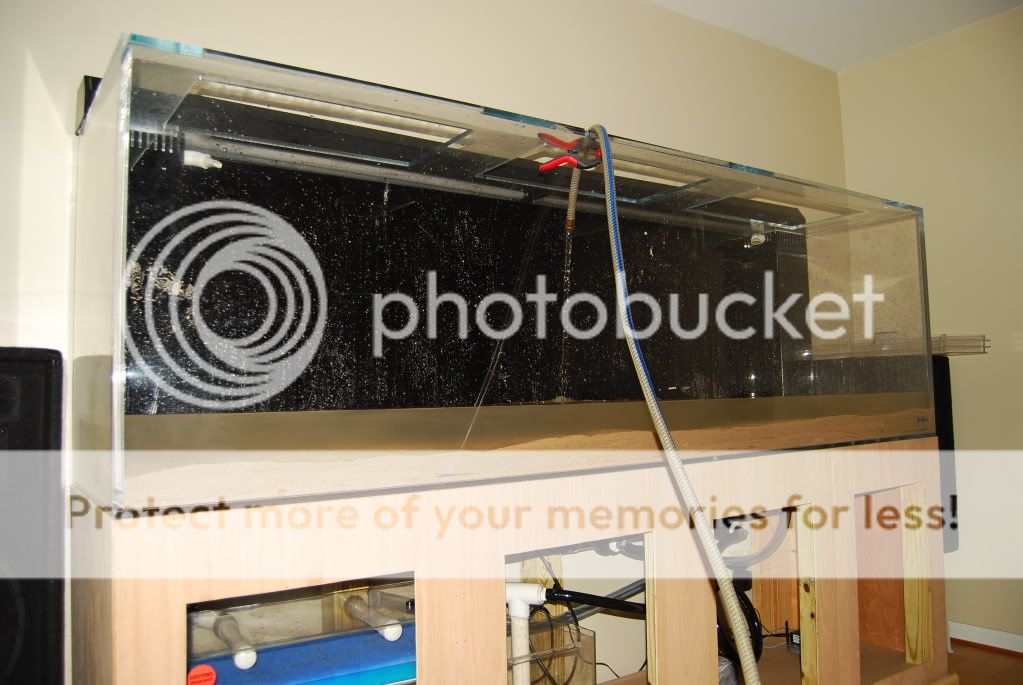


This is as much filling as I'm going to do today. I've got a couple hundred pounds of rock still to purchase for decoration, and it wouldn't make much sense to fill the tank up all the way since I know that'll displace quite a bit of water.
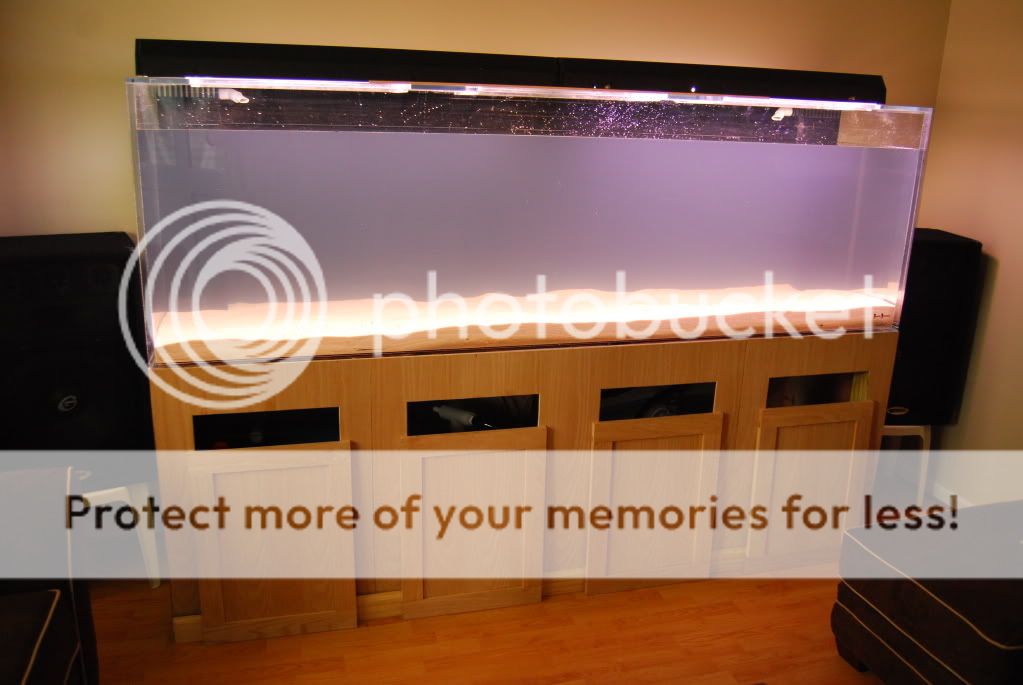
 

shock6906

Feeder Fish
MFK Member
Apr 29, 2009
50
0
0
Ladson, SC


I've been taking care of a problem with the sump, which required me to cut out a section of the stand floor, which gave me reason to empty the tank and shim it level. (It's perfectly level now, by the way. :D) I figured since it was empty, I might as well have some fun. ;)

Here's a picture of how it was set up for nearly a year. It no longer looks like this, but I figured I'd throw the picture in here anyway.

Now that the water has cleared up a bit...a picture of the tank with all the rocks, plants, water, etc. in it. No, the stand still isn't finished, but now that it's running nicely without any level issues or leaks to fix, I can get started on mounting the doors and trim, and then get to work on the canopy. :cool:


Yes, they're artificial plants. They hold up to the abuse that severums dish out when they get temperamental. You should see what my green severum does to plants. She'll grab a hold of one in her mouth and thrash it side to side like a dog on a ragdoll! Live plants wouldn't stand a chance with her.

And now, build phase one of the aquarium stand is complete! I got all the trim installed yesterday afternoon and mounted all of the doors this afternoon. All that's left for the stand is stain, but that can wait a little while. First on the agenda now that the stand is 100% built is to get working on the canopy. :cool:

Today's adventure started with returning the hinges I bought on my original venture after finding out that they wouldn't come close to working for my doors. I picked up a hinge that would allow for the overlay of my doors over the face of the cabinet. I ended up with a hinge with a 3/4" overlay, and it works perfectly for allowing me to center my doors over the openings.

Since these hinges need a hole bored into the door, I had to buy a set of forstner bits for my drill press.


After fastening the hinge in place...


I chose these hinges because 1; they allow the overlay that my doors require and 2; they are completely concealed from view when the doors are closed. It works very well with the clean look that I want from my stand.

Here are all the doors mounted with the trim and the seam strips in place:


Man, I'm so happy to have this finished! It looks great in the room. It looks like it was made for this house, and it pretty much was. :)
Well, I could either take it easy for now, or I could go get started on the canopy. I think I'm going to rest for a bit, post a couple times, and go get started! I'm friggin' excited after seeing this thing all finished! :D
 

shock6906

Feeder Fish
MFK Member
Apr 29, 2009
50
0
0
Ladson, SC
Here are some pictures of some of the residents.

Here's my green severum, Vito. I've had her for about five or six years now.


This is the Geophagus. I bought it and it was listed as a Geo. Surinamensis, but I am confident it's actually a Geo. Altifrons.


Different colors shine on his body depending how the light's hitting his scales.

This is one of my two farlowella catfish. One or the other will occasionally perch on this small piece of driftwood, and when they do, their colors get more vibrant.


shock6906

Feeder Fish
MFK Member
Apr 29, 2009
50
0
0
Ladson, SC
It's been a long time since I've done any updates in here. I've been working on other projects for the last several months. For a while, I was just burned out on working on the canopy and stand, and I was also mulling over several different design options for the canopy anyway. I've changed directions with it. No longer will it have a bi-fold front flap that spans the entire width of the tank. That was going to require too much work, potentially some hardware that doesn't even exist, and the whole thing would have been pretty flimsy. I've decided on four doors which will match those on the stand for the front of the canopy, and a full-width door on the top of the canopy for access to the lights. Here's what I have so far:

This is laying on its back. Those are the four front door openings that you see.


Here it is in the correct orientation, top lid shut. There's a s**t load of screws in those hinges on top. I think it was probably close to 80 screws total.


Lid up.


And here's some detail of the inner bracing. The lip around the top supports the top lid. Those three triangles hold the sides together. Those are 1x4 oak 45'd with the miter saw. The lip around the bottom sits on the top of the tank and supports the canopy. It's glued and screwed in place. Also, it is spaced up 1-1/2 inches from the bottom of the canopy. The water line will be just above the lowest point on the canopy. When the canopy is in place, you'll see no water line. The 2x2 standing vertically next to the opening is where the front door hinge will mount.


What's left: I have to glue the oak panel to the front and sides of the canopy. I have to build the four doors, and after that's all done, I have to put the trim along the bottom edge and crown molding around the top edge. I'm going to give the canopy and the stand both a clear stain to protect the wood and bring out the natural grain.
 

shock6906

Feeder Fish
MFK Member
Apr 29, 2009
50
0
0
Ladson, SC
I told you I rearranged. Here are those pictures. I've got a bunch of driftwood that I collected a few months ago and have been preparing for the tank. I figured I better go ahead and put that stuff in before I get the canopy built and put on, because that'd make it tougher to put it in the tank. Here's the final result.


Left:


Center:


Right:


This piece has a cool little arch in it:


This farlowella is a fan of the driftwood. I had a hard time finding him since he blends in so well.


I harvested all this wood from a canal coming from Lake Moultrie. It's well worth it to harvest your own driftwood. The stuff at the stores is very expensive, so you save a good bit of money finding your own. It's also a lot more fun to take a day and devote it to walking around in nature collecting natural elements for your tank at home. I enjoyed every minute of collecting this stuff.
 
zoomed.com
hikariusa.com
aqaimports.com
Store