Because of potential crazing with 40 like you mentioned I was gonna try 4 first just for cosmetic.You can tip and pour #40 up under the inside there. Just have to flip the tank over.
This will be my first time.
Same thing with 4?
Because of potential crazing with 40 like you mentioned I was gonna try 4 first just for cosmetic.You can tip and pour #40 up under the inside there. Just have to flip the tank over.
Id still flip the tank over to work on it… looks like u need to try and inject what u can from the outside if ur using #4. With the tank flipped over the solvent will not run down the front viewing panel and ruin it. Work on each one of those white spots at a time. Wherever the needle slides in leave it there and shoot what u can into the voids. It might take, it might not. Good place to start IMO… if it doesnt take well id put in a square rod on the inside with solvent or #16 or tip and pour with #40.Because of potential crazing with 40 like you mentioned I was gonna try 4 first just for cosmetic.
This will be my first time.
Same thing with 4?
Id still flip the tank over to work on it… looks like u need to try and inject what u can from the outside if ur using #4. With the tank flipped over the solvent will not run down the front viewing panel and ruin it. Work on each one of those white spots at a time. Wherever the needle slides in leave it there and shoot what u can into the voids. It might take, it might not. Good place to start IMO… if it doesnt take well id put in a square rod on the inside with solvent or #16 or tip and pour with #40.
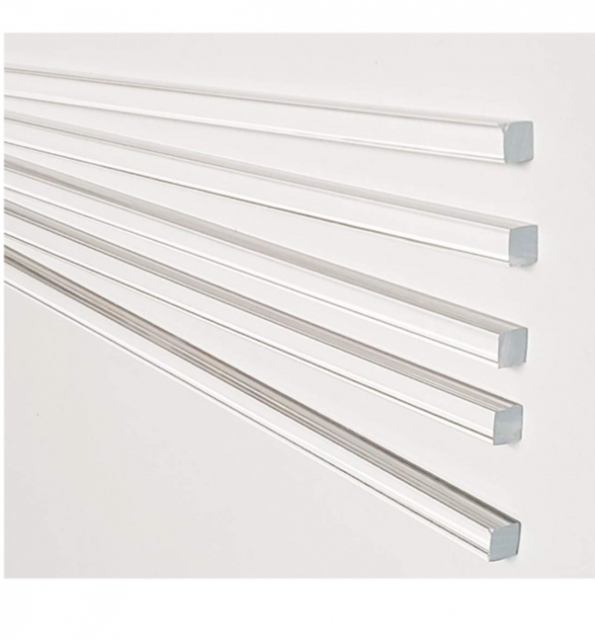
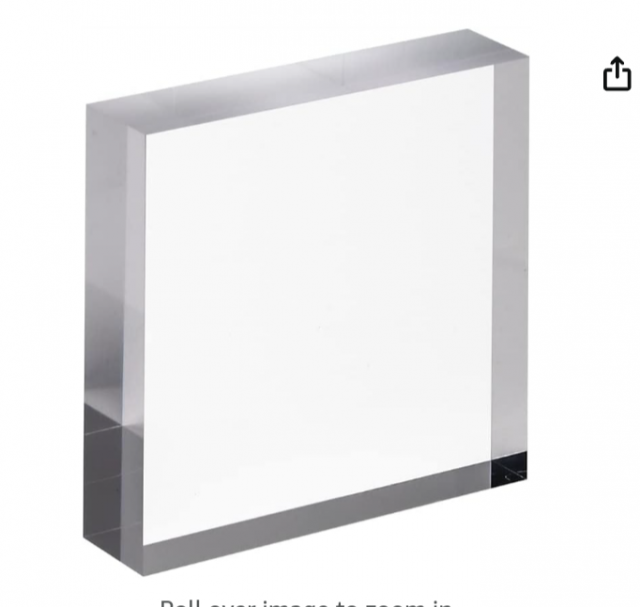
I was also looking at these corner squares people use for corners but I like the rod idea.Id still flip the tank over to work on it… looks like u need to try and inject what u can from the outside if ur using #4. With the tank flipped over the solvent will not run down the front viewing panel and ruin it. Work on each one of those white spots at a time. Wherever the needle slides in leave it there and shoot what u can into the voids. It might take, it might not. Good place to start IMO… if it doesnt take well id put in a square rod on the inside with solvent or #16 or tip and pour with #40.


Thats the same “rod” im referring too. Ive used it in 3/8”,1/2” and 1” depending on how bad a seam is. Its a bit rounded is the problem tho and it can be hard to get a good seam/adhesion with it. Ive re repaird tanks that had rod in them and just completely encased the whole rod over in #40. Thats a positive tho if the rod doesnt work it can still be fixed after with 40. Pros and cons to each method of repair as always.I was also looking at these corner squares people use for corners but I like the rod idea.
Thankfully it's just the top seams that have the bubbling and a little on sides. Thanks you so much for the advice
View attachment 1542609
View attachment 1542610
Now to figure out how to mix Weldon 40 lol.Thats the same “rod” im referring too. Ive used it in 3/8”,1/2” and 1” depending on how bad a seam is. Its a bit rounded is the problem tho and it can be hard to get a good seam/adhesion with it. Ive re repaird tanks that had rod in them and just completely encased the whole rod over in #40. Thats a positive tho if the rod doesnt work it can still be fixed after with 40. Pros and cons to each method of repair as always.
It seems daunting at first. Its not bad tho. U can use a digital scale or measuring spoons. The ratio is 100 to 5… keep the math simple and its easier. 100grams to 5 grams… 200grams to 10grams etc…Now to figure out how to mix Weldon 40 lol.
One last thing. Do the tip and four with Weldon on 4?It seems daunting at first. Its not bad tho. U can use a digital scale or measuring spoons. The ratio is 100 to 5… keep the math simple and its easier. 100grams to 5 grams… 200grams to 10grams etc…
Weld on #40One last thing. Do the tip and four with Weldon on 4?
Oh I meant could you do that with Weldon 4 as well before going to 40Weld on #40


