600 gallon acrylic tear down and rebuild or roll the dice?

wednesday13

Silver Tier VIP
MFK Member
Mar 2, 2008
4,515
4,398
1,629
The deep south
How long should I let the first seam sit before rolling the tank to do the next?
Once it sets up ur safe to move the tank, so usually around and hour. like regular welding its best to jump around to spread the heat of the glue curing. 3/4” material takes the heat fairly well. If you go too quick between pours or work right next to where u just did it will cause crazing (spider web/shattered glass looking scratches) crazing from this is not damaging in any way other than looks. Only way to cure it is in a giant oven tho.
Ive gone as quick as 45min to an hour between pours and used up to a gallon just straight through all day on 1 tank. I do not recommend that tho unless in an emergency.
2-3 hours is pretty safe between pours. Each tank is different tho also. Go by feel, if the material is still warm wait till it cools down before pouring by it again. Full cure on a pour is 48 hrs but you wont hurt anything moving the tank or working after its initially set up.
 
  • Like
Reactions: bluehand

bluehand

Piranha
MFK Member
Jun 6, 2010
168
177
76
Yorktown Indiana
Awesome, I had planned to do the seams one per day as through the week that is about all the time I have. I just wanted to be sure that was enough cure time between moves. With your help it looks like I am on the right path, thank you once again for the walkthrough.
 
  • Like
Reactions: wednesday13

wednesday13

Silver Tier VIP
MFK Member
Mar 2, 2008
4,515
4,398
1,629
The deep south
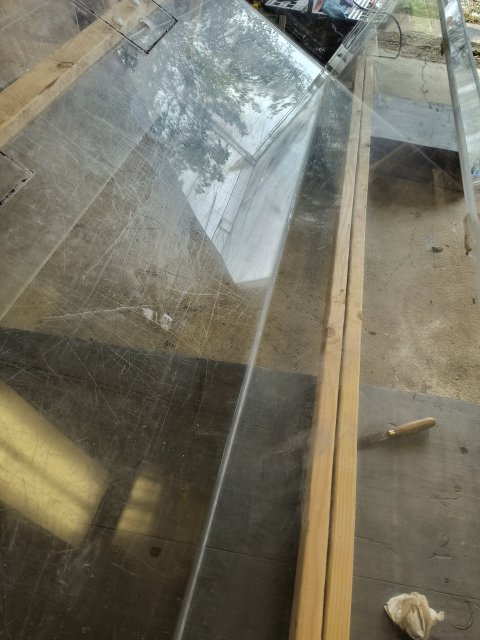
Round 2 went well I think.

View attachment 1546015
Lookin good i agree 💀🤙… tank is taking it very well also. No crazing that i can see, big plus. Its pretty clear across the board. Has to be fairly new IMO… most all my older tanks have a bit of yellow tint to them.
 

bluehand

Piranha
MFK Member
Jun 6, 2010
168
177
76
Yorktown Indiana
Ok so I will be doing the last seam with the #40 tomorrow. My #16 that I ordered should also come tomorrow, I assume since the #16 comes in a tube that it has some body to it? The only spaces/gaps I have on the rods is on the top and bottom of them and they are very minimal but just wanted to get your input on how to apply it. Is it more like a gel that can be applied from any position? Or is it better to rotate the tank to a certain angle?
 

bluehand

Piranha
MFK Member
Jun 6, 2010
168
177
76
Yorktown Indiana
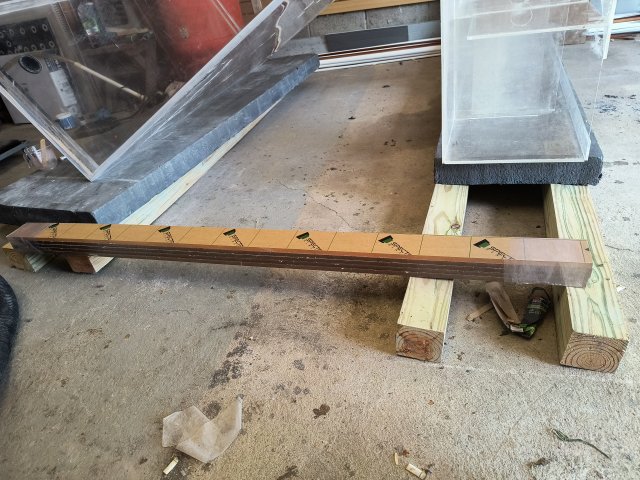
I did attempt to get around the bathroom of the rods with the #40 while doing the seams but not sure how well that took as just like you said there is no way you can work with the #40 vertically or even an incline I believe
 

wednesday13

Silver Tier VIP
MFK Member
Mar 2, 2008
4,515
4,398
1,629
The deep south
Ok so I will be doing the last seam with the #40 tomorrow. My #16 that I ordered should also come tomorrow, I assume since the #16 comes in a tube that it has some body to it? The only spaces/gaps I have on the rods is on the top and bottom of them and they are very minimal but just wanted to get your input on how to apply it. Is it more like a gel that can be applied from any position? Or is it better to rotate the tank to a certain angle?
its around the same consistency as the 40, a bit thinner. Ull have to rotate the tank for the best results. Also recommend finding another type of squeeze bottle with tip or syringe for the 16. The tube it comes in keeps shooting out after u squeeze it and makes a mess. The syringe or bottle with tip should help u inject the glue into those gaps also.

a tip i forgot to mention with 40 is you can fill gaps vertically by using packing/masking tape to seal it in or use the tape to damn puddle the glue where u need it too. When they seam together sheets/tanks on site they tape up the back of the gap/seam then inject the glue from the bottom up. While going up they tape over the glue so it stays put in the gap. The packing tape peels off pretty clean after the glue sets up.

Really try ur best to fill in those gaps top and bottom with 16 and or 40. 40 will melt right over 16 also. One of the 1st tanks i repaired came back to haunt me yrs later from this same scenario. Water got behind the rod and it failed 4-5yrs later. The rod was put in with 16 tho which is weaker than the solvent u used. I fixed it again after with 40 and its been good since. Each glue has its purpose tho. The 16 is good for touch ups and sealing pieces like ur doing that arent really load bearing. The solvent and 40 are alot stronger for the initial attachment of the pieces.
 
  • Like
Reactions: bluehand

bluehand

Piranha
MFK Member
Jun 6, 2010
168
177
76
Yorktown Indiana
Getting a bit more excited now. After getting it home and looking it over closely I was skeptical of being able to save it but WOW! What a difference a couple weeks have made. Like you said it will be basically a brand new tank and you were about spot on with the price tag on fixing it, I am right at $250 Soo worth it!!!
 
zoomed.com
hikariusa.com
aqaimports.com
Store