• We are currently upgrading MFK. thanks! -neo

More tank pics, updated

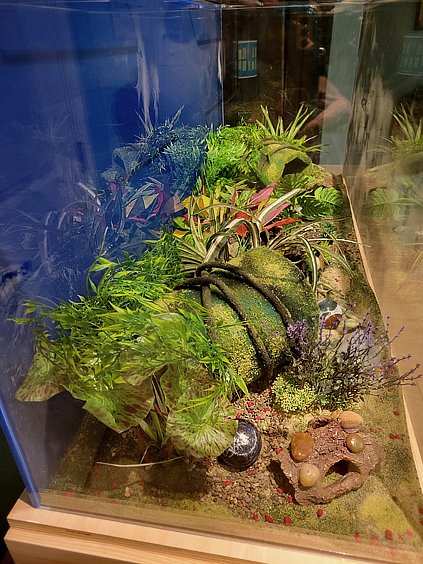
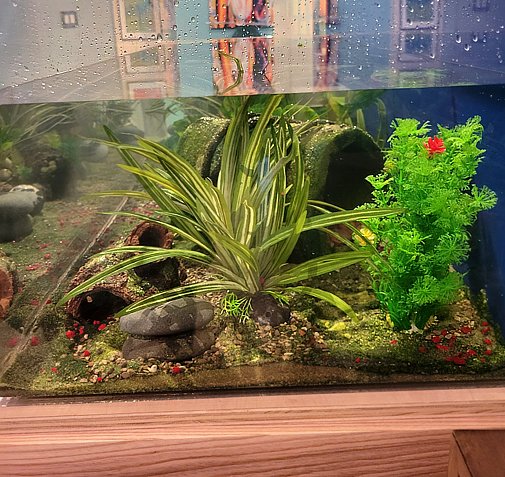
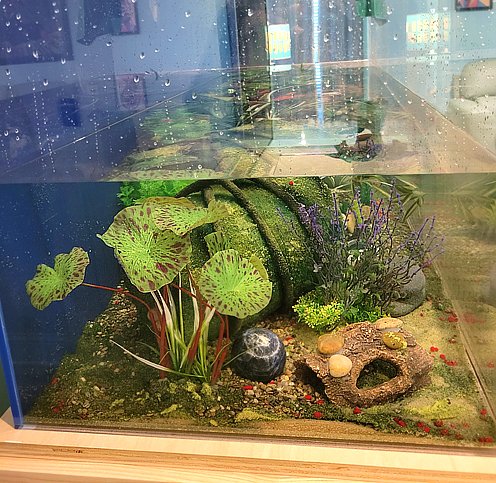
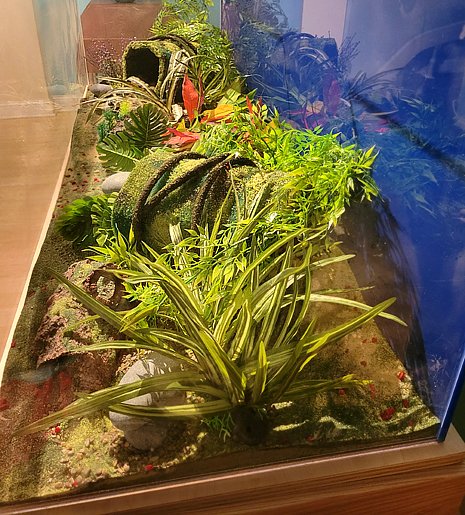
Here's the initial layout for the 125. The soft caves are added. If I had the space I'd make all my tanks 'fatboy'. You can do so much more aquascaping with wide butt tanks especially with a lot of bottom dwellers or territorial fish. I also added the stone mini walls, rock plant and log deco with rock as well. A couple of mineral spheres add interest and color.Tomorrow I'll do a partial fill to let everything soak until the other filters arrive. Hoping the soft caves sink properly. I might let the fake bamboo (back corners) be floaters...the base on those things are useless for substrate unless you add plant weights.

125 a.jpg

125 d.jpg

125 b.jpg

125 c.jpg
 
Okay! Tank fill is about 45%. It will sit like this until the filters arrive. I'll do a drain, move it closer to the wall and then refill.

Out from the wall while I work.

reverse.jpg
 
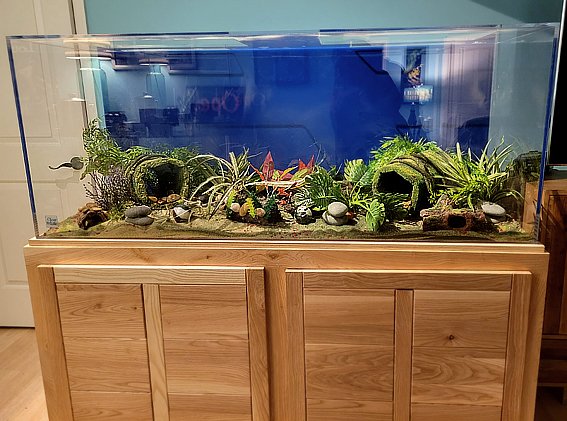
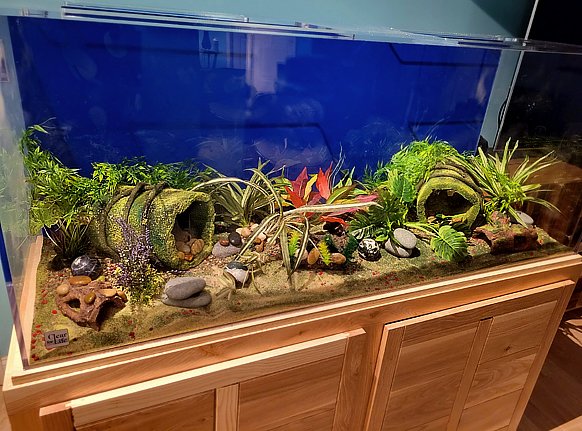
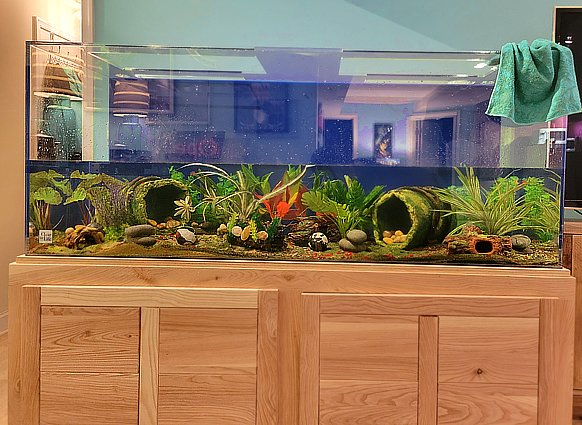
Full front and side views...YES. The soft caves are heavy and staying at the bottom! The fake bamboo will be used as floaters. I added 2 other plants in the far corners instead. Because of the dominant green tones I've added more red/river gravel to balance it out. The idea is to provide lots of nooks/crannies for the hrps who seem to like low cover. I don't doubt my severum Corn will choose one of the soft caves. Bet. I used microfiber cloth to clean the dust from the white sand. No rubbing. I just soaked, poured water over the sides and patted dry. I recommend microfiber all the time for cleaning. I select a color that lets me know 'aquarium use only'. This tank has absolutely no bow or deflection that I can see.

inhabitants will be Hrps Mongo, 7 of his kids, "uncle" hrp Slade, My large male acara Rocky, synodontis Cash, and severum Corn. Down the road I will add 2/4 baby parrots, likely tiger and santa morphs and or/one gold ingot. There are crazy size differences in the hrp crew with Mongo. They range from 1 3/4" to nearly 5".

right side.jpg

left side - Copy.jpg

full front - Copy.jpg
 
Quick question when I was looking up the sandtastik brand they have no mention it was aquarium safe for the floral sand color line? I wanted to copy what you did- i loved the color scheme and do the same for the fire eel tank so she could bury herself when she wanted to-
 
Quick question when I was looking up the sandtastik brand they have no mention it was aquarium safe for the floral sand color line? I wanted to copy what you did- i loved the color scheme and do the same for the fire eel tank so she could bury herself when she wanted to-

I've used it since 2019 with no problems whatsoever in all my tanks. It's silica sand and inert. The floral sand is for plant growth/root systems so there is plenty of space between the grains. Looks like large sugar crystals and just falls to the bottom. My 225 6ft only needed about 80-85lbs for an 1 1/2" layer. I don't even wash the stuff, just put it in and go. The floral sand actually sparkles when dry. They also have 'classic' sand that is more compact with smaller grains.

I also like the fact it doesn't get into the filters of my hobs. You can even mix some color with plain sand for tints and effects.
 
Excellent im definitely placing an order using floral sand now for the nano setup as the aquasoil is giving me grief with oil slick coming onto the surface- @FINWIN any washing needed beforehand?
 
Excellent im definitely placing an order using floral sand now for the nano setup as the aquasoil is giving me grief with oil slick coming onto the surface- @FINWIN any washing needed beforehand?

I guess you could but I never have. I just dump it in and add water. A few grains will float on the surface but if you squeeze them they fall to the bottom. This sand is totally coarse so there's no dust. You may see a few air bubbles of sand for awhile but that's it.
 
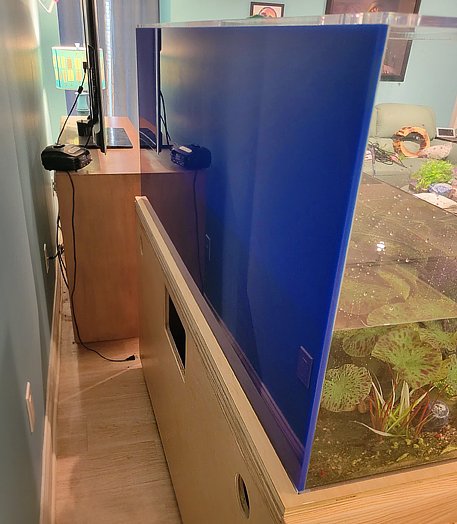
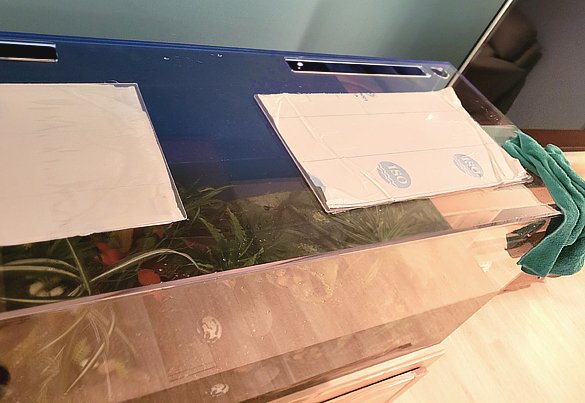
Just waiting on the filters for the 125. Meanwhile I did a test fill to the top on the 125. Welp, not exactly level. The basement floor dips a bit to the right and towards the wall. So I spent some time finding a better spot for the stand. I had to keep moving the console table and glass table as well.

Looking across the top water line it was at 1/2" to the left and 1/4" to the right. Not too bad but annoying and noticable. The front to back I didn't like. Left side front to back 1/2", ~1/2" to back edge. Ok, pretty level. Right side, no way. 1/4" front edge to top of frame back edge. I should metion after a couple of hours the tank did settle some, but not enough to make that dip on the right side acceptable. So I did a 80% drain. Couldn't find my level so I measured water height. Left side, 4 1/8", right side, 4 3/4". So 5/8" inches off. Back to work.

The caster wheels and stand are perfectly level at the bottom, 2 1/2" outer lip above floor. Good. Total height adds 3" to stand. So I moved the stand out another 2 inches from the wall and about 12 inches to the right towards the 'dip'.

Moving the stand resulted in a much more acceptable spot.

Side to side deviation down to 3/16" from 5/8". Much better! I've ordered a level that should arrive Monday to see if moving the tank out 2 inches has levelled the back right corner. Shims not a good option with 4 sets of caster wheels.

Will be doing the led settings for the light strip.
 
Back
Top