It’s been a whole year

Ulu

Potamotrygon
MFK Member
Dec 13, 2018
1,864
3,323
164
The Sunny San Joaquin
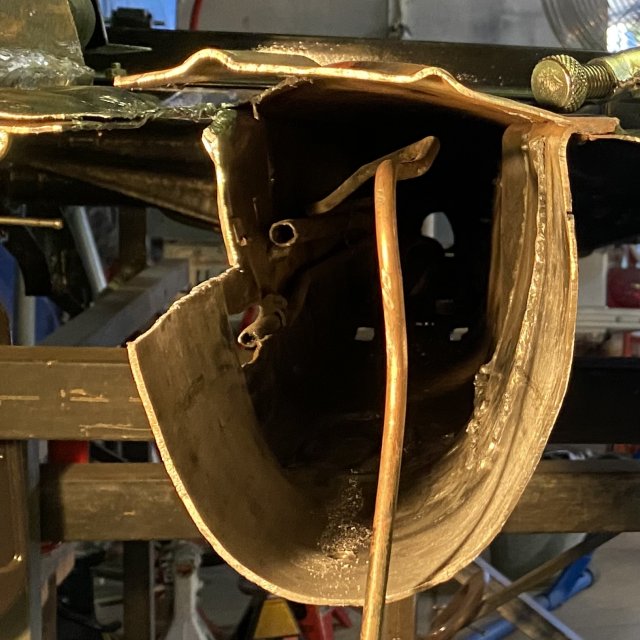
The builder should have just cut this all away to begin with.
F89A0A55-1C16-4E46-85BC-305535AA7EA1.jpeg

Instead of making this big access hole and then closing it.
9A09F23C-93F7-4EC9-ADB5-460E3B1934F0.jpeg

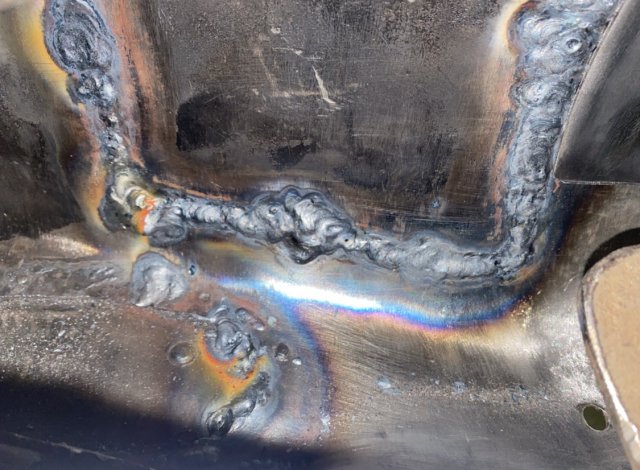
BUT perhaps the various repairs were done at different times. The welding does not all look like the same guy did it.


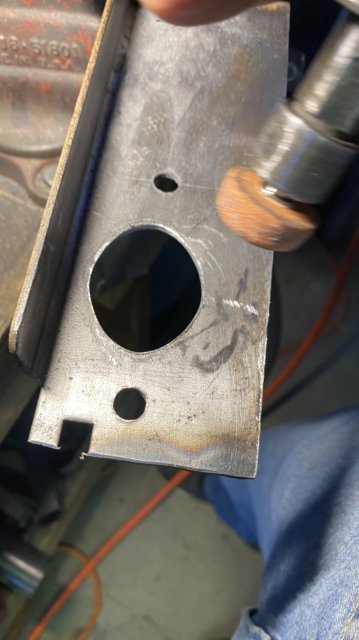
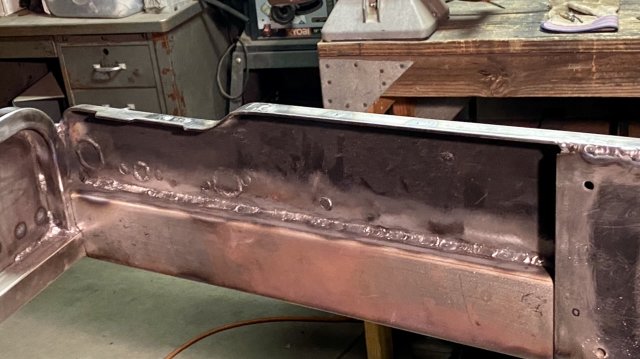
That big hole had been poorly MIG welded. I went over it all with a grinder and wire brush, then TIG welded over it from both sides.

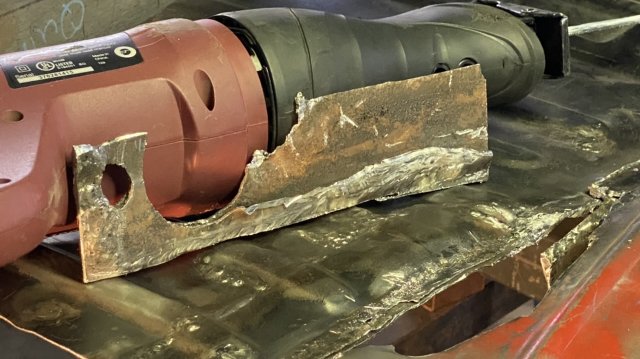
I ended up cutting off things I had already welded on, because of hidden rust.
075301C2-8AC4-439D-94B5-752D2BDB6FF2.jpeg

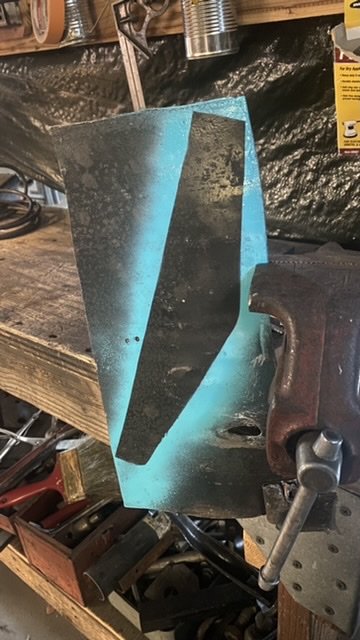
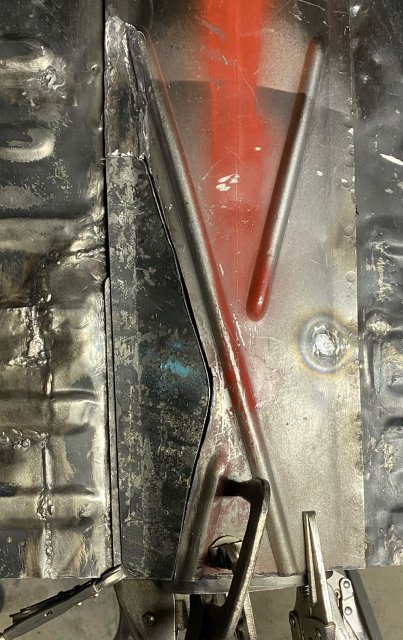
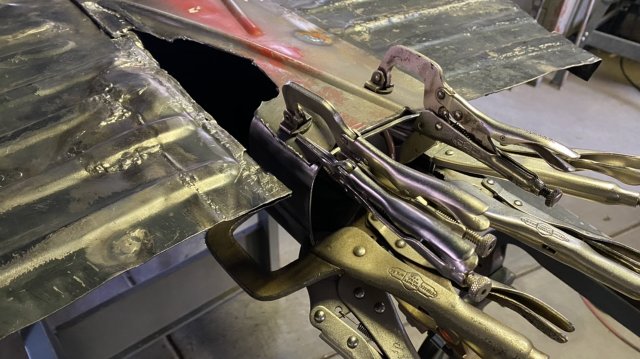
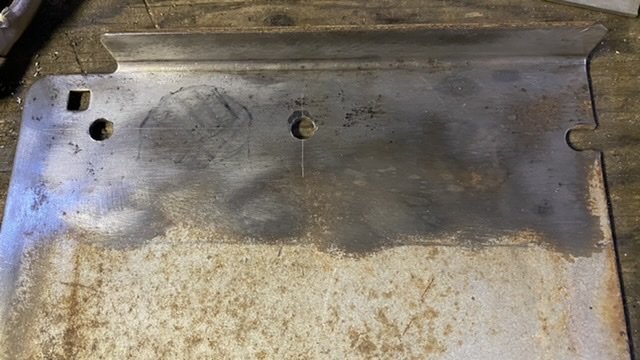
Now I am making the various patches (4) I need to weld on, before I square this all up and do the real welding.
A03FB6F9-C484-448C-83B6-7C798A3F5ED2.jpeg

BDD934E2-7839-4181-B0B6-7B90C8CE5E2F.jpeg

This old piece from my dad’s lawn tractor has a nice flange already bent on it. It is much stronger than the original metal and twice as thick as the crappy patch which was on there.
 

Ulu

Potamotrygon
MFK Member
Dec 13, 2018
1,864
3,323
164
The Sunny San Joaquin
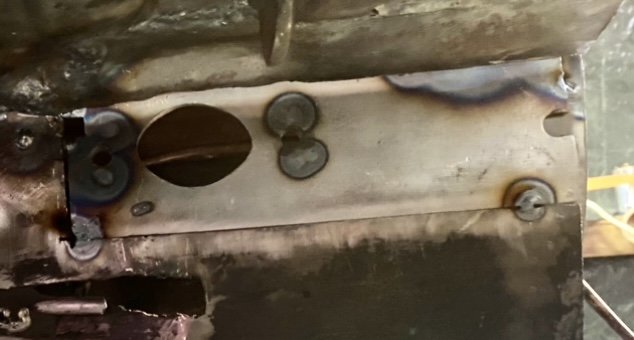
I got all my patches made and shaped and fitted up, and today I tacked them all together on the frame.
3E0C7BF1-5D5A-4D14-90A4-461F64DF45ED.jpeg

41C502E8-1BF4-499B-87A4-7F56616A4C5F.jpeg

3F9DE056-9F41-49F6-84CF-CB13E2116A52.jpeg

EA8AB81E-494D-4D1B-A5E3-A2C3B5AD3E29.jpeg


Fortunately I remembered to weld the nuts on first!
3BB4B6B8-BD18-4325-8F2D-D1BC205E85F6.jpeg

1DAB484C-A60D-4BF3-BBE2-401B0259963B.jpeg

02D40420-AF2B-4EE4-9FEE-A6D5D9621142.jpeg


0C222A75-6D52-4FDB-8EA4-88DF0F06B62F.jpeg

Then I made a couple crappy tacks and realized I was out of gas.

C0FB8C8B-9CD5-4B79-8072-E32EB31BB9C6.jpeg

After a trip to the welding shop for argon, it was 114F, so I called it a day.
 

Ulu

Potamotrygon
MFK Member
Dec 13, 2018
1,864
3,323
164
The Sunny San Joaquin
All that stuff is welded up and almost ready to paint.
3915B95B-2D76-4B7E-9C5B-F171404EFB1C.jpeg

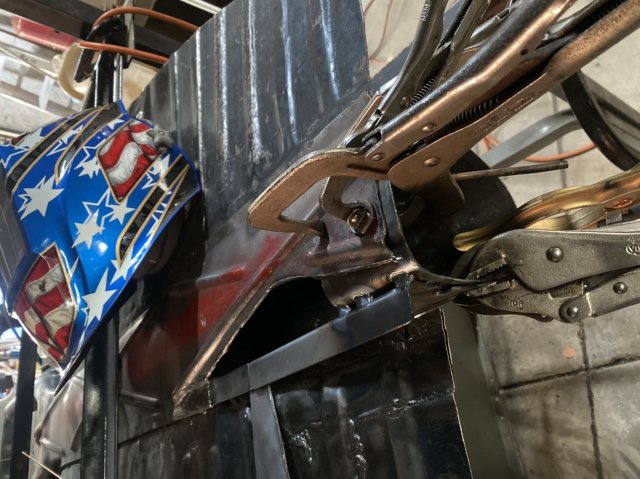
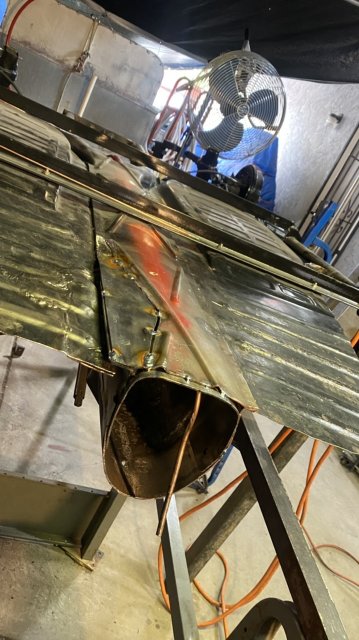
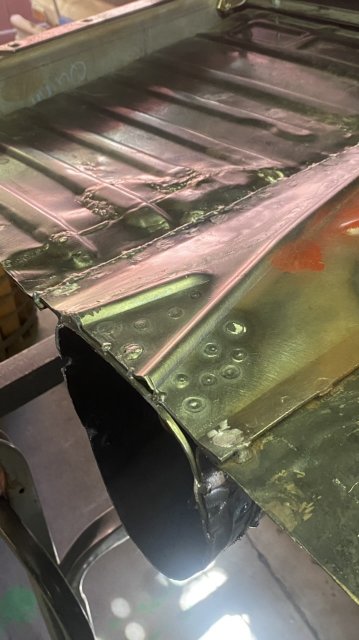
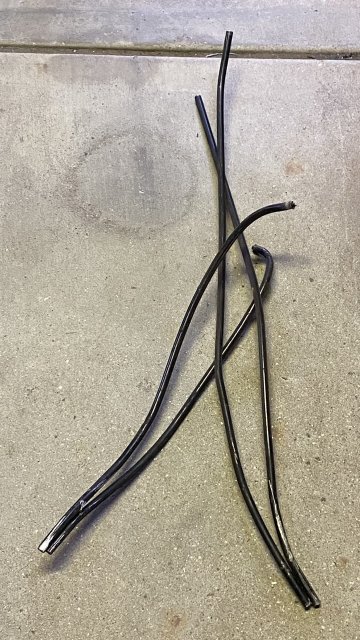
I have managed to remove all the unnecessary heater control tubing and the absolutely necessary shift rod, from the tunnel. It was a right bother, as you might imagine.

Two of these six heater cable tubes are already cut away, but these 4 remain.
FF73E4DB-6F5A-4DE9-B9B2-05129F45251C.jpeg

You can see the brake cable tubes and heater tubes all connect to the same frame bracket. This needed some careful cutting, almost 2 feet deep inside the tunnel. I did it with my Polish Sawzall (inspired by that world famous Polish chainsaw.)
8CF845F8-88EF-45FD-8F75-7D590B49F9FF.jpeg

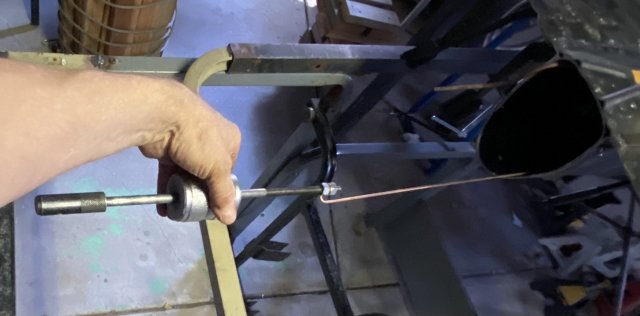
Post-sawing extraction required a slide hammer.
26DC0E42-17DC-4C61-8FCB-E40D8415533F.jpeg

EE30F0F9-1798-4972-AC36-B272D7746271.jpeg

5F8A42F8-9AFF-4B3C-82D9-5F78CE1D24D4.jpeg

Those were cut loose on the other ends as well. They were almost braided together in there. Getting the shift rod out was impossible until those tubes were gone.
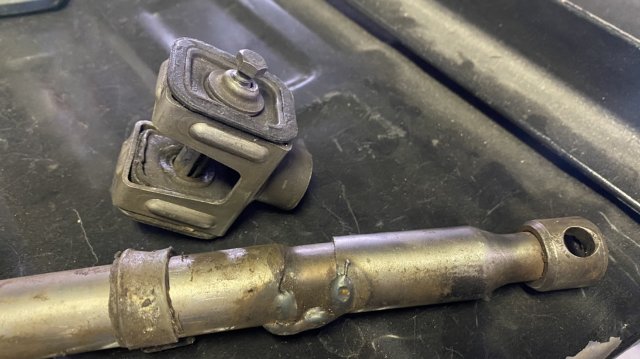
But there it is.
7D73B6E2-3808-411B-983F-F5EA0D72DD34.jpeg

It was shortened and welded over a slug. Poorly welded indeed, yet it did shift OK.
93A71F5C-C303-495A-9114-AD33DFAB8897.jpeg

Anyhow, one bolt removes the rubber cushion assembly, and the rod came out with a bit of fiddling.

Now the inside of the tunnel will be empty enough to clean and paint, once I remove the parking brake cables. There’s the bracket, after cutting away the 4 tubes.

D694FBB6-BF13-4F45-8260-1A03FE3CC4F8.jpeg

3C42CC11-230F-41C6-A220-F88AA0017FD5.jpeg

Rust in the back tunnel is mercifully superficial.
 

Ulu

Potamotrygon
MFK Member
Dec 13, 2018
1,864
3,323
164
The Sunny San Joaquin
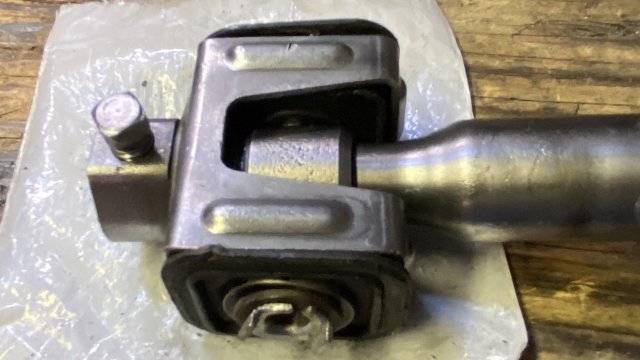
I fixed that shifter rod & coupler up really nice.
591F2B77-3ED4-4BFB-8B0F-2273EC3A1704.jpeg

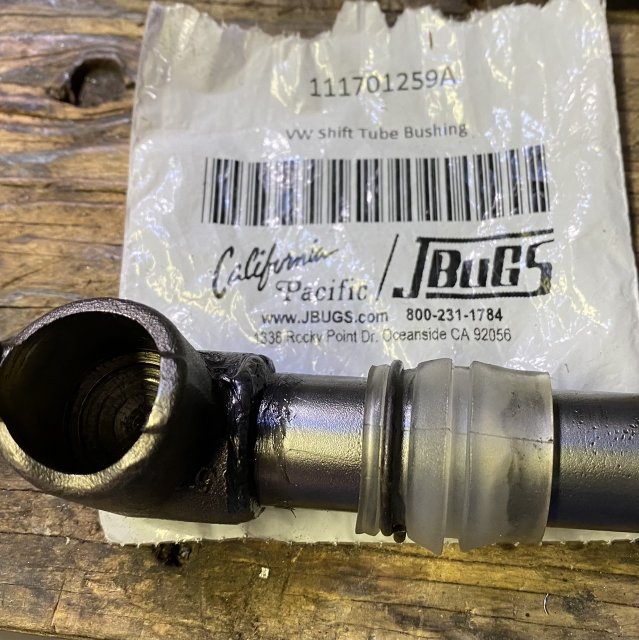
It got a new bushing too.
780DD42D-2A76-4774-A12E-4D6420314AA4.jpeg

After lots of sanding and brushing (about 4 sessions) I got some rust treatment in the tunnel, and shot a quart of rust-converting paint.

I taped spray cans on a pole and rigged the button with wire to spray, then stuck them in the tunnel to do half the paint.

I put a lot of paint into the pinch-weld seams, with a red tube from WD-40.

95388DC9-EE4F-4A26-BF87-D9FCF6CE8B8C.jpeg

At the very end I accidentally shot it out of the paint nozzle and into the tunnel, where I will let it stay until this all dries up.

A7B1D84A-5C3B-4405-BAAD-A03003E22C0F.jpeg
 

Ulu

Potamotrygon
MFK Member
Dec 13, 2018
1,864
3,323
164
The Sunny San Joaquin
I was tying down the new fuel line inside my VW tunnel and I realized that the shifter bushing was not seated properly.

It’s just a plastic snap in bushing but it has to snap in before the shifter rod goes through it, and it did not.

So I had to take the shift rod apart and take it back out, pull the bushing off, seat it properly, grease the shifter rod and then put it back in and reassemble the coupler.

I got the lines all tied down, and started reassembling the frame rails for more trimming and aligning. I did some more work on the floor pan, because it was oil-canning.

I set the big trammel back up. It’s going to be a pain in the butt to work with unless I can get my wife out there in the morning to help me.
 

Ulu

Potamotrygon
MFK Member
Dec 13, 2018
1,864
3,323
164
The Sunny San Joaquin
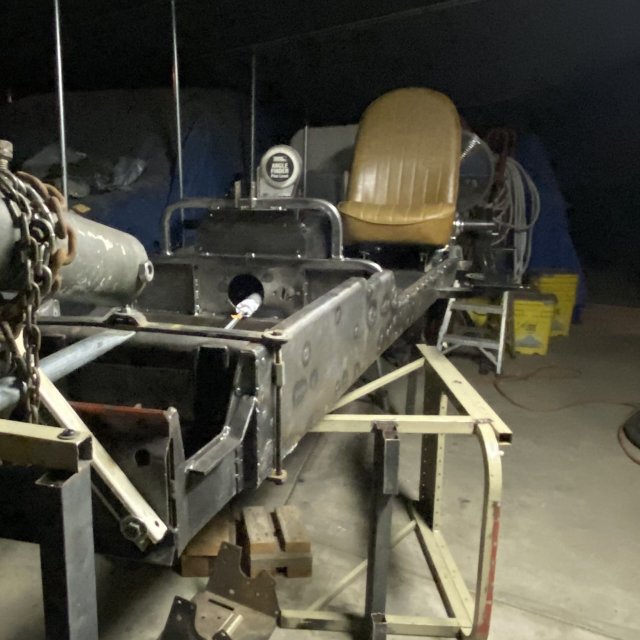
I finally got the frame rails, front appliance and crossmembers all tack welded.
4DFE1A78-6348-46BD-9045-2DC7D8300FE2.jpeg
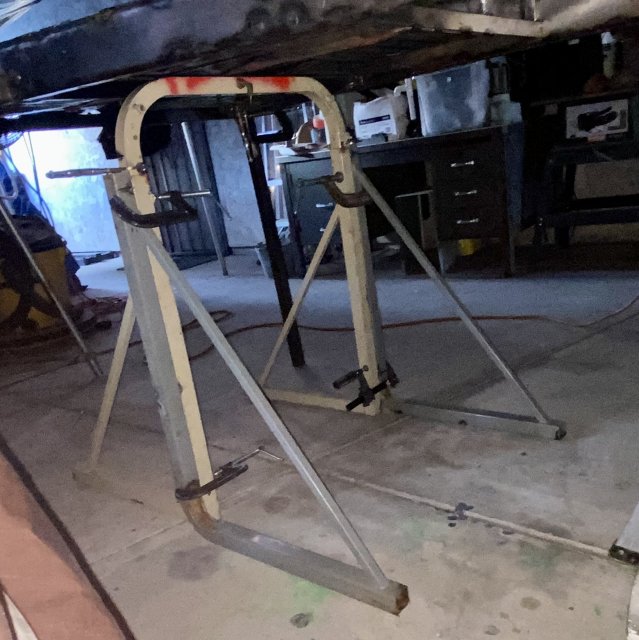
I took off all the clamps, and the frame is just laying loose on the jig.
728D08F7-982C-4999-82D0-D4126EA58CF0.jpeg
I got the rail cutouts tacked back in today, and so far I put down about 80 small welds.
F90BFC34-8CEB-4060-B6FA-89171256AA9D.jpeg
Soon I will have it solid enough to flip and weld on the other side.
ACD91A4B-403A-49B1-B2DD-AC98B74DC141.jpeg
 

Ulu

Potamotrygon
MFK Member
Dec 13, 2018
1,864
3,323
164
The Sunny San Joaquin
I’m using the trigger instead of the pedal for tacking, because I have to move about so much. It’s tough to kneel and weld overhead with the pedal.

I made this sleeve from a soft hose and paracord, to protect the trigger wire and hose, as I pull this over the hot frame welds.

C36CE637-AF0B-460E-8E97-D2F69ABC59E2.jpeg

You see the thin trigger wire, which is insulated with vinyl, and would melt in a second.
F8C9172C-BF54-4BB2-93ED-9700FF797281.jpeg
 
  • Like
Reactions: AR1

Ulu

Potamotrygon
MFK Member
Dec 13, 2018
1,864
3,323
164
The Sunny San Joaquin
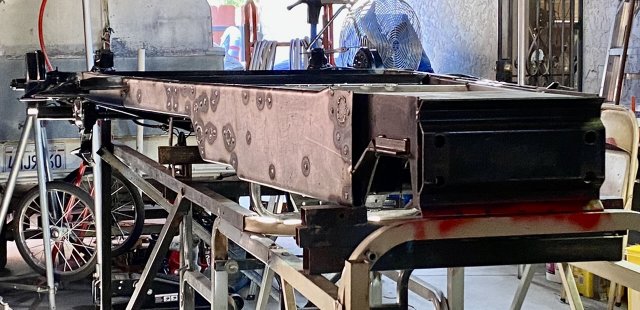
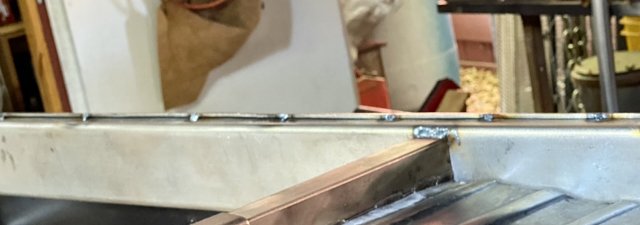
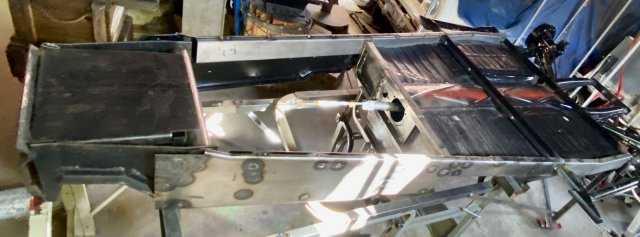
There were delays, messing with aquariums, house plumbing, and patio wiring, but I finally have the frame rails completely seam-welded, top and bottom.
66DE2C78-3090-4E64-BBE8-EFFA8E3AE6B5.jpeg
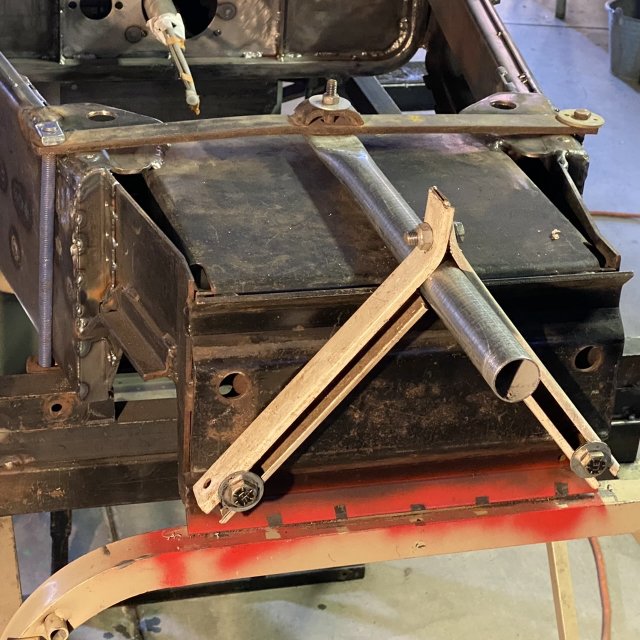
All the floor ledgers are welded in, the pan corners are filled in with sheetmetal, frame closures are on, and lots of the frame closure welds are complete.

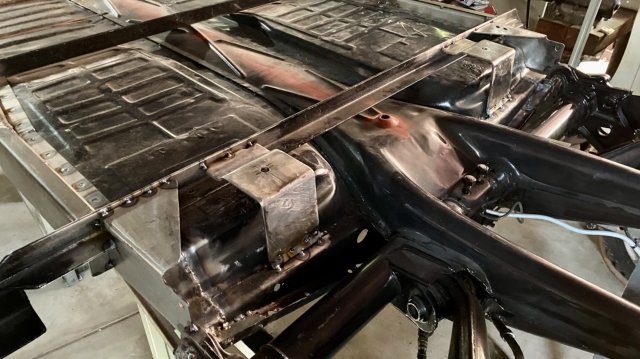
I fabricated and attached the rear frame gussets and the rear subframe hangers.
196A6EB3-8EAF-430E-955D-F54A756DEA96.jpeg
AF861251-53BD-44A5-A6D9-032500C4962A.jpeg

Test fitting for seat rails.
B57065B9-43D1-4D89-84B0-9EE49099FB4E.jpeg

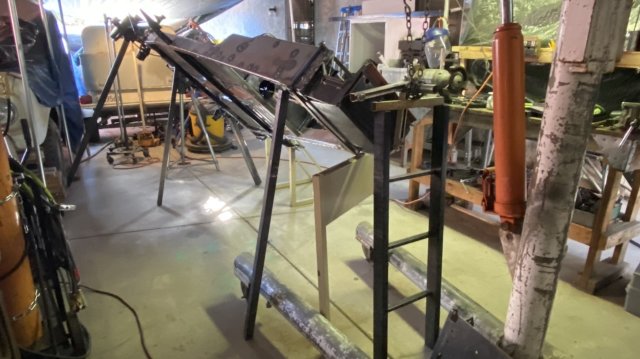
I made this clamp-on pivot so I could hang the frame nose to flip it.
65E7E128-1E48-42A9-9068-8CF1B1E4FB94.jpeg
Here it is rolled half-way to access the pan corners.
C027A193-42DE-491F-B2D7-3141C3C91068.jpeg

Now it is flat on this stand, while I complete welds on top.
4A60B277-3C5B-40D9-A5A4-0745F2CBB9F1.jpeg
 
  • Like
Reactions: AR1

Ulu

Potamotrygon
MFK Member
Dec 13, 2018
1,864
3,323
164
The Sunny San Joaquin
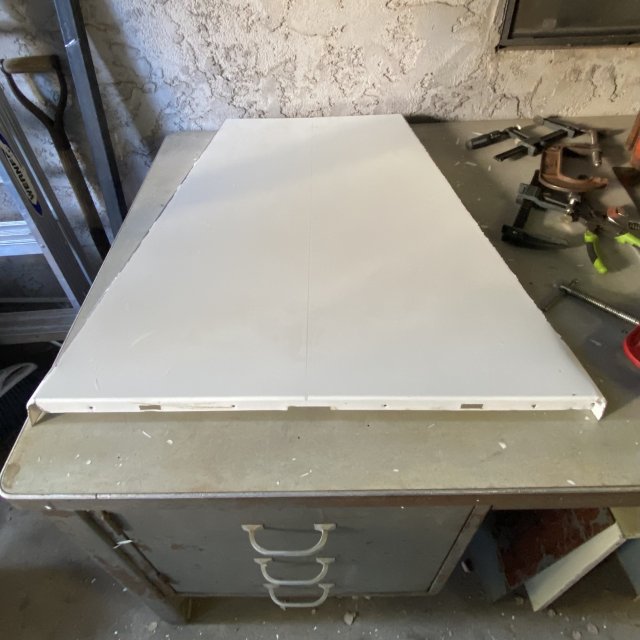
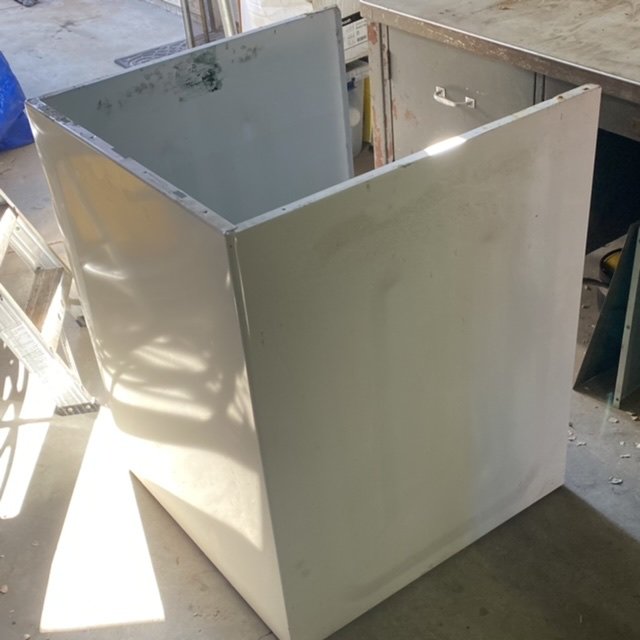
Whenever I keep something that other people would throw, out my wife always askes me the same question. “What are you going to do with that?”
4C52D826-6134-4410-8BCF-C35468457FF7.jpeg
Then she reminds me for the next seven years when garbage pick up day is, so I can toss it out.
F43F1718-8A0C-456C-A812-4563EB295C9F.jpeg
OK maybe not seven years but this has been kicking around since our washing machine died a few years ago.
EF37B868-0CA3-45CE-B97E-881D576292BC.jpeg
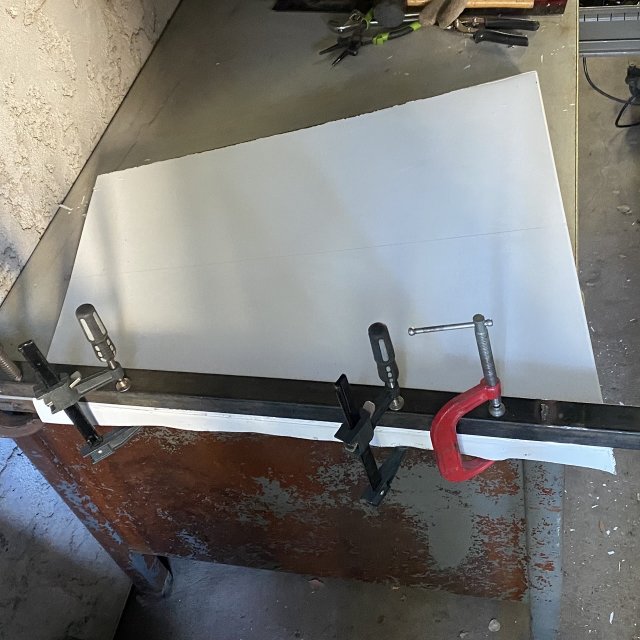
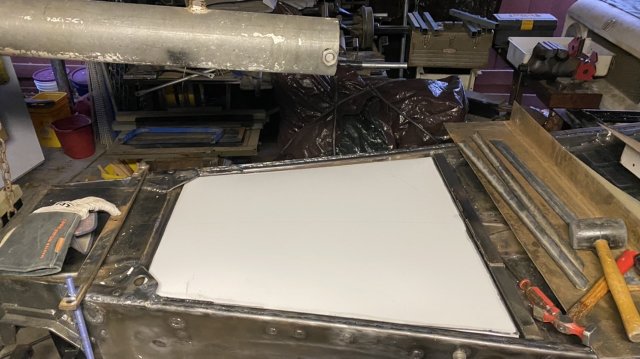
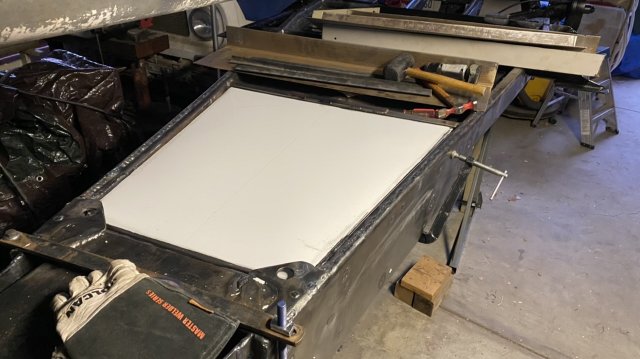
Not having any kind of a box brake, I used the old time method of clamping it to a table with a piece of square tubing and smacking it with a mallet
A3A6A497-3CA7-4248-96FC-31E582595F13.jpeg
After lots of fussing and fitting I put a flange on all four sides, made corner notches, and made joggles to clear the big gussets on my frame.
D037BA2B-8AAD-4658-8EFB-72D35A4F6A7E.jpeg
Now it almost fits. But it’s not ready to weld in yet.
806C4BA5-C7A0-4713-BDA8-06F39005AC95.jpeg

This floor will need reinforcements, and some get attached to the frame first.
B78ACB3D-69E1-4E41-A3D4-BCBDC6141D53.jpeg
 
zoomed.com
hikariusa.com
aqaimports.com
Store