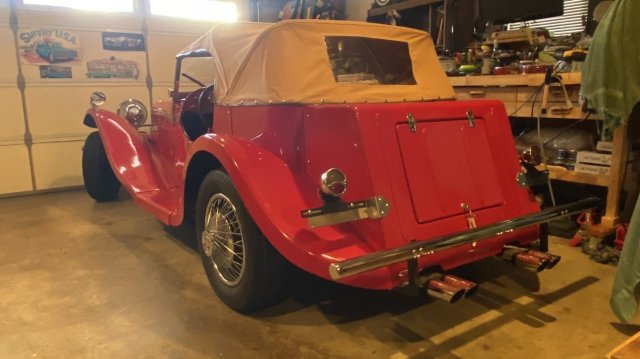
It’s been a whole year

  • We are currently upgrading MFK. thanks! -neo
Grrr.. the pea soup fog continues here. No good weather for joyriding about in an open car. Well, it needed wax anyway, and I slathered on the Turtle Wax with a generous paw.

Many many things could be done to improve this car, and I will certainly do many of them in the near future.

For now I desperately need to put in a grab handle and a foot rest so my wife can ride in the car with me.

I also need to desperately reinforce the rear tail light and license plate mounting brackets. They are so floppy they will come apart going down the road in very short order.
 
  • Like
Reactions: Jexnell
Too damp to drive, so I am working in the garage.

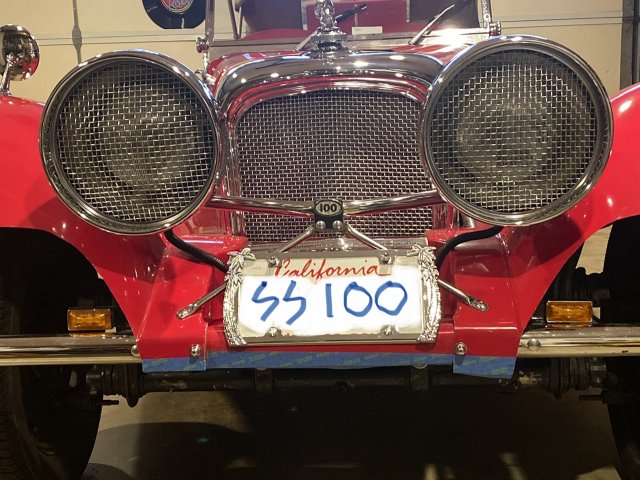
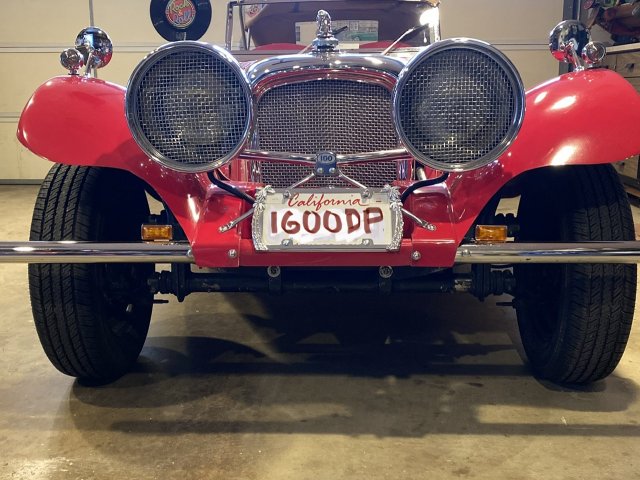
I marked the front valance and fenders with blue tape and a sharpie. Then I took a pneumatic grinder and trimmed the ragged fender tips to be even. Finally I sanded them flush with a long board-sander. After I took the pictures, I touched up all the edges with red paint.

I can’t believe nobody did this stuff 30 years ago.

Also a new glitzy chrome plate frame fills the gap.

Before trimming the fenders.
1D8C8572-5CEE-4B2C-BDBD-DC64CFE3BC51.jpeg

After trimming.
07F56B08-7028-4AC6-A921-444BD438CB66.jpeg

Perhaps the sun will come out today & the streets will dry up and I will take the car out for a ride, but it’s just been very foggy and damp here lately.
 
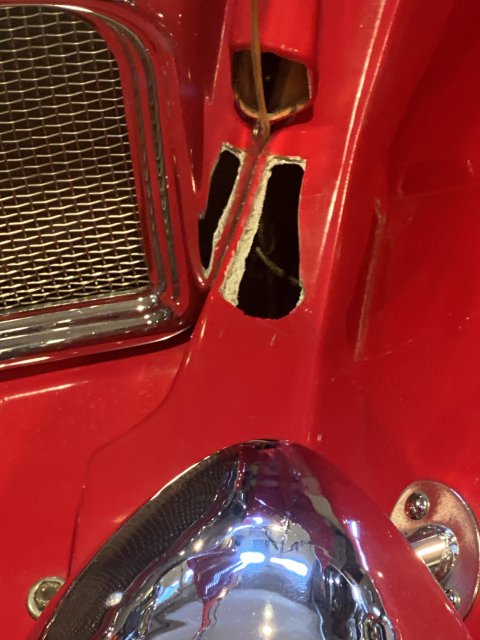
I removed the steering column so I can improve it, as it is spliced together from literally 5 bits of tube. Long story….

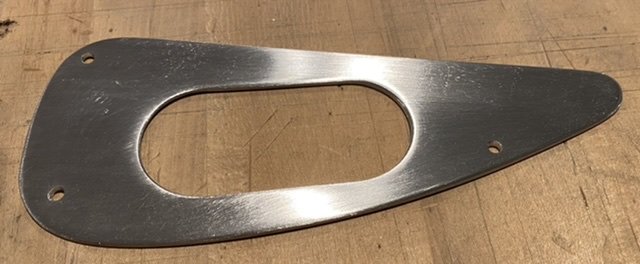
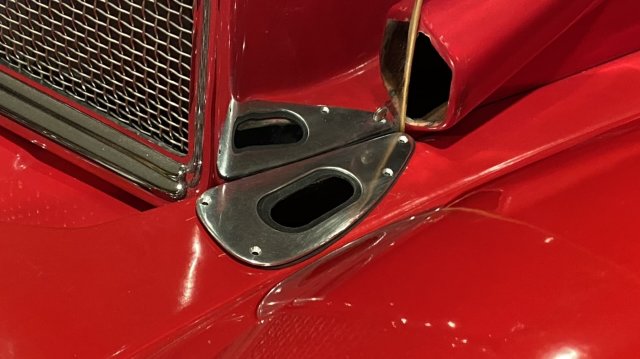
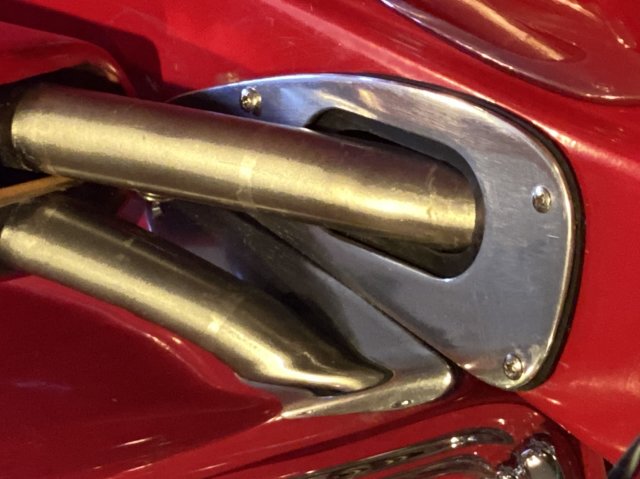
To cover the ugly gash where column penetrates fender, I made an aluminum trim cover and gasket from scratch.

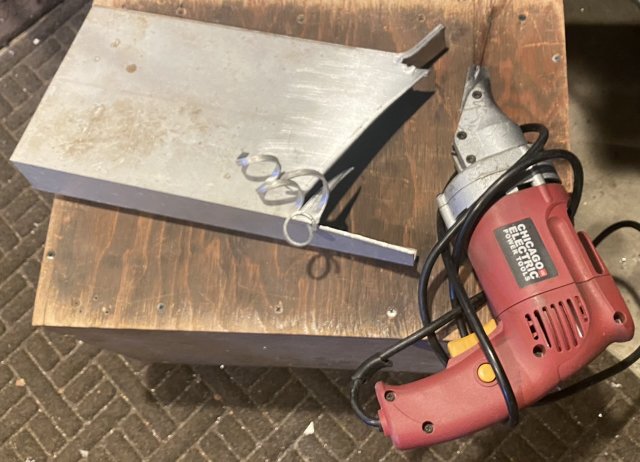
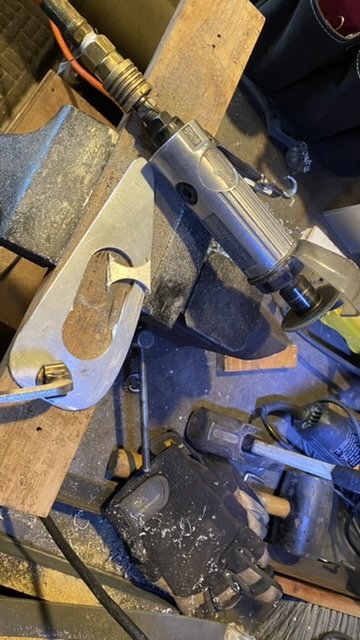
I cut a rough piece from this old aluminum window frame With an electric sheet metal shear called the nibbler.


4462BB3E-9655-44A4-9F15-EDFDDA7E1F2B.jpeg
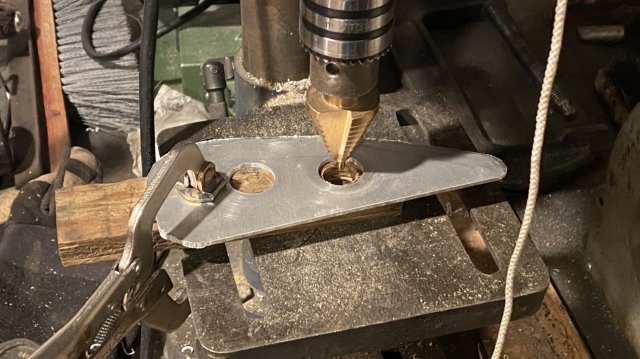
Next I roughed it out with a drill press and grinder
9EC419CB-A9E6-4FB4-8A73-3B7DF26BA560.jpeg

D86FD26D-0C86-4ADC-9CFC-3B30C4C5E5A5.jpeg

After hand filing and lots of sanding.
C1FDDE88-A284-4D1E-96A2-F1604B0AC43A.jpeg

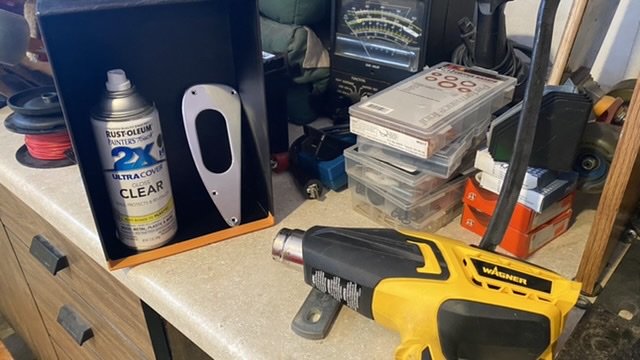
Painting in a cold garage with a heat gun and a hot box to get/keep it all warm.
EC01A346-57DC-4885-A144-2D9AADD56B4D.jpeg

First test fit with hand-cut rubber gasket.
E263E404-3269-4673-951E-EFC53CAF4E60.jpeg

The true ugliness below:
image.jpg
 
I had to weld the steering shaft, and I burnished it and painted it. The paint was still too soft and I spoiled it.

22BF0D87-BC80-4376-AA0A-F586C0555D84.jpeg

I got the car out again and it ran the best ever, but the heads need torquing. She is seeping oil so I am going to regasket the whole engine.

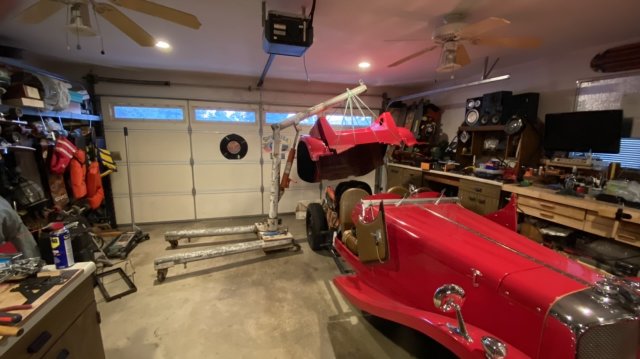
Here I am hoisting the back off of the car.

C43C43FA-ABE6-4B27-81E6-96ACF950A7FD.jpeg
 
  • Like
Reactions: Jexnell
It would be maddening if I had not expected everything up front. Except receiving the car covered in gas. That was the real PITA and it is history now. I expected everything else.

Fixing the car is no issue as there is no schedule. Nobody needs it back on Monday. I can work as I please, or not.

If this was my only car, it would be a disaster!
 
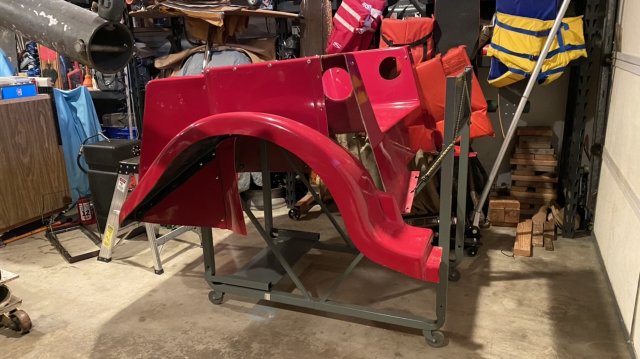
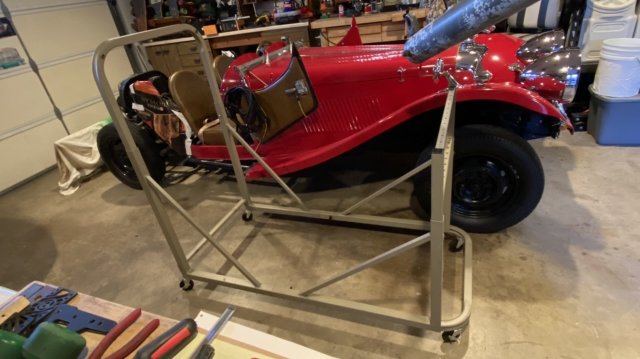
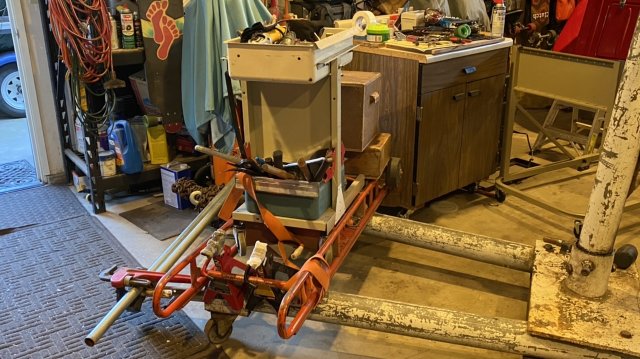
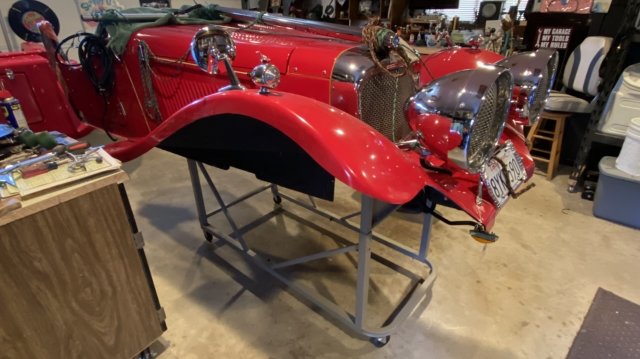
I assembled two carts. The short one holds the rear body now,

493F6B98-969D-4462-A570-B39CCF287B0C.jpeg

and the long one will soon hold the front.

6ECBE1E0-4AA1-4A21-99A5-18C98D99D26C.jpeg

I will hoist the front body today.

Both of those are made from old Planhold brand architectural drawing carts. I recycled these from our old engineering office, because they went paperless this year.
 
  • Like
Reactions: Jexnell
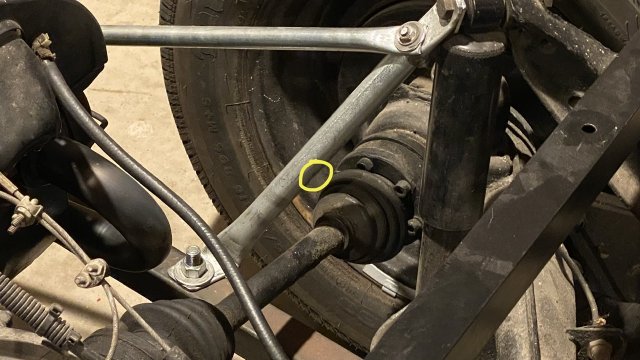
I circled a little spot where the axles hit both braces I added. It’s smacks hard, under full power launch.
72D1F1A0-3B6A-467C-B31A-256E8CC26413.jpeg
I thought there was an awful lot of hammering going on.

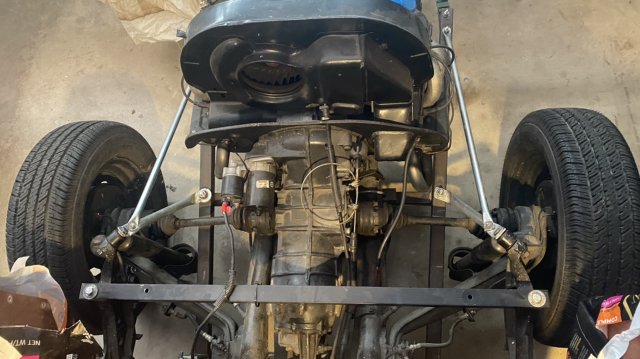
I added the square tube brace across the shock towers and the four silver tube braces suspending the rear frame.

7EA86672-0CBE-4724-91B8-1E3B4A0E173D.jpeg

All of the stuff will have to change later. This was very quick and dirty when I constructed it, but it was only meant to get me by inspection. I was not trying to build a good car.
 
The weighting is the hardest part!
4562A5D7-833E-48AC-A1F6-3F2402A37D1E.jpeg
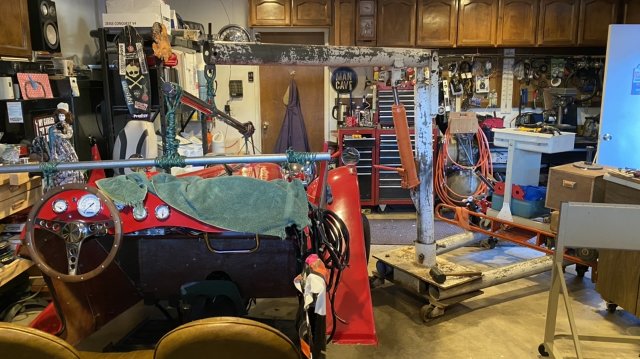
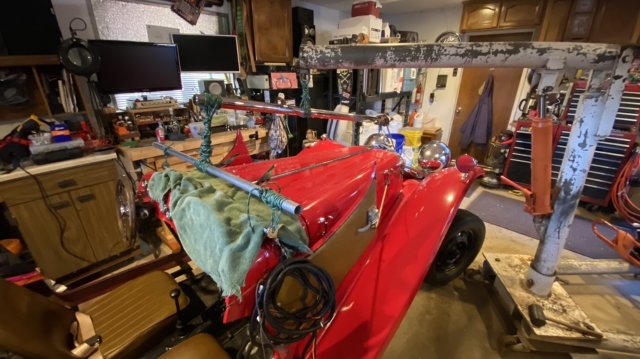
The messy counterweight was necessary to keep the hoist from tipping over as I lift the front body.
A60E2736-F9CE-4722-ADDD-2E1DA8C6A953.jpeg
I used a piece of conduit as a crossbar & the front bumper as a spreader bar (because it is very sturdy and it was quite handy as well.)
563D1541-2CCD-41AC-B7F3-BCE4059449A1.jpeg

Here it is off on the cart.

0B05A6D6-65B5-440D-83F6-15C416559A8B.jpeg

Now I can do what needs to be done.

35464529-DF3F-41F8-80A3-CE6A01D7660B.jpeg
 
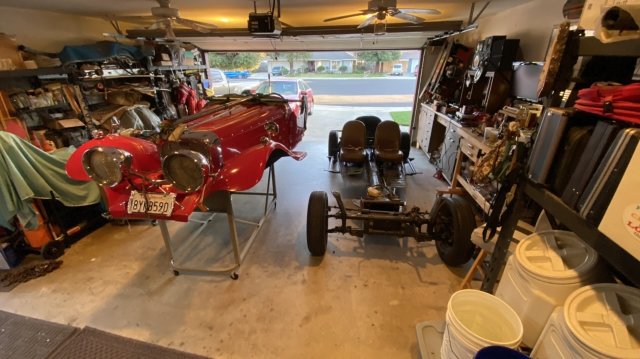
Well it has been another year, and my car has been apart the entire time. It has not looked like this since last February.

I spent the entire year working on my motorcycle, going fishing, and building bicycles.

The chassis has been parked in my boat yard under a tarp this whole time and I finally went out yesterday, uncovered it, and started getting things arranged that I can actually weld on it now.

I will have to flip it upside down to do the bottom, and if I don’t take the transaxle off all the oil will probably run out through the vent. I’ll have to figure out where that is and plug it up. I will probably drain the transaxle as well. I doubt it’s had an oil change since the 1980s.
E5752707-D5CA-4565-AE49-FFFB67E239CF.jpeg
 
MonsterFishKeepers.com